


⚡ TL;DR
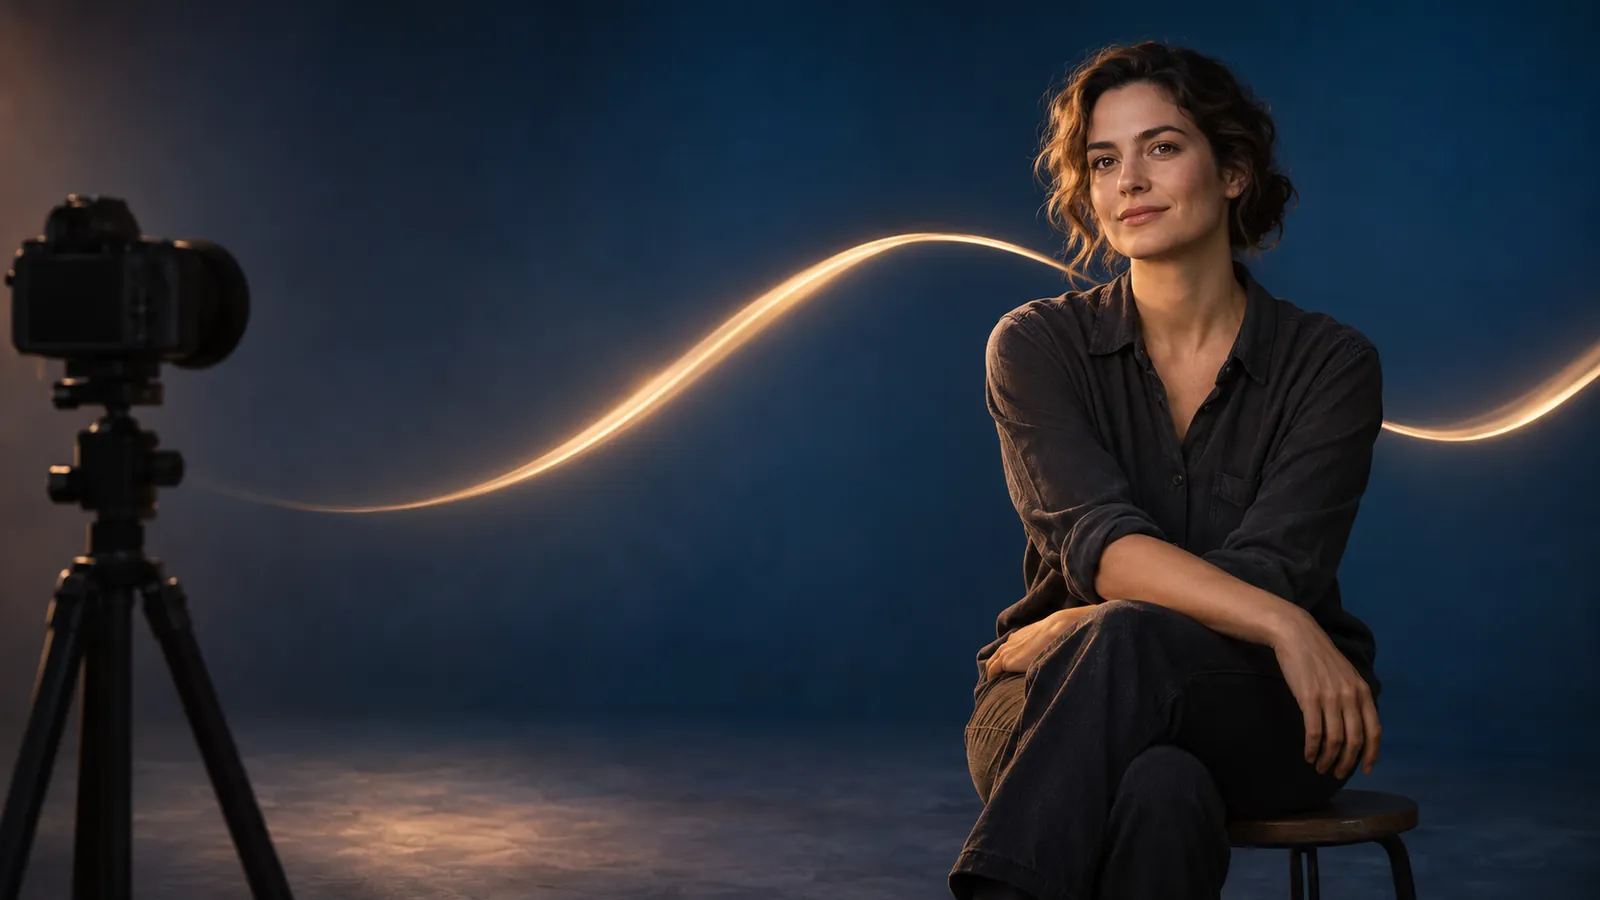
Light painting portraits need two separate lighting jobs: a brief exposure for the face and a longer interval for drawing light trails. Use a tripod, a dark location, a compatible photographic flash when available, and a controllable white LED light. Start with a supported seated pose and one simple background curve.
📋 Table of Contents
- 1. Portrait light painting equipment and light selection
- 2. How do you keep a face sharp in light painting portraits?
- 3. A two-stage exposure workflow for face and trails
- 4. Flash and flashlight roles in a long exposure
- 5. Comfortable poses and a repeatable subject position
- 6. Face lighting brightness, angle, and color
- 7. What are some simple ideas for light painting?
- 8. What is the rule of 3 in portrait?
- 9. How to paint a simple portrait for beginners?
- 10. Troubleshooting blurry faces and washed-out trails
- 11. White-light boundaries for a comfortable portrait session
- 12. FAQ
Portrait light painting equipment and light selection
Choose equipment around the job each light must perform. The camera needs to stay fixed, the subject needs a comfortable position, and the person drawing needs enough space to move without touching either. A remote release or a self-timer helps start the exposure without pushing the camera during the shot. A timer also makes the sequence easier to repeat.
| Job | Recommended type | Useful minimum capability | Suitable equipment or model |
|---|---|---|---|
| Record the full sequence | Camera with manual long-exposure control | Fixed ISO, aperture, focus, and a timed exposure | Camera on a stable tripod |
| Briefly illuminate the face | Compatible photographic flash | Predictable firing and adjustable output | Camera-compatible flash; verify the camera's instructions |
| Position a white LED for setup or controlled illumination | Adjustable clip light | A selectable low white output and secure placement | Olight Oclip 2 Pro, standard light configuration |
| Draw a small white trail | Compact white LED pen light | Easy switching and a comfortable grip | Olight O'Pen 3, using its white clip light |
| Add a separate background accent | Compact clip light | Controlled placement and a visible-light mode | Olight Oclip Pro S, using white light or a selected RGB mode |
Olight Oclip 2 Pro offers an adjustable head and rotating clip, which can help position its floodlight without requiring the subject to hold it. For this workflow, select the standard light configuration; a charging dock is not required. Attach it to a stable support and check its direction before opening the shutter. A clip or magnet is a positioning aid, so confirm that the chosen surface actually holds the light securely.
Olight O'Pen 3 has a white clip light with multiple output levels, including a 2-lumen moon mode and a 20-lumen low mode. Those settings give you options for a small illuminated trace or a close setup task. They are not prescribed face-lighting levels. The pen-tip light is a separate emitter, and this guide's trail instructions refer to the white clip light. Keep the pen's other functions separate from the exposure routine.
Olight Oclip Pro S combines a white LED with RGB lighting, giving a background accent a different role from the face light. Select the intended visible-light mode while the room is illuminated and verify it before every sequence. The product page also carries other configurations, including the earlier Oclip Pro, so check the selected model carefully. Do not assume every specification displayed on a shared page belongs to every variant.
A small EDC flashlight can be convenient to carry to a session, but the photographic requirement is control. You need to switch the light predictably, aim it accurately, and repeat the same movement. Maximum output and advertised beam distance do not tell you how a particular face will expose at your chosen distance and camera settings.
For broader equipment choices, the light painting flashlight setup guide explains beam, color-mode, and accessory considerations. Settle on one controllable white emitter for the first portrait sequence before introducing additional tools.
How do you keep a face sharp in light painting portraits?
Keep the face illuminated for as little of the exposure as practical, and keep it dark while drawing the trail. A tripod prevents camera movement. It does not stop the subject from shifting, blinking, breathing, or turning. The camera records the face whenever enough light reaches it, even after a sharp flash-lit image has already been recorded.
Imagine a ten-second exposure containing one brief flash and several seconds of background drawing. If the face receives almost no useful light during the drawing interval, the flash can dominate its appearance. If a nearby lamp or the moving trail light continues to illuminate the face, the camera may record a softer second image around the sharp one. That visible fringe is often called ghosting.
The practical test is an exposure made with the face light and trail light both off. Use the intended camera settings and full shutter duration. Inspect the subject's face at a useful magnification. If it is clearly visible, ambient light is contributing. Darken the location, change the angle, reduce stray light, or adjust the exposure settings before adding the creative lighting. Keep enough working light available between shots for safe movement.
Focus deserves its own check. Illuminate the face temporarily, focus on the eye nearest the camera, then lock focus using an appropriate method for your camera. Remove that setup light before the exposure. If the subject changes position or the camera moves, refocus. A bright trail and a dark background can make an out-of-focus portrait look impressive on a small screen, so enlarge the eye area before continuing.
A flashlight-only face exposure can work when the subject is comfortable and still. However, switching a continuous LED on and off by hand does not make it equivalent to a photographic flash. Even a short sweep may record facial movement. Choose a flash-assisted setup when face sharpness is the main priority, and treat a continuous-light-only version as a more demanding variation.
A two-stage exposure workflow for face and trails
Build the image in separate checks so each result answers one question. The sequence below is a starting method, not a universal exposure recipe. The room, clothing, skin, lens, flash, distance, and desired trail all change the result. Use manual camera settings so the camera does not unexpectedly compensate for one change by altering something else.
- Arrange the scene with working lights on. Seat the subject, place the tripod, mark both positions, and leave a clear route behind the subject. Keep the drawing area separate from tripod legs and cables.
- Set a conservative starting exposure. For a dark indoor scene, ISO 100, f/8, and a ten-second shutter interval are reasonable settings to investigate. Adjust this starting point to the actual room and lighting. Confirm that your camera supports the selected exposure and flash combination.
- Make the ambient-only frame. Turn off the photographic lights, expose for the full interval, and check for unwanted detail on the face. Address ambient contamination before proceeding.
- Make a face-only frame. Leave the trail light off. Fire the compatible flash at a planned point in the exposure and adjust its output or placement until facial highlights and shadows are usable.
- Make a trail-only frame. Keep the subject in position but do not illuminate the face. Draw one curve behind a shoulder. Check framing, brightness, reflections, and whether the trail light spills onto the subject.
- Combine the two stages. Start the exposure, make the brief face exposure, then draw the rehearsed trail with the face kept dark. Switch off the drawing light before moving back across the frame.
- Review the eye and brightest skin areas first. Then check the trail. Change one variable, note it, and repeat only after the subject is ready.
For a first-curtain flash sequence, explain that the flash occurs near the beginning but the exposure continues afterward. The subject should hold the pose until you give a clear finishing cue. If you choose rear-curtain synchronization, verify how your equipment handles it; the principal flash occurs near the end, and some systems may also emit preliminary flashes. Do not use a casual count as a substitute for understanding the camera's behavior.
The ten-second interval is a rehearsal aid. Draw the intended shape with the light off and see how much time the movement actually needs. If a simple arc takes four seconds, a thirty-second exposure adds waiting and ambient exposure without improving that arc. Allow time to start and stop cleanly, then keep the interval as short as the complete sequence permits.
Keep a simple shot record: shutter duration, aperture, ISO, flash setting, face-light position, LED mode, drawing position, and the specific change between frames. When a frame improves, the record explains which action produced it. Separate face sharpness, exposure, trail shape, and subject comfort in your notes; one overall success score can hide the reason a frame failed.
Flash and flashlight roles in a long exposure
A photographic flash is designed to deliver a brief burst of light. A flashlight supplies continuous light while it is on. That distinction matters more than whether the devices appear similarly bright to your eyes. The duration of the face's illumination affects how much subject movement can be recorded. Flash duration also varies with the equipment and output setting, so avoid assuming every flash burst freezes every movement.
Use a compatible photographic flash for the brief face exposure, and use the LED for setup, a controlled background accent, or a visible trail. If you are shopping for a flashlight for this task, prioritize accessible controls and repeatable low output. A powerful search beam is unnecessary for a small shape a few feet from the camera. Do not place a light's maximum brightness setting at the center of the plan.
Within a conventional synchronized exposure, changing shutter duration mainly changes how long continuous and ambient light can accumulate. It does not simply lengthen a single flash burst. Aperture and ISO affect the recorded flash and continuous-light contributions, while flash output and position offer separate ways to adjust the face. This separation lets you refine the background without repeatedly rebuilding the portrait lighting.
There is a qualification for light trails: a moving light does not illuminate every part of its path for the full shutter interval. A slower hand movement spends longer in each small region of the image and can produce a brighter trace there. Pausing creates bright knots. Extending the shutter after the drawing light has been turned off will not make that completed trail brighter, though ambient light can continue to accumulate.
| Scene | First adjustment to investigate | Runtime requirement | Weather or water requirement |
|---|---|---|---|
| Dark room with flash-lit face | Suppress ambient light, then adjust flash output | Enough charge for setup, rehearsal, and repeated short drawings | No special outdoor rating required for a dry indoor setup |
| Flashlight-only seated portrait | Shorten face illumination while maintaining usable exposure | Reliable output through the planned session | Keep the setup dry unless every component is suitable |
| Outdoor portrait after dark | Remove spill from nearby lamps and keep the drawing area controlled | Include reserve for safe setup and packing | Check camera, flash, lights, and connections individually |
There is no defensible universal lumen minimum for these scenes. Beam shape, distance, exposure settings, movement speed, and the light's direction all affect the image. Likewise, a light's water resistance does not protect the camera or flash beside it. Avoid turning a photography equipment choice into a claim that one specification solves the whole scene.
Comfortable poses and a repeatable subject position
A supported seated pose gives the subject less to manage. Choose a stable chair or stool, place both feet securely, and let hands rest naturally on the lap or another comfortable support. If a backrest helps without forcing the shoulders into an awkward position, use it. Keep the pose simple enough to repeat after a break.
Mark the chair position and the subject's foot placement with suitable removable tape. The marks make it easier to return to the focus plane without asking someone to remember an exact location in darkness. Check the frame after any change in posture; leaning forward can move the eyes outside the sharp region even when the chair has not moved.
Ask for a relaxed face and normal breathing. Holding a strained smile or an uncomfortable head angle for repeated exposures invites movement and fatigue. A calm expression is easier to repeat. If the subject wants to blink or reset, stop and restart the sequence. A technically elaborate background is not a reason to keep someone in an unpleasant pose.
Agree on three spoken cues before the working lights go off: prepare, exposure running, and finished. Make the finishing cue unmistakable so the flash itself does not become an accidental signal to stand up. Keep the session paced around the person rather than the shutter timer. For a self-portrait, rehearse the return to the seat with the drawing light off and keep the remote accessible without shifting the pose.
Face lighting brightness, angle, and color
Start the face light off the camera axis and above eye level, then inspect the resulting shadows. A position roughly to one side is a useful starting arrangement, but no fixed angle flatters every face or works in every room. Watch the far eye, nose shadow, glasses, and background spill. Move the source to improve the actual image rather than chasing a diagram.
For a continuous-white-light variation, begin at a low setting with the source aimed away, explain the plan, and make a brief, controlled illumination. Stop if the subject finds it uncomfortable. Do not ask someone to stare into an LED or tolerate glare for a photograph. Keeping the light away from the line of sight also makes a relaxed expression easier.
A light aimed at a broad, matte white surface can provide a larger apparent source through bounce, with less output reaching the subject. The surface's size, position, and color affect the result. A colored wall can tint skin, and a distant ceiling may return very little useful light. Test the bounce separately before attempting the full portrait sequence.
Lumens are not lux at the face. Lumens describe total visible light output; illuminance at a particular position depends on how that output is distributed and the geometry of the setup. A narrow beam and a floodlight with the same lumen rating can light the face very differently. A value measured at one meter would apply only to its stated mode, aim, and arrangement. It should not be inferred from a product's headline output.
Set a fixed white balance while refining the scene. Automatic white balance can shift from frame to frame as the trail occupies a different part of the image. If the camera supports RAW capture, it gives more flexibility for color adjustment afterward, but it cannot restore skin detail that was clipped at capture. Colored background light should stay off the face unless that tint is an intentional, reviewed part of the portrait.
A rechargeable flashlight is practical for repeated rehearsals. Charge it before the session, verify the selected mode again after charging, and keep cables out of the walking route. A partly depleted battery or an accidental mode change can alter the next frame, so check the light before blaming the camera for inconsistent results.
Follow the model's charging instructions, inspect the connection, and allow wet equipment to dry before connecting power. The flashlight charging and care guide covers preparation and routine maintenance that can help keep the lighting equipment ready between sessions.
What are some simple ideas for light painting?
Start with one arc, one vertical wave, or three separated dots behind a shoulder. Each exercise keeps the drawing away from the face and gives you one movement to repeat. Position the subject far enough forward that the drawing light can move behind them without brushing clothing, the chair, or the background. Rehearse with the working lights on.
For an arc, switch the white drawing light on only after reaching the intended starting point. Move smoothly across the background, then switch off before returning. Keep the emitter visible to the camera along the intended path, while staying clear of the subject's eyes. A single clean curve usually provides more useful feedback than a dense tangle of loops.
For a vertical wave, move the light up and down while steadily traveling sideways. Keep the range below or beside the head rather than crossing the face. If the wave is too dense, increase the sideways movement. If individual peaks are much brighter, check whether your hand pauses when changing direction. Practice the same shape without changing camera settings between attempts.
For separated dots, use brief on-off intervals while moving between predetermined positions with the light off. Avoid bringing a small light close to the lens, where it may become an oversized flare. Once the white version is controlled, a selected visible RGB mode can add a colored background variation. Change color after the shape works, so a brightness change is easier to diagnose.
What is the rule of 3 in portrait?
In portrait composition, this question usually refers to the rule of thirds: imagine the frame divided into three equal rows and three equal columns, then consider placing an important feature near a dividing line or intersection. For a light painting portrait, an off-center face can leave room for a curve or wave on the other side. It is a composition aid, not a requirement for a successful portrait.
Use the camera's grid, if available, to compare a centered arrangement with an off-center one before switching off the working lights. Keep sufficient space in the direction the subject faces. Check that a trail will not emerge awkwardly from an ear or merge with the jawline. The important judgment is whether the face and the light shape read clearly together.
There is no photographic rule requiring three lights, three colors, or three seconds of face illumination. Adding those constraints can make a beginner setup harder. A centered portrait with one restrained background line may work well, especially when the pose is symmetrical. Let the composition serve the person's expression and the intended shape.
How to paint a simple portrait for beginners?
For a photographic light painting portrait, begin with a face-only exposure, then add one background shape. This is a different process from painting a portrait with brushes. You are controlling where light reaches the camera during one exposure, so a simple sequence is easier to understand and improve than several competing effects.
Use a seated subject, a camera fixed on a tripod, a dark background, a compatible flash, and one white LED drawing light. Set the focus under temporary working light and lock it. Make the ambient-only check, establish the flash-lit face, then rehearse a single arc behind the subject. Combine them only when the separate frames look usable.
If a photographic flash is unavailable, simplify further. Use a short, controlled white-light pass for the face while the subject holds still, switch that light off, and then draw the background. Expect more sensitivity to movement during face illumination. Review at full magnification and shorten that illumination or simplify the pose when needed; increasing LED brightness alone does not guarantee a sharper result.
Keep an accepted face-only frame as a reference while reviewing the combined image. Compare the eyes, cheek edges, and skin highlights. If those areas deteriorate only after adding the trail, investigate spill and ambient exposure before changing focus. That comparison is more informative than changing every setting after each unsatisfactory photograph.
Troubleshooting blurry faces and washed-out trails
Diagnose the part of the image that changed. If stationary background details and the face are both blurred, inspect the tripod, shutter release technique, focus, and any contact with the camera. If the background is sharp but the face has a soft fringe, look for subject movement recorded by ambient or continuous light. Distinguishing these failures saves repeated adjustments to the wrong light.
| Symptom | Likely cause to investigate | Next controlled check |
|---|---|---|
| Sharp eye with a faint second outline | Light reaches the moving face after the flash | Repeat the ambient-only frame and redirect trail spill |
| Face sharp but skin detail missing | Face exposure too bright | Reduce flash output or continuous face-light contribution |
| Bright knots in a trail | Drawing light pauses in one position | Rehearse smoother motion at the same camera settings |
| Trail broken unexpectedly | Switching, hand position, or emitter angle changes | Check the light's operation and repeat a simple straight movement |
| Painter visible as a shadowy figure | Ambient light or spill illuminates the person drawing | Reduce stray light and change the drawing route |
| Face color changes across attempts | Automatic white balance or colored spill | Fix white balance and keep background light off the face |
If the face is overexposed but the trail looks right, adjust the face-light contribution first. If both are too bright, consider aperture or ISO, then recheck the face. If the trail is weak but the face looks right, try a slower drawing movement or a different visible LED output. Extending the shutter helps only if useful drawing or illumination continues during the extra time.
Glasses and shiny clothing can reflect the moving source even when the main face illumination is brief. Check those areas in the trail-only frame. Shift the drawing path, rotate the glasses slightly if comfortable, or reposition the subject and refocus. A reflection that crosses an eye is usually easier to prevent on set than to repair afterward.
Dark clothing may help the person drawing blend into the background, but it does not make them invisible. Crossing in front of the subject during the flash can block part of the portrait. Stay behind the subject when the plan calls for a background trace, and keep the light off while moving into position. Review the silhouette and chair edges as well as the brightest parts of the frame.
White-light boundaries for a comfortable portrait session
Use only the selected visible LED modes for this workflow. Do not use a laser to illuminate a face, draw around a person, or trace through an occupied space. Keep UV modes off. A multifunction light may place several controls close together, so identify the intended switch and confirm the mode with the working lights on before the session starts.
Never direct a laser toward people, animals, vehicles, or aircraft. The FAA's laser safety guidance explains that pointing a laser at an aircraft is a federal crime. Keep laser functions outside the portrait routine entirely. An outdoor shoot also needs a controlled background and permission to use the location; a dark-looking area may still contain paths, windows, roads, or other people.
Keep bright white emitters out of the subject's direct gaze. Discuss the planned lighting and provide a clear stop cue. Turn on working lights between sequences, allow breaks, and clear the floor before resuming. Do not add smoke, sparks, spinning objects, or other effects to solve a weak composition. A small, repeatable light shape and a comfortable subject give you enough to work with.
FAQ
Changelog
- November 7, 2026: Product information and buying guidance reviewed.




