


⚡ TL;DR
For outdoor checks, choose a handheld light around what you need to see: a broad nearby area, a particular object farther away, or both. Compare the beam selections and their published output stages, then consider carrying weight and charging. A larger maximum-lumen number alone does not answer those questions.
📋 Table of Contents
- 1. Choose an Outdoor Light for the View You Need
- 2. Flood and Spot Serve Different Outdoor Checks
- 3. How Many Lumens Do Outdoor Checks Need?
- 4. Read Beam Distance as a Comparison Measure
- 5. Runtime Matters at the Output You Will Use
- 6. Standard ArkPro: A Flat Light for Frequent Carry
- 7. Marauder Mini 2: More Reach With a Larger Handheld
- 8. Check Controls Before Taking the Light Outside
- 9. Clear Obstructions and Manage Nearby Reflections
- 10. Match the Setup to the Outdoor Chore
- 11. Weather Ratings and Care Have Specific Limits
- 12. Build Charging Into the Routine
- 13. Make the Final Choice Around Carrying and Viewing
- 14. FAQ
Choose an Outdoor Light for the View You Need
A useful outdoor light makes the relevant detail visible from a sensible viewing position. A shed latch, the ground beside a gate, and several shelves inside an outbuilding call for different views. Start with that difference before deciding how much equipment to carry.
| Your usual check | A documented option | The practical tradeoff |
|---|---|---|
| Carrying one light for nearby tasks and occasional more distant viewing | Standard ArkPro | A flat, 115-gram light with separate Pure Flood and Spot selections; its published maximum beam distance is 205 meters. |
| Deliberately taking a larger light to inspect a wider area or a more distant object | Marauder Mini 2 | Separate floodlight, spotlight, and combined selections; published maximum spotlight distance is 750 meters, with a 465-gram carrying weight including the battery. |
The recommendations concern two ordinary handheld formats. Choose the first when carrying convenience is central to the purchase. Consider the second when the job justifies a larger light and its additional beam choices. Neither maximum distance promises that every object will be recognizable at that distance.
Before comparing a flashlight, write down the actual detail you want to inspect. “See the shed” could mean finding its outline, checking whether its door is open, or reading a small label on a container inside. Those tasks can involve the same building and require different viewing conditions.
Flood and Spot Serve Different Outdoor Checks
Flood lighting spreads illumination across a broader view. That can be helpful when the task involves several nearby objects: locating a dropped tool, checking the ground around a planter, or finding the correct shelf. You can see more of the immediate arrangement without repeatedly steering a small bright center from item to item.
A spotlight concentrates attention on a narrower part of the scene. Consider it when a particular object beyond the nearby working area matters, such as a gate latch viewed from a path. Keep the surrounding ground in mind when moving. A bright view of one distant object does not illuminate every step between you and it.
Both choices can be useful during the same trip. You might use broad light to walk to an outbuilding, direct a spot toward a particular hinge, and return to broader coverage when opening the door. The sequence follows the work. It does not require maximum output at every stage.
For a light with combined flood and spot, check the specifications for that combined selection separately. Its output and runtime belong to its own mode. Adding the largest flood figure to the largest spot figure would create a specification the product does not publish.
How Many Lumens Do Outdoor Checks Need?
No single lumen requirement fits every outdoor check. The size and distance of the object, the beam distribution, nearby reflective surfaces, and the detail you need all affect the choice. Start at a lower useful setting and increase output when the task calls for it. Compare intensity and beam distance alongside lumens when farther viewing matters.
| Published measure | What it describes | What to compare for this purchase |
|---|---|---|
| Lumens | The overall quantity of emitted light | Output for the exact flood, spot, or combined selection you expect to use |
| Candela | Peak beam intensity | How concentrated the brightest part of the beam is |
| Beam distance | A defined illumination threshold at a stated distance | The same measurement basis, plus the actual detail you need to see |
| Runtime and output stages | The duration associated with a mode or sequence of outputs | How much time is assigned to the useful stage, rather than only the total |
For example, standard ArkPro lists a 1,500-lumen Pure Flood maximum and an 800-lumen Spot maximum. Selecting the larger lumen number does not select the longer-reaching beam. The source and its distribution matter together. Keep those two white-light selections separate when reading a comparison or choosing a setting.
A useful purchasing question is whether the light has a lower setting you will actually use for nearby work. Maximum output may attract attention on a specification sheet, but reading a latch at arm's length and checking a distant object are different jobs. A controllable range makes the light useful across that change in distance.
The guide to brightness ratings and sustained output explains why initial maximum output belongs alongside the rest of a light's performance information.
Read Beam Distance as a Comparison Measure
Published beam distance helps compare reach, but read it alongside the beam's intensity and total output. NIST's explanation of the candela distinguishes luminous intensity in a particular direction, measured in candelas, from the total amount of visible light, expressed in lumens. These quantities answer different questions about the same light.
For either model, compare values for the exact beam selection you intend to use. As a practical purchasing judgment, a maximum-distance figure alone cannot establish the detail you will recognize or the safety of a route. Check the published beam selection and its output stages together.
Use the quoted distance to understand the intended difference between the two lights. Standard ArkPro publishes a 205-meter maximum; Marauder Mini 2 publishes a 750-meter spotlight maximum. These figures support a comparison of their stated reach. They do not turn either light into a guarantee of visibility through vegetation, around a corner, or under every weather condition.
Keep the viewing task specific when deciding whether more reach is worth carrying. Seeing a roofline and checking a small piece of hardware on it require different detail. If a tree branch blocks the object, a higher-output setting leaves the branch in the way. Change to a clear, safe viewing position before deciding that brightness is the missing ingredient.
For a recurring check, name the smallest feature that changes your decision: whether a latch is seated, whether a hose connection is visibly loose, or whether a label is legible. Inspect from the position you can safely reach, then decide whether a different beam or a closer view resolves the uncertainty. A light can help reveal the surface; a distant glance cannot establish the condition of hidden parts.
Avoid estimating usable distance by applying an unsupported fixed fraction to the advertised number. No single discount accounts for every object, background, and observer. Choose with some margin for the intended task, and confirm the view under the actual conditions before relying on the light for that task.
Runtime Matters at the Output You Will Use
Read every stage in a published runtime sequence. A high initial output followed by a lower output is a useful specification, but the total duration does not describe continuous operation at the initial maximum. The lower portion may be the part that serves most of an evening's work.
| Exact selection | Published output and duration | How to read it |
|---|---|---|
| Standard ArkPro, Pure Flood Turbo | 1,500 lumens for 4 minutes, then 520 lumens for 140 minutes | The 1,500-lumen stage lasts 4 minutes in this published sequence. |
| Standard ArkPro, Spot Turbo | 800 lumens for 4 minutes, then 400 lumens for 130 minutes | The spotlight has its own output stages and duration. |
| Standard ArkPro, Pure Flood Medium | 100 lumens for 13 hours | This belongs to the Pure Flood selection. |
| Standard ArkPro, Spot Medium | 100 lumens for 10 hours | The same lumen figure does not produce the same stated runtime in the other selection. |
| Marauder Mini 2, Floodlight L4-2 | 10,000 lumens for 2 minutes, then 25% of that output for 90 minutes | The published maximum is the short first stage. |
| Marauder Mini 2, Spotlight L1-2 | 100 lumens for 30 hours | This is a lower spotlight setting, not the mode associated with every maximum specification. |
These are published manual values for the named selections. Marauder Mini 2's manual states that its data were obtained indoors at 25 degrees Celsius without wind and that external temperature and ventilation can affect runtime. The conditions belong with the figures when planning outdoor use.
For longer work, identify a setting that supports the detail you need and plan around that setting. Keep enough battery available for the return trip and for reasonable delays. A check that usually takes a few minutes can turn into a longer search for the correct key, a dropped item, or the label you intended to read.
Standard ArkPro: A Flat Light for Frequent Carry
Standard ArkPro combines two different white-light beam choices in a flat body. The published dimensions are 124 by 27 by 16 millimeters, and its net weight is 115 grams. Those measurements make carrying fit a concrete question: check the actual pocket, organizer, or small bag where the light will stay between tasks.
The standard model provides Pure Flood and Spot selections, USB-C and magnetic charging, a two-way clip, and a magnetic base. For outdoor checks, the white-light choices allow a change between a broad nearby view and a more concentrated view without carrying a second handheld light. Use only a secure, appropriate attachment point if placing the light for a stationary task.
Pay attention to the model name when shopping. The shared product page and manual include ArkPro Lite, ArkPro, and ArkPro Ultra. The 1,500-lumen Pure Flood maximum, 115-gram weight, and runtime examples here refer to standard ArkPro. A different family member or configuration needs its own specifications.
An edc flashlight is useful when its carrying position makes it easy to retrieve during an ordinary chore. Try reaching it while holding the keys or other small item you normally bring outside. If retrieving the light means emptying the bag each time, the published dimensions have not solved the practical carrying problem.
Marauder Mini 2: More Reach With a Larger Handheld
Marauder Mini 2 provides floodlight, spotlight, combined spotlight and floodlight, red light, and side light selections. Its published maximum flood output is 10,000 lumens, and its maximum spotlight distance is 750 meters. The available selections suit a deliberate trip where you want a choice of views rather than only the smallest object in a pocket.
Its overall length is 133 millimeters, and the manual lists a 66-millimeter overall diameter. The product description separately lists a 43-millimeter body diameter. These describe different parts of the light. Measure the larger overall size when checking a storage space or carrying compartment; the grip diameter alone does not describe the room the head needs.
The 465-gram weight includes the battery. Consider that weight alongside the time you expect to hold the light and the other things you will carry. A compact body for its output still represents a different carrying decision from a 115-gram flat light. Put the complete load together before choosing a pouch or assigning the light to a household task.
The light uses a rotary selector, toggle switch, and rotary knob. Familiarize yourself with the controls in a well-lit place using the exact manual. Check how to select the intended white-light source, change brightness, and turn the light off. Choose the selection that supports the job; the presence of additional light sources does not make each one necessary for a routine outdoor check.
Check Controls Before Taking the Light Outside
Controls matter when the light has to share your attention with a door, a key, or an object you are inspecting. Before the first trip, learn the normal on/off operation and the route to the lower setting you expect to use. Confirm which selection is active before pointing the light toward a close surface.
Practice changing between the beam choices while standing still. On returning to the task, keep the light pointed away from faces as you select the appropriate output. A familiar control sequence can make a change in viewing distance easier, especially when the work moves between a nearby label and a farther object.
If gloves are part of the usual chore, include those exact gloves in the handling check. Check whether a seam catches on a clip and whether the controls remain easy to locate. Glove fit is personal; a general description of a textured body cannot establish how your gloves will interact with a particular button or knob.
Use the model's documented lockout when carrying it where controls could be pressed. Learn how to unlock it before relying on that storage arrangement. Keep the light outlet clear, and check that the light is off before putting it away. A bag pocket should hold the light securely without holding a control down.
For Marauder Mini 2, lockout activates automatically after the light has been off and untouched for 10 seconds. The manual documents two unlocking methods, with rotation of the button as the default. Learn the method currently selected on your own light. This matters if a chore includes several short stops: switching off at one door can leave the light locked before you reach the next door. Confirm how to resume illumination in a well-lit place before starting that route.
Clear Obstructions and Manage Nearby Reflections
The scene immediately in front of a flashlight affects what you can inspect farther away. Leaves, a hanging strap, a porch post, or the edge of a partly open door can block part of the beam. Look for those obstructions before increasing output or concluding that the light lacks reach.
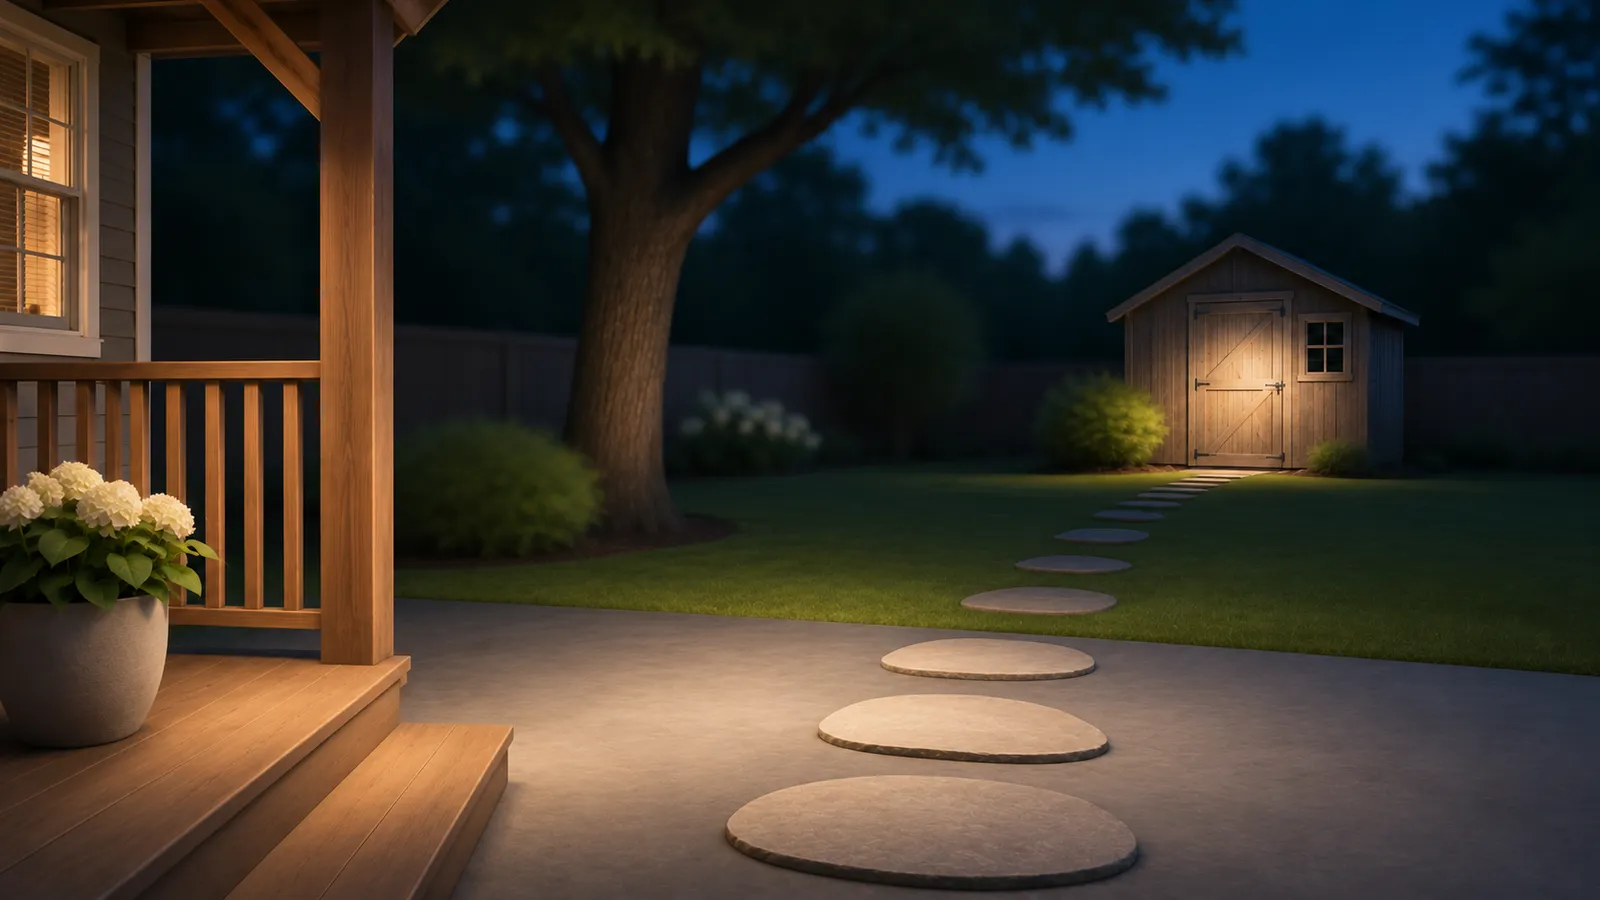
For a shed-door check, choose a position with a clear view of the detail you need. If the open door casts a shadow over a latch or hinge, change the light's angle while staying on secure footing. Moving a little closer or to the side may reveal the detail without requiring the highest setting.
Glass presents another practical limit. A beam directed through a nearby window may reflect toward you. Avoid pressing the light against the glass; choose a clear viewing angle where practical. If you need to read something inside an outbuilding, use a safe, accessible position rather than treating a reflection as proof that more output is required.
Think about other people in the scene, too. Keep direct beams away from faces, nearby road users, and neighboring windows. Reposition the light when another person comes into its path. The person holding the light sees a different view from the person standing opposite it.
Match the Setup to the Outdoor Chore
For a quick gate or shed check, keep the setup easy to carry and retrieve. Decide whether you need to see the general condition or a small specific detail. Take the key or other necessary item with the light, and check that you can manage both without putting the light on an insecure ledge.
For looking along a longer clear stretch of property, compare the spotlight specifications and the larger light's carrying demands. Observe from an accessible, stable position. Do not assume that seeing the end of a path makes its full surface suitable for walking. If you move, keep checking the nearer ground and obstacles along the way.
For reading labels or examining a close object, use an output that makes the text or surface easy to inspect. Change angle when glare hides the detail. A bright reflection from a glossy label is a reason to reconsider the view; it does not automatically justify a brighter setting.
When a chore requires both hands for an extended period, decide how the light will be supported before starting. A securely placed task light or a head-worn format may suit that work better. A handheld light remains useful for directing illumination independently of where your head faces, but it also occupies a hand unless appropriately supported.
Weather Ratings and Care Have Specific Limits
Standard ArkPro is rated IPX7; Marauder Mini 2 is rated IPX8. Keep those ratings attached to their exact models. A water-resistance rating does not supply instructions for charging a wet light or cancel the care requirements in its manual.
Read the stated operating temperatures as well. Standard ArkPro's shared manual lists an operating range of 0 to 45 degrees Celsius, while Marauder Mini 2's manual lists 0 to 40 degrees Celsius. These operating ranges should not be substituted for charging ranges. Follow the separate charging conditions for the exact light.
After use, look for dirt or moisture around the light and its charging area before returning it to its usual place. Follow the relevant cleaning and drying instructions. If the body, port, or cable is damaged, resolve the condition before making that equipment part of the next trip.
Keep the outlet clear during operation. ArkPro's manual warns against covering the light outlet at close range and against putting a hot light into a fabric bag or fusible plastic container. Give the light an appropriate place to cool before storage. A soft bag can be convenient to carry, but it should not become a cover for an operating or hot light.
Build Charging Into the Routine
A rechargeable flashlight needs a charging arrangement you can repeat. Keep the correct cable with the place where the light returns after use. Check the battery indication before the next outing rather than assuming that a brief previous trip left the charge unchanged.
Both standard ArkPro and Marauder Mini 2 support USB-C and magnetic charging, but the package contents and charging specifications need to be checked separately. Marauder Mini 2 includes a USB-C charging cable that also serves as a lanyard. Its manual lists the MCC3 magnetic cable as an optional accessory, not an included item.
For Marauder Mini 2, the manual gives about 3.5 hours for a full charge through the specified USB-C arrangement with 5-volt, 2.5-amp input. It lists about 6.5 hours for MCC3 charging. These are two published charging arrangements; they do not establish the time for every adapter or partially charged battery.
Do not plan a trip around charging gear that has not been checked with the light. Confirm the connector, cable condition, and power supply in advance. If a longer chore depends on uninterrupted illumination, prepare an appropriate backup rather than expecting the same light to serve the task and recharge elsewhere simultaneously.
Make the Final Choice Around Carrying and Viewing
Choose standard ArkPro when the priority is a flat light you can keep available through ordinary tasks, with two white-light beam choices for changing distances. Choose Marauder Mini 2 when the planned work justifies a larger handheld and its separate broad, concentrated, and combined selections. Compare complete dimensions and weight before deciding where either light will live.
Then compare the actual mode you will use. Keep the output stages together, check the source selection, and consider how long the work can reasonably take. A low setting, an accessible control, or a cable kept in the right place can matter more to a recurring chore than a maximum you use only briefly.
Before buying, answer three concrete questions: what detail must become visible, from where will you view it, and how will you carry and recharge the light? If those answers remain vague, identify the task more closely. They give the specification table a purpose and make the choice easier to live with after the first evening.
For other uses beyond outdoor checks, the eight-question flashlight selection framework helps organize carrying, power, and task requirements before narrowing the choice to a particular model.
FAQ
Changelog
- November 7, 2026: Product information and buying guidance reviewed.




