Table of Contents
Understanding IPX Ratings Before Testing
What You Need for DIY Waterproof Testing
Crucial Pre-Test Preparation (Don't Skip This!)
Test Method for IPX4, IPX5, and IPX6 (Shower & Spray Tests)
Test Method for IPX7 (The Immersion Test)
Test Method for IPX8: The DIY Challenge
What to Check After Testing
When Professional Testing Is Needed (And Warranty Warnings)
Conclusion: Know Your Flashlight's Limits
Frequently Asked Questions
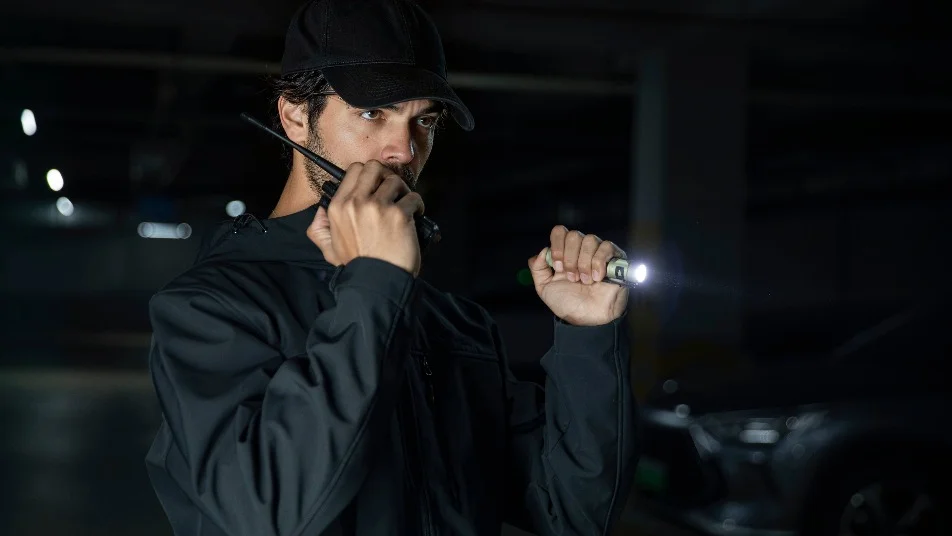
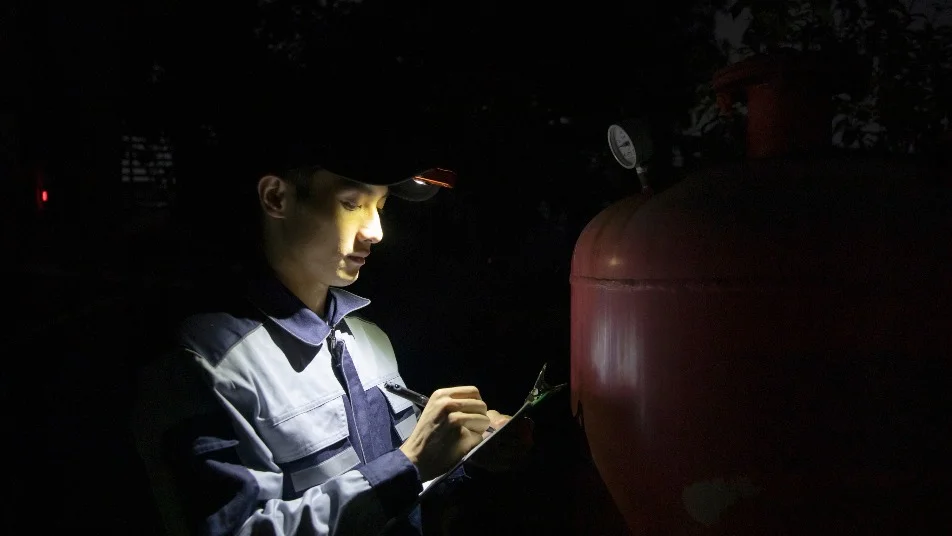
For outdoor adventure enthusiasts, a flashlight's reliability is often measured by its ability to withstand the elements. Whether you are navigating a rainstorm or accidentally dropping your gear into a stream, knowing the durability limits of your equipment is vital. Most premium lights, such as the ArkPro Series, come with specific IP ratings that guarantee protection against water ingress.
However, over time, waterproof seals can degrade, or you might simply want to verify the manufacturer's claims of a new device. This guide provides a systematic approach to test IPX rating levels at home safely and effectively, ensuring your EDC gear is ready for any harsh environment.
Understanding IPX Ratings Before Testing
Before attempting to test IPX rating capabilities, you must understand what the standard codes mean. The "IP" stands for Ingress Protection. The "X" usually indicates that the device hasn't been specifically tested for solid particle (dust) protection, while the following digit represents the precise water resistance level.
IPX4 & IPX5: Splash and Low-Pressure Jet Resistant
IPX4 protects against water splashes from any direction. IPX5 is more robust, resisting a sustained, low-pressure water jet spray. These ratings are standard for basic outdoor use but are not designed for full submersion.
IPX6: Heavy Spray Resistant
This level protects against high-pressure, heavy sprays of water. It is ideal for use on boats or in severe storms where water might hit the flashlight with significant kinetic force.
IPX7: Temporary Immersion (1 meter, 30 minutes)
IPX7 means the flashlight can be submerged in up to 1 meter of water for half an hour. This is a common rating for high-quality EDC lights and ensures reliable protection against accidental drops in shallow water.
IPX8: Continuous Immersion (Beyond 1 meter)
IPX8 is the highest standard rating, indicating the device can handle continuous immersion under conditions specified by the manufacturer (usually 2 meters or more). Many Olight models, like the Baton 4 Pro and Baton Ultra, are engineered to meet these rigorous standards.

What You Need for DIY Waterproof Testing
To perform an accurate home test, gather the following essentials:
- A clean bucket or bathtub (for immersion tests).
- A stopwatch or smartphone timer.
- A garden hose with a spray nozzle or a powerful showerhead (for spray tests).
- High-quality silicone grease for O-ring maintenance.
- Dry tissue paper or paper towels for leak detection.
- A measuring tape to verify depth.
Crucial Pre-Test Preparation (Don't Skip This!)
Testing a flashlight without proper preparation is the fastest way to ruin your gear. You must ensure the device is in its optimal sealed state before exposing it to water.
Inspect and Lubricate the O-Rings
Unscrew the tailcap and head (if applicable). Inspect the rubber O-rings for cracks, flattening, or debris. Wipe them clean and apply a thin layer of silicone grease. This ensures the rubber remains supple and creates an airtight seal.
The "Tissue Paper" Trick: Protect Your Electronics
Do not test with the battery inside initially. Instead, place a tightly rolled piece of dry tissue paper inside the battery compartment. If the seal fails during the test IPX rating process, you will only ruin a piece of paper rather than the internal circuitry or the battery.
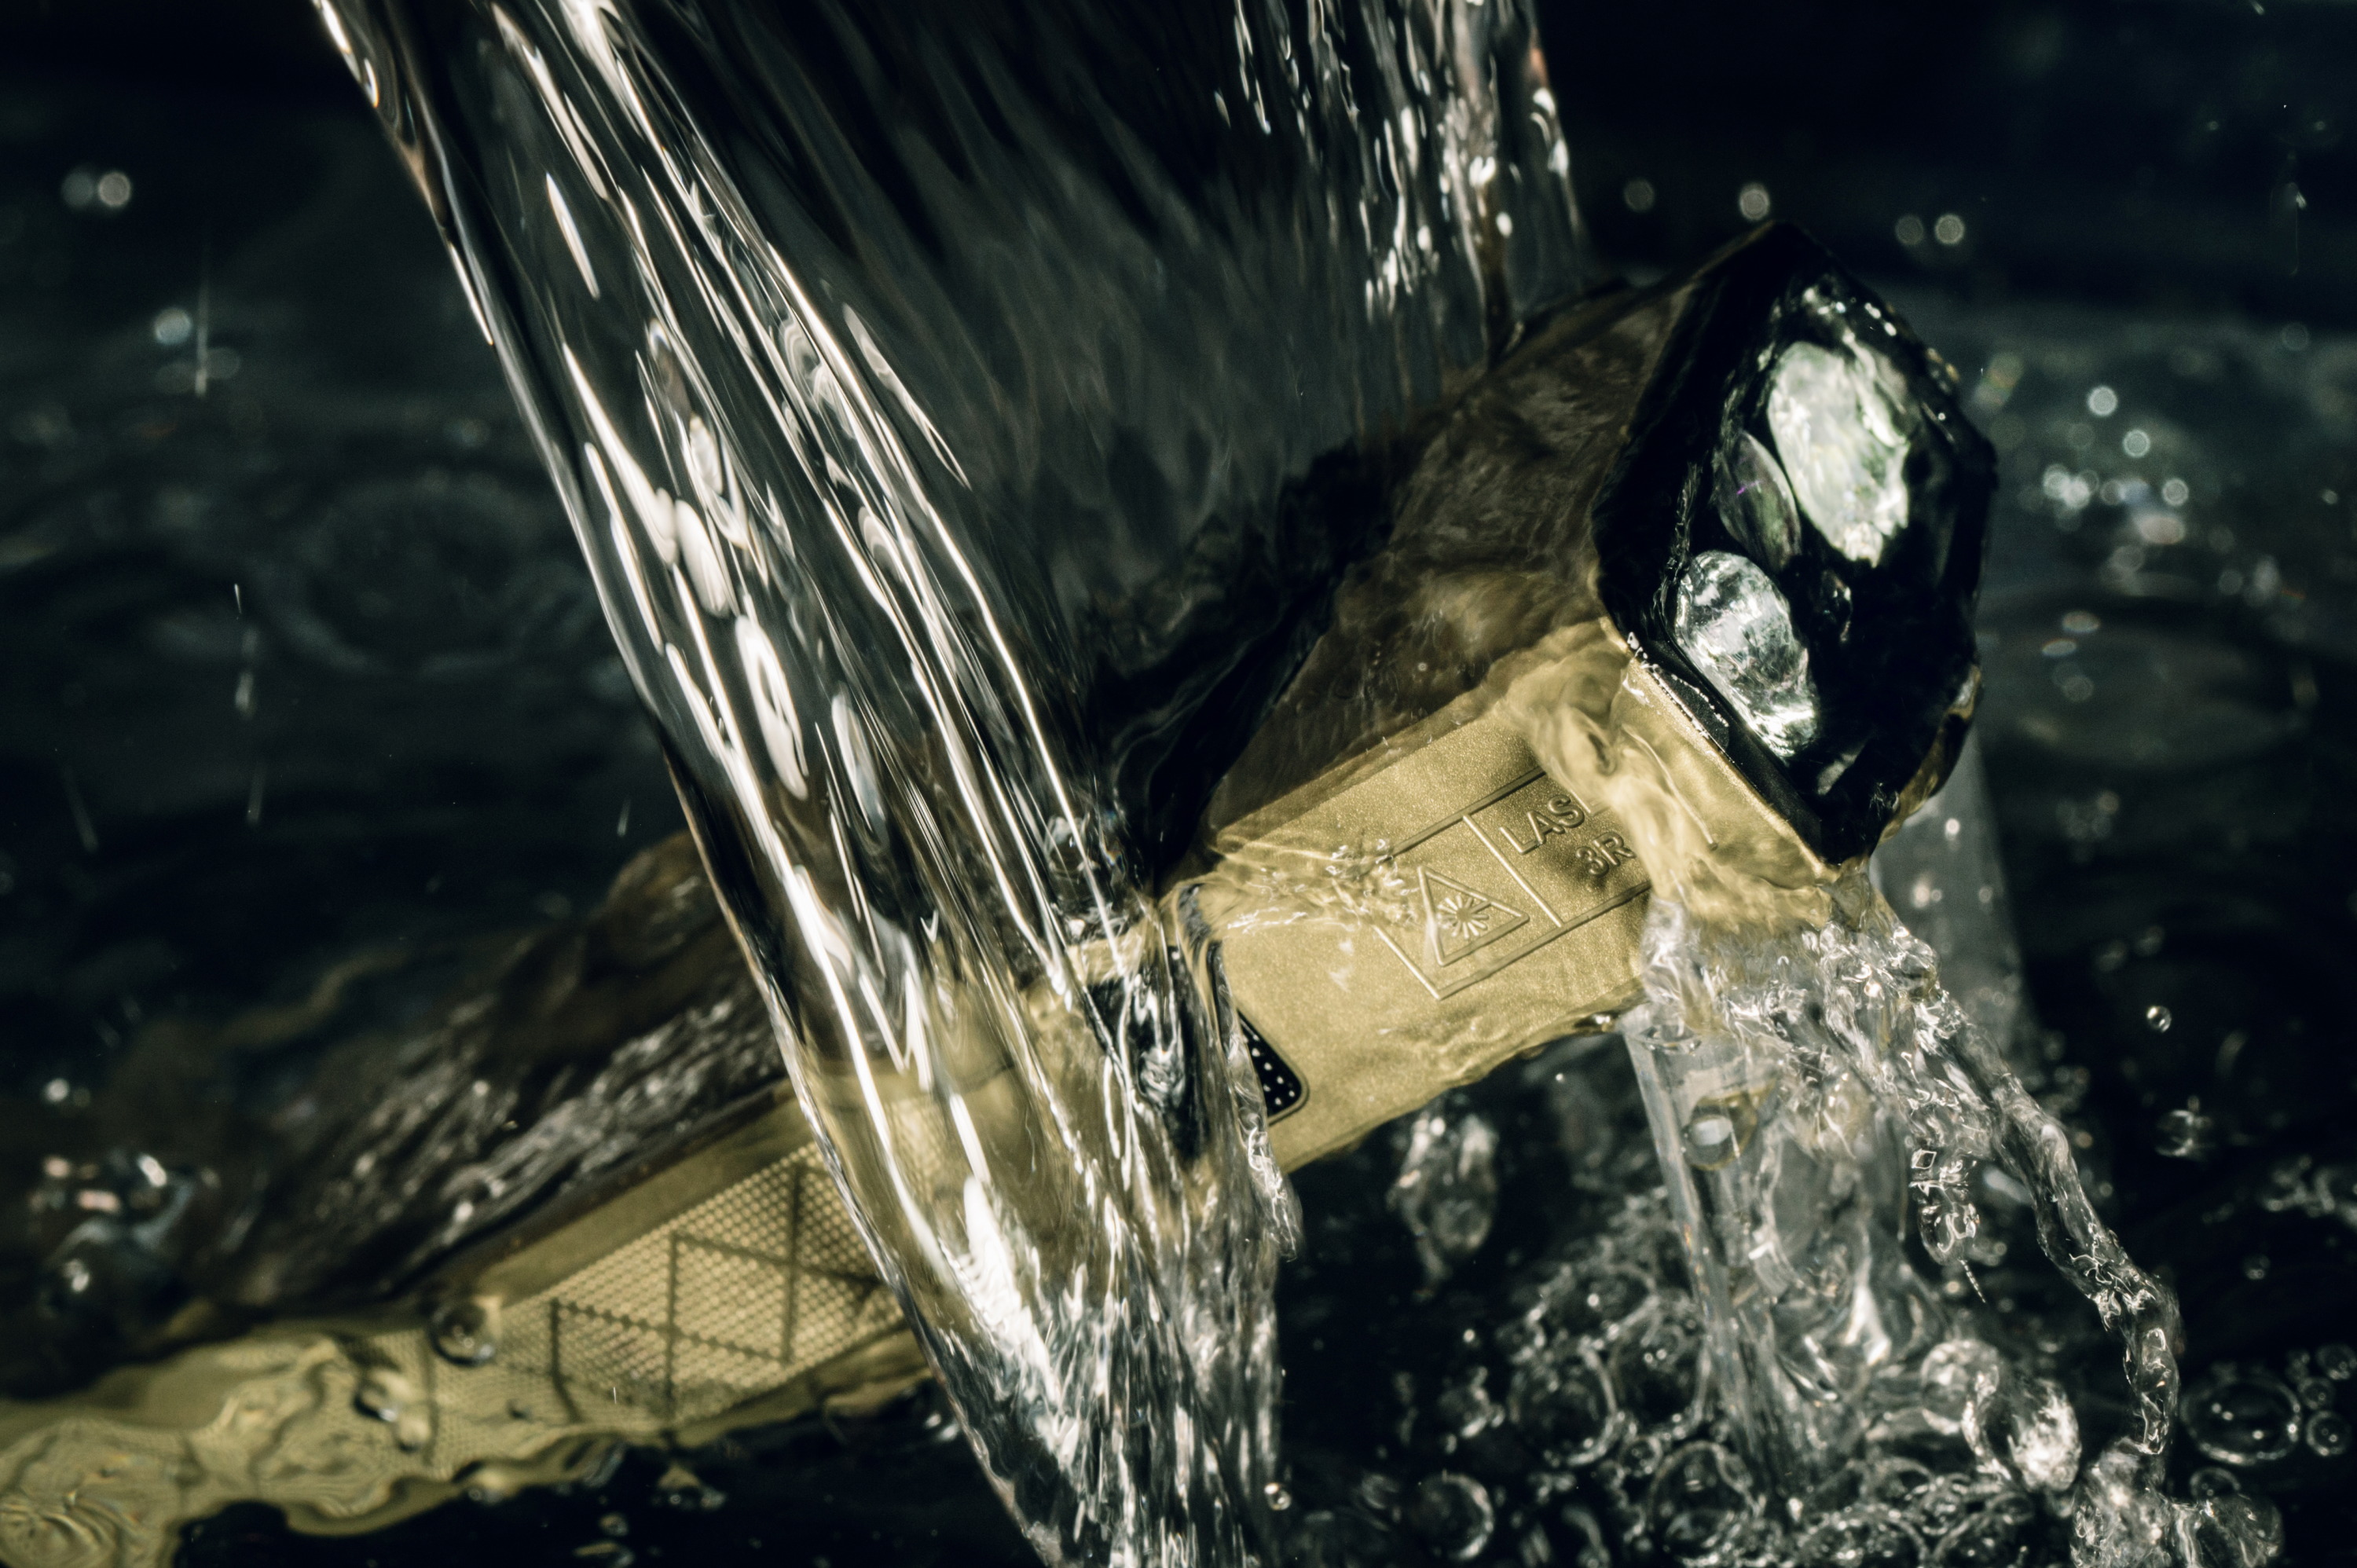
Test Method for IPX4, IPX5, and IPX6 (Shower & Spray Tests)
For non-immersion ratings, the goal is to simulate heavy rain or direct splashing from various angles.
- IPX4 Simulation: Use a spray bottle or a light shower setting. Move the flashlight so water hits it from all angles for 5-10 minutes.
- IPX5/IPX6 Simulation: Use a garden hose. For IPX5, use a medium spray from about 3 meters away. For IPX6, increase the pressure and reduce the distance. Ensure you target potential weak points like buttons, charging ports, and body seams.
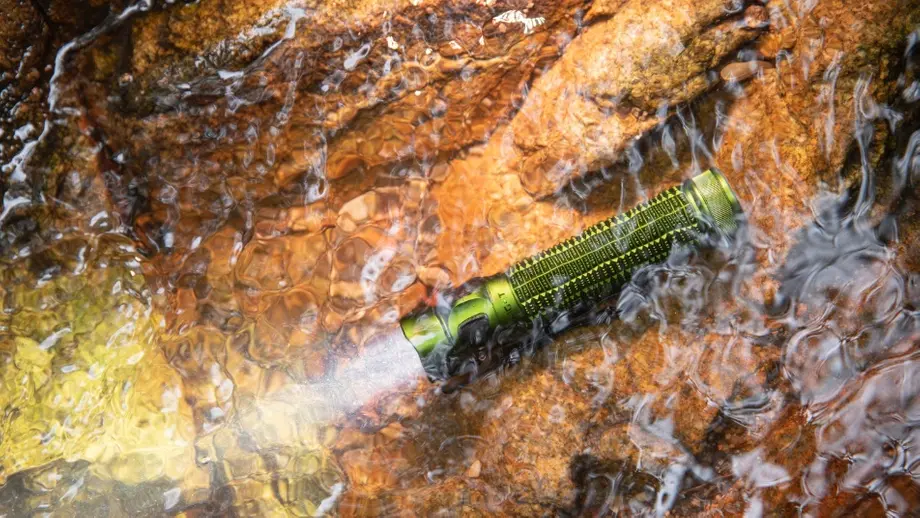
Test Method for IPX7 (The Immersion Test)
This is the most common home test for high-end tactical and EDC flashlights to ensure they survive a drop into a puddle or stream.
Step-by-Step Immersion Test (Using a Bucket or Bath)
- Fill a bucket or bathtub with cool water to a depth of exactly 1 meter.
- Gently lower the flashlight (containing the tissue paper) into the water.
- Start your timer for 30 minutes.
- Observe the light for any continuous streams of bubbles, which may indicate a seal failure.
Safety Precautions
- Temperature: Never use hot water. Heat can cause materials to expand at different rates, potentially compromising seals that would otherwise work in cool water.
- Static Buttons: Do not press the power button or rotate any selectors while submerged. Dynamic seals are often weaker than static seals; activating the light underwater can "pump" moisture into the casing.
Test Method for IPX8: The DIY Challenge
IPX8 is significantly more difficult to verify at home due to the specific physics of water pressure involved.
Why True IPX8 is Hard to Test at Home
The IPX8 rating implies a depth greater than 1 meter. In a home setting, 1 meter of water provides approximately 1.4 PSI of pressure. Testing at 2 meters requires nearly double that pressure. Most household containers aren't deep enough to reach these professional testing levels.
DIY Workarounds (Extended Immersion vs. Simple Pressure Chambers)
You can simulate IPX8 by leaving the light at the bottom of a 1-meter tank for 2-4 hours instead of 30 minutes. While this doesn't simulate the higher pressure of deep water, it tests the seal's resistance to long-term saturation. Some advanced hobbyists use PVC "pressure chambers," but this carries a high risk of catastrophic failure if not built correctly.
What to Check After Testing
The "test" isn't complete until you've performed a thorough post-immersion inspection to ensure no moisture bypassed the protective seals.
Water Inside the Lens or Battery Tube
- Dry the exterior of the flashlight completely with a soft towel.
- Open the battery compartment. Remove the tissue paper and check for any dampness.
- Examine the front lens. If you see fogging or droplets inside the glass, the front O-ring or bezel seal has failed.
Drying and Reassembling Your Flashlight
If you find moisture, leave the flashlight disassembled in a warm, dry place for at least 48 hours. Avoid using a hairdryer on high heat, as excessive temperature can damage internal components or degrade seals further.
Functionality Check
Once you are 100% certain the internals are dry, insert the battery and test all output modes. Check the charging port (especially on magnetic models like the Baton 4 Pro) to ensure the contacts are clean and fully functional.
When Professional Testing Is Needed (And Warranty Warnings)
DIY testing is educational, but it comes with inherent risks. Most manufacturers' warranties cover water damage occurring during normal use according to the rated specs. However, if you intentionally submerge your light to test IPX rating limits and it fails, some companies may view this as "misuse," potentially voiding the warranty.
Conclusion: Know Your Flashlight's Limits
Understanding how to test IPX rating levels at home provides peace of mind before your next expedition. By using the tissue paper method and maintaining your O-rings, you can verify your gear's readiness without unnecessary risk. Whether you carry a flat unibody light like the ArkPro Series or a compact powerhouse like the Baton Ultra, knowing its water-resistance limits ensures you are never left in the dark.
Frequently Asked Questions
1. Can I use salt water to test my flashlight's IPX rating?
It is not recommended. Salt water is highly corrosive and can damage both the finish and the seals. If you must test in salt water, rinse the flashlight thoroughly with fresh water immediately afterward.
2. How often should I check the O-rings on my waterproof flashlight?
You should inspect and lubricate O-rings every 3-6 months, or whenever you notice the threads feel dry. Regular maintenance is key to maintaining a true IPX8 rating.
3. Why did my IPX7 rated light fog up after a cold water test?
Internal fogging often occurs due to humidity trapped inside the light during assembly, rather than a leak. However, if droplets form, it indicates a seal failure. Always dry the light in a low-humidity environment.
4. Is an IPX8 flashlight safe for scuba diving?
Not necessarily. Most IPX8 flashlights are rated for 2 meters. Scuba diving involves much higher pressures. For diving, always use a dedicated dive light rated for specific depths (e.g., 30m or 100m).
5. Does changing the battery affect the flashlight's waterproof rating?
For flashlights with removable batteries (such as Baton 4 Pro and Baton Ultra), the waterproof rating remains unaffected as long as the O-rings are clean and the tailcap is tightened firmly. Be careful not to pinch the O-ring when reassembling.
For flat, unibody flashlights with integrated batteries (such as the ArkPro Series), the housing is permanently sealed and cannot be opened. The waterproof rating on these models remains secure unless the body itself suffers physical cracks or heavy impact damage.