


⚡ TL;DR
For camping tent lighting, start with a low, downward-directed task light and check the tent from outside before relying on it for privacy. Avoid placing yourself between a bright source and an exposed tent panel. For changing clothes, switch interior lights off first, with a portable light within reach for safe movement afterward.
📋 Table of Contents
- 1. Build a Small Tent-Lighting Kit Around Three Jobs
- 2. Understand the Light–Person–Tent-Panel Relationship
- 3. Can People See Through a Tent at Night With a Light On?
- 4. Where Should You Hang a Light in a Tent?
- 5. Compare Four Common Tent-Light Positions
- 6. Fabric Color, Coatings, and Layers Need an Actual Check
- 7. Does a Red Light Reduce Tent Silhouettes?
- 8. A Practical Lights-Off Sequence for Changing Clothes
- 9. Phone Screens Can Change the Outside View
- 10. Keep Light on Your Site and Off Neighboring Tents
- 11. Plan for Routes, Insects, and the Last Trip Outside
- 12. Keep Ventilation, Fabric Clearance, and Power in the Plan
- 13. FAQ
Build a Small Tent-Lighting Kit Around Three Jobs
Give separate thought to sorting gear, moving through the doorway, and lighting a shared sitting area. One overhead light may be convenient for unpacking but can illuminate much more fabric than the task requires. Start with the light you need at hand level or below, then add another source only when it solves a specific visibility problem.
| Job | Useful light type | Feature to prioritize | Suitable option or arrangement |
|---|---|---|---|
| Sort clothing or a backpack with both hands free | Adjustable headlamp | A usable low setting and a beam aimed at the work | Perun 3, which offers white and red modes |
| Keep light on a nearby task without wearing it | Adjustable clip light | Secure attachment and independent beam aim | Oclip 2 Pro, considered here as the standard light |
| Share a little background light | Adjustable battery area light | Modest output and a stable position | Place it where it cannot roll, tip, touch bedding, or block the exit |
| Walk out to the site or restroom | Portable light | Enough usable illumination to identify the route | Keep it within reach; raise output if terrain requires it |
The kit's useful minimum is determined by the actual task, not a universal lumen threshold for every tent. A pale inner tent, dark rainfly, reflective gear, and a crowded sleeping layout can all change the result. Choose settings by what you can see comfortably inside and what a companion can see from appropriate positions outside.
Perun 3's published white Moonlight setting is 5 lumens, while its lower red setting is 15 lumens. Those are different modes, not an equal-brightness comparison or a privacy rating. The figures make one practical point: the red option should not automatically be assumed to be the lowest-output choice. Check the selected mode and the tent itself.
Oclip 2 Pro's tilting head and rotating clip help separate where the light attaches from where its beam points. That is useful when a convenient attachment would otherwise aim the beam at the tent wall. Check that the support is secure and the light remains clear of fabric. A tent pole should not be assumed to provide a suitable magnetic mounting surface.
Understand the Light–Person–Tent-Panel Relationship
A silhouette becomes possible when your body interrupts light that would otherwise reach a visible tent panel. For that panel, the important order is light source, person, and fabric. Moving a light lower can change where the shadow falls, but it does not remove the light path. A low light pointed upward can still project a large outline.
Light source → person blocking the light → observed tent panel → outside viewer.
The University of Kentucky's explanation of shadow size and light-source position describes how an object close to a light can cast a large shadow on a more distant wall. Source size also affects how sharp the edges appear. Apply that geometry cautiously to a tent: fabric and multiple light paths make the real result more complicated than a classroom screen.
The panel of concern matters. A light near the doorway may illuminate the floor usefully, yet send a shadow toward another side of the tent. A light behind you may make the panel in front of you the screen. Think about which side faces the walkway or neighboring site instead of treating “near the door” as a position that guarantees privacy everywhere.
Diffused light can soften the edge of a shadow while still making a person's outline recognizable. A larger pool of ambient light may also make more of the tent glow. Softness and privacy are therefore different questions. Use the least extensive lighting that does the job, then check the result rather than choosing a large diffuse source solely because it feels less harsh inside.
Moving yourself also changes the arrangement. Check the position used for sitting, reaching into a pack, and standing to change clothes. A layout that looks discreet while everyone is seated may change when someone stands between the source and a different panel. This is a good reason to prepare clothing before switching the lights off.
Can People See Through a Tent at Night With a Light On?
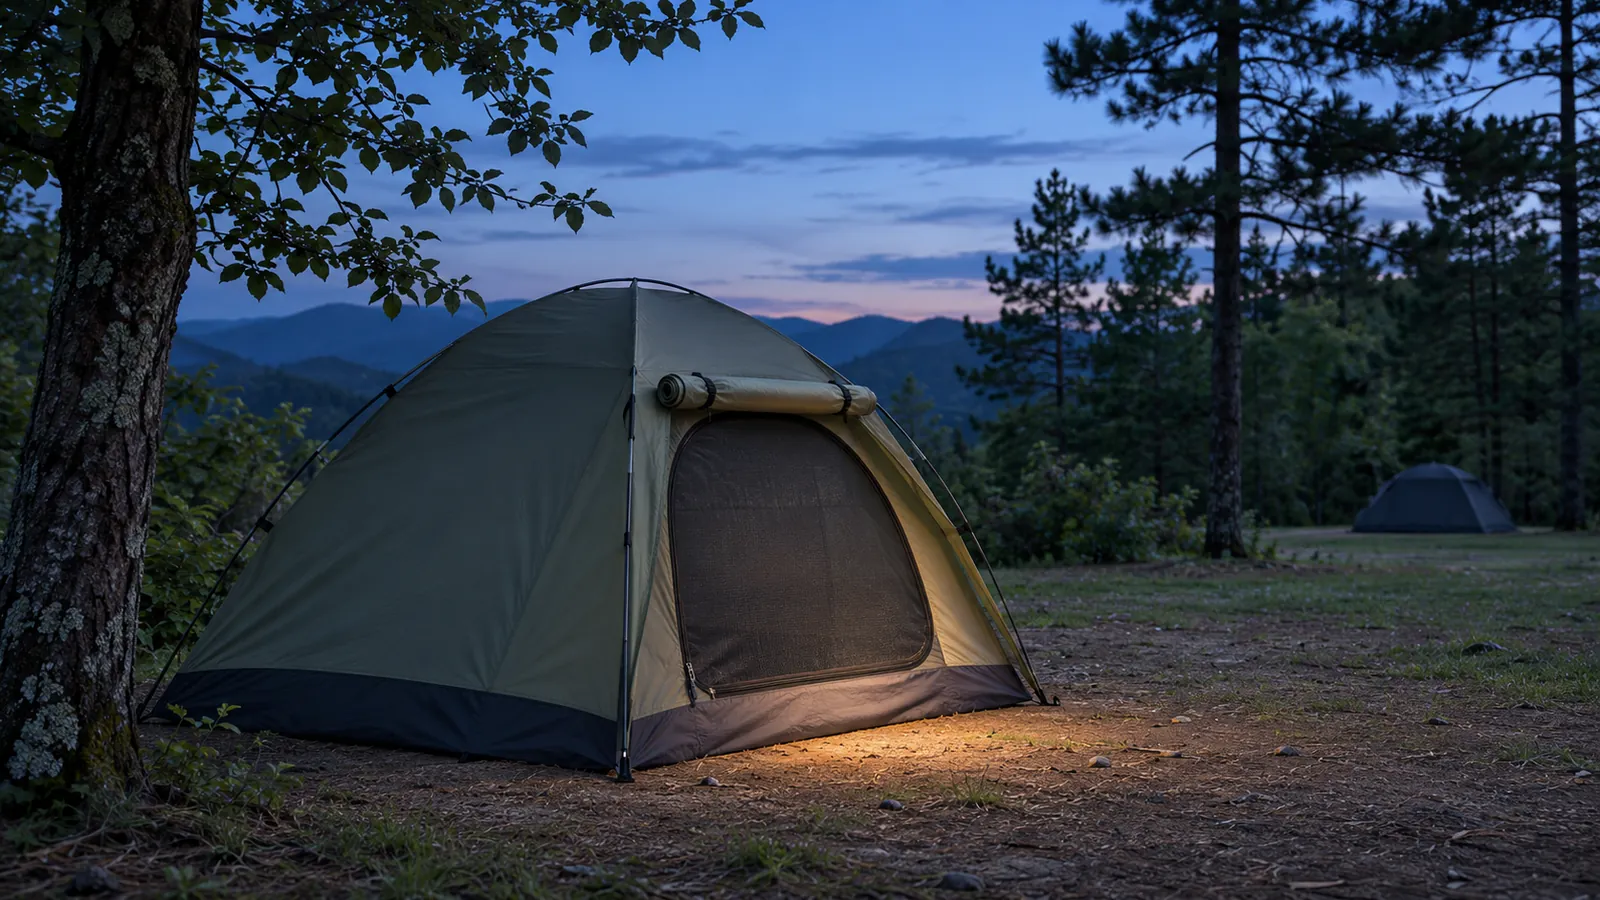
They may see shadows, outlines, or details through some tent materials and openings when the interior is illuminated. The result depends on the fabric, layers, lighting, and viewing angle. Do not treat a closed zipper or a dark-looking tent as proof of privacy. Check the actual setup from outside, and switch interior lights off before changing clothes if visibility is uncertain.
Check more than the wall nearest your sleeping pad. Look at the doorway, mesh sections, windows, and any panel facing a shared path. Close the tent's intended opaque privacy panels where available, while keeping the ventilation specified by the tent maker. Mesh is useful for airflow and insects, but it should not be treated as an opaque changing screen.
Have a companion check from within your own site or another permitted position, without entering a neighboring campsite. Begin with a normal view, not a camera zoom or an unusually close inspection of somebody else's space. The purpose is to understand your own tent's visibility from places people can reasonably pass, while respecting everyone's personal space.
Adjust one thing at a time: output, beam direction, lamp position, or the active fabric panel. This makes the next decision easier to understand. If the outline remains obvious, use the lights-off changing routine rather than trying increasingly awkward arrangements of clothing, bedding, or equipment around an operating light.
Where Should You Hang a Light in a Tent?
Use only a support intended to carry the light, and choose its position for the immediate task. Overhead hanging can work for general unpacking, but lower, downward-directed lighting may reduce unnecessary illumination of the walls. Keep the source clear of fabric and bedding, preserve the doorway, and inspect the outside result before relying on the arrangement for privacy.
Check the tent manufacturer's information about hanging points and loads. A small loop, mesh pocket, fly attachment, or improvised tie should not automatically be assumed to support every light. If there is no suitable hanging point, a stable floor-side position or a securely attached clip light may be more practical than suspending equipment overhead.
An entry-side position can help with shoes, zippers, and the first step out. Aim the useful part of the beam at those surfaces rather than across the doorway toward another tent. Do not attach a light where operating the door will pull it loose or change its aim. Check the arrangement with the door in the positions actually used.
Leave room for people to move without hitting the source. A suspended lamp near head height can be inconvenient when someone sits up or reaches for a pocket. Low placement also needs care: it should not sit where a foot will kick it across the tent. The best position must work for both the light path and ordinary movement.
Compare Four Common Tent-Light Positions
The four arrangements below solve different tasks and create different possible light paths. Their results depend on the tent and how each beam is aimed. A change in the direction of the beam may matter more than changing the light's height. Start with the arrangement that keeps the useful light on the work.
| Position | Useful task | Possible privacy drawback | What to adjust |
|---|---|---|---|
| Hanging near the roof | General unpacking or a shared overview | It can illuminate several panels and make the tent broadly visible | Lower output; use it briefly; switch to task lighting afterward |
| Low beside the sleeping area | Finding a zipper, shoe, or small item | An upward beam may still project a person's shape onto a panel | Aim toward the floor or task; keep the source stable and out of foot traffic |
| Side pocket or secure clip point | Sorting a specific bag or nearby gear | The pocket position may aim light directly into the wall | Re-aim the head; check support, fabric clearance, and the outside view |
| Headlamp aimed down | Hands-free packing or changing a small item of gear | The beam moves when the wearer turns or looks up | Reduce output; tilt down; pause before facing another person or opening the door |
Overhead light is convenient when several people need to find things at once. Once that job ends, consider whether the entire tent still needs lighting. A brief shared unpacking period followed by smaller task lights may suit the evening better than leaving one bright source overhead until everyone goes to sleep.
A low lamp can be easier to keep focused on a small area, but avoid assuming it is hidden simply because you cannot see the emitter from your sleeping pad. Check the door opening and the view from outside. A source tucked behind a bag may still illuminate the fabric beyond it, and the bag may not remain in place.
For clip lighting, inspect both the attachment and the beam after loading a pocket or moving a bag. Flexible material can shift when weight changes. The same principles of task light placement around people and objects apply here: the useful arrangement must survive the movements involved in the task, not just look tidy before anyone touches it.
Fabric Color, Coatings, and Layers Need an Actual Check
Different fabrics and constructions do not transmit light identically, but exterior color alone is not a dependable privacy specification. The inner tent, rainfly, windows, mesh, seams, and coated panels all form part of the arrangement. Without information for the actual tent, do not assign a numerical light-blocking advantage to a dark fabric or a particular coating.
Inspect the intended setup with the rainfly and doors arranged as they will be used that night. Checking only the inner tent at home may not represent the campsite arrangement. Equally, a closed fly does not solve an open view through a doorway or an uncovered window. Identify each opening rather than treating the tent as one uniform sheet.
If the tent has a purpose-designed privacy panel, learn how it closes without interfering with the mesh and ventilation system. Use the maker's intended fittings and airflow arrangement. Avoid draping extra material over vents, poles, or an operating light to create an improvised blackout layer. A lighting problem should not create a ventilation or contact problem.
Ask about privacy-related construction when selecting a future tent, but keep the question specific. Ask which panels are opaque, what happens when the interior is lit, and how ventilation works with the privacy panels closed. A color name, fabric weight, or attractive daytime photograph cannot answer those questions for every nighttime setting.
Does a Red Light Reduce Tent Silhouettes?
Red light can be a useful task-light option, but it does not prevent shadows or make a translucent tent opaque. Its effect on outside visibility depends on output, aim, fabric, and the surrounding darkness. Try an appropriate low setting and check outside. If the task requires dependable privacy, turn the interior source off rather than relying on its color.
Perun 3 provides separate white and red modes, so choose the one that lets you complete the actual task comfortably. Red illumination may make color-dependent sorting less straightforward. When distinguishing items or checking a route requires white light, use enough white light to do that job, aim it carefully, and turn it down or off afterward.
Warm white, red, and low white should not be presented as a universal privacy ranking. Warm light still passes through materials that transmit it, and red light can remain visible outside. A low mode's practical benefit is its smaller amount of emitted light relative to that product's higher modes, but the actual tent arrangement still determines what an observer sees.
The broader tradeoffs of red camping light include the task and other campers, not just a preference for a color. Avoid flashing, cycling colors, or music-linked effects at bedtime. A steady, modest setting is easier for the household to manage and less distracting to people nearby.
A Practical Lights-Off Sequence for Changing Clothes
Prepare the space while you can see it, then switch off the interior sources before changing. Put a portable light where it can be reached without searching, and clear the immediate floor. Close the intended privacy panels while preserving the tent's ventilation. If the darkness makes movement unsafe, pause and rearrange the task rather than stepping around loose equipment without adequate light.
- Find the clothing and put it in order within reach.
- Put shoes, straps, and hard gear outside the small movement area without blocking the exit.
- Check which lights and screens are still active, including another camper's headlamp.
- Close the appropriate privacy panels and turn the interior light off.
- Change without unnecessary movement, then restore task or route lighting when needed.
Agree on the routine if sharing the tent. One person unexpectedly turning on a headlamp can change the light path immediately. A simple verbal check before restoring the light is more reliable than assuming everyone has finished. Keep the arrangement easy enough to follow when people are tired, cold, or already settled in a sleeping bag.
The portable backup belongs in a known place, with its controls familiar before darkness. Do not bury it beneath the clothing being changed or leave it outside the tent. It should be available if someone needs to move safely, deal with a problem, or leave promptly. Privacy is a reason to manage illumination, not a reason to make the exit difficult to use.
Phone Screens Can Change the Outside View
A phone screen is another light source. Depending on its brightness and position, it can illuminate a face, nearby fabric, or another object that changes the outside view. Turning off a lantern does not automatically create darkness if two screens remain active. Include phones, watches, tablets, and other illuminated devices in the final privacy check.
Prepare necessary information before the lights-off period. If the phone is needed afterward, use a readable, modest brightness rather than holding a bright display toward the wall. Keep it somewhere stable and accessible. The screen should not need to become a makeshift floor light every time someone wants to find a zipper.
If using an app-controlled light, learn its basic controls and charging requirements before the trip. Avoid making a late-night connection problem part of the changing routine. A locally operated light and a familiar low setting can keep the task simple, while the phone remains available for communication rather than continuous lighting control.
Keep Light on Your Site and Off Neighboring Tents
Direct the light toward the task and turn it off when it is no longer useful. The National Park Service's campground lighting etiquette recommends keeping lights shielded and pointing down, with consideration for people trying to sleep or enjoy the darkness. Check the campground's own posted instructions as well, especially in managed dark-sky areas.
Before stepping through the doorway with a headlamp, check where its beam points. A downward setting suitable for packing may swing across a neighboring tent when you stand and turn. Lower your gaze or redirect the light before facing another camper. A headlamp's convenient movement is also the reason it can create unexpected glare.
Use a portable flashlight for a short route check if that gives better control over the beam. Keep the illuminated area on the ground you need to inspect. Do not sweep occupied tents to find the restroom path, and do not enter another site to look for a better angle. Ask staff about the route if it is unclear.
Consider the doorway as well as the lamp. An open door can give a direct view of a bright interior even when the side panels look subdued. Turn down the interior source before opening the door when practical, then use the portable light for the step outside. Restore only the light that people remaining inside actually need.
Plan for Routes, Insects, and the Last Trip Outside
Keep enough light to identify the path, tent stakes, guy lines, uneven ground, and the doorway. A very low setting useful beside a sleeping pad may be inadequate outside. Increase output when the route requires it, then reduce it again when the task is complete. A discreet campsite should still be one people can move around safely.
Check the route before bedtime, preferably while daylight remains. Know where the restroom path starts and which obstacles lie near the tent. Put footwear and the portable light in a repeatable location. If children or another camper need assistance at night, agree on how that will work before everyone is asleep rather than improvising across a dark campsite.
Lighting color is not insect protection. EPA notes in its mosquito-bite prevention guidance that yellow outdoor bug lights may attract fewer mosquitoes than ordinary lights, but are not repellents. Do not extend that limited statement to a promise that every warm or red camping light will prevent bites or keep all insects away.
Use the tent's intact insect mesh and keep the entrance closed as appropriate. EPA also recommends protective clothing and EPA-registered repellent when needed, following its label directions. Arrange the light before repeatedly opening the door to adjust equipment. Managing the entrance and using established bite prevention is more useful than selecting a color and assuming the problem is solved.
Keep Ventilation, Fabric Clearance, and Power in the Plan
Use battery lighting for tent tasks and keep it securely supported with the clearance required by its instructions. Do not cover an operating light with clothing, bedding, paper, or an improvised shade to hide its glow. Change output, position, or aim instead. Keep the tent's designed ventilation working rather than covering vents to make the walls look darker.
Fuel-burning equipment brings a different hazard. The Consumer Product Safety Commission's warning about camping heaters, lanterns, and carbon monoxide identifies deaths involving fuel-burning equipment in tents and warns against using fuel-burning portable heaters or lanterns while sleeping in enclosed areas. Do not treat an open vent as a substitute for following equipment safety instructions.
Keep cooking and fuel-burning equipment out of the tent lighting arrangement. An electric lamp does not need a flame to illuminate a small task, and a candle is not a useful privacy workaround. Keep the tent and its contents away from external heat sources, and follow the campground's fire rules and the tent maker's instructions for the actual site.
Charge the lights before leaving and pack the exact cables and accessories they require. Perun 3 uses an MCC3 magnetic charging cable; Oclip 2 Pro's standard light supports USB-C charging. Its Premium charging-dock configuration is separate, so do not assume the standard light has a dock's reserve. Check the equipment actually packed rather than planning around a different kit.
Put one usable portable light aside for the end of the evening. Turn off shared lighting when nobody needs it, while keeping the backup accessible. Before sleeping, confirm where the light, footwear, and door zipper are. That final arrangement should support both a quiet night and a straightforward departure if someone needs to get out.
FAQ
Changelog
- November 7, 2026: Product information and buying guidance reviewed.




