⚡ TL;DR
A festival camping setup works better when the group assigns separate jobs to shared camp lighting, personal lights and the walking space around tents. We recommend choosing our outdoor lighting around those jobs, then checking the event's current camping instructions. Give everyone a recognizable meeting location and their own way to see nearby details when the shared light is occupied or switched off.
Friends may arrive together and return from the festival at different times. The person who brings the canopy may leave before the person who owns the main light. Someone may want to eat while others are sleeping. Plan those changes with the equipment you will actually bring. A useful camp arrangement should remain understandable as people, bags and lights move through it.
📋 Table of Contents
- 1. Read the Festival's Camping Instructions Before Choosing Equipment
- 2. Map the Camp Before Placing the Lights
- 3. Plan the Walking Space Around Guy Lines and Stakes
- 4. Give the Canopy Light a Defined Shared Role
- 5. Marauder Mini 2 Provides Several Lighting Configurations
- 6. Check the Exact Marauder Mini Lampshade Package
- 7. Keep a Personal Light With Each Person's Belongings
- 8. Make the Crew Meet-Up Recognizable Without Relying on One Light
- 9. Choose Settings Around Occupied Tasks and Resting Neighbors
- 10. Prepare Power for Shared and Personal Lighting Separately
- 11. Prepare a Separate Bundle for a Late Arrival
- 12. Assign an Opening and Closing Routine for the Camp
- 13. Build the Kit Around the Group's Actual Gaps
- 14. FAQ
Read the Festival's Camping Instructions Before Choosing Equipment
Use the instructions for the particular event, camping area and ticket type you have booked. Look for information about the allocated space, canopy and tent arrangements, permitted lighting and power equipment, and any quiet-hours or access requirements. Keep the official wording with your packing notes. Rules supplied for another event or a previous visit need their own current check.
Record an unfamiliar requirement as a specific question for the organizer. A product being sold for camping describes its intended consumer use, while admission and use at a particular event belong to that organizer's instructions. Confirm the item by its actual type and function instead of relying on a vague description such as camp equipment.
Make one person responsible for keeping the group's current information available, while everyone retains the details needed for their own arrival and return. Include any official campsite identifier when one is assigned. A screenshot or written note can help the group refer to the same instructions while discussing what will fit in the space and which equipment will be shared.
Map the Camp Before Placing the Lights
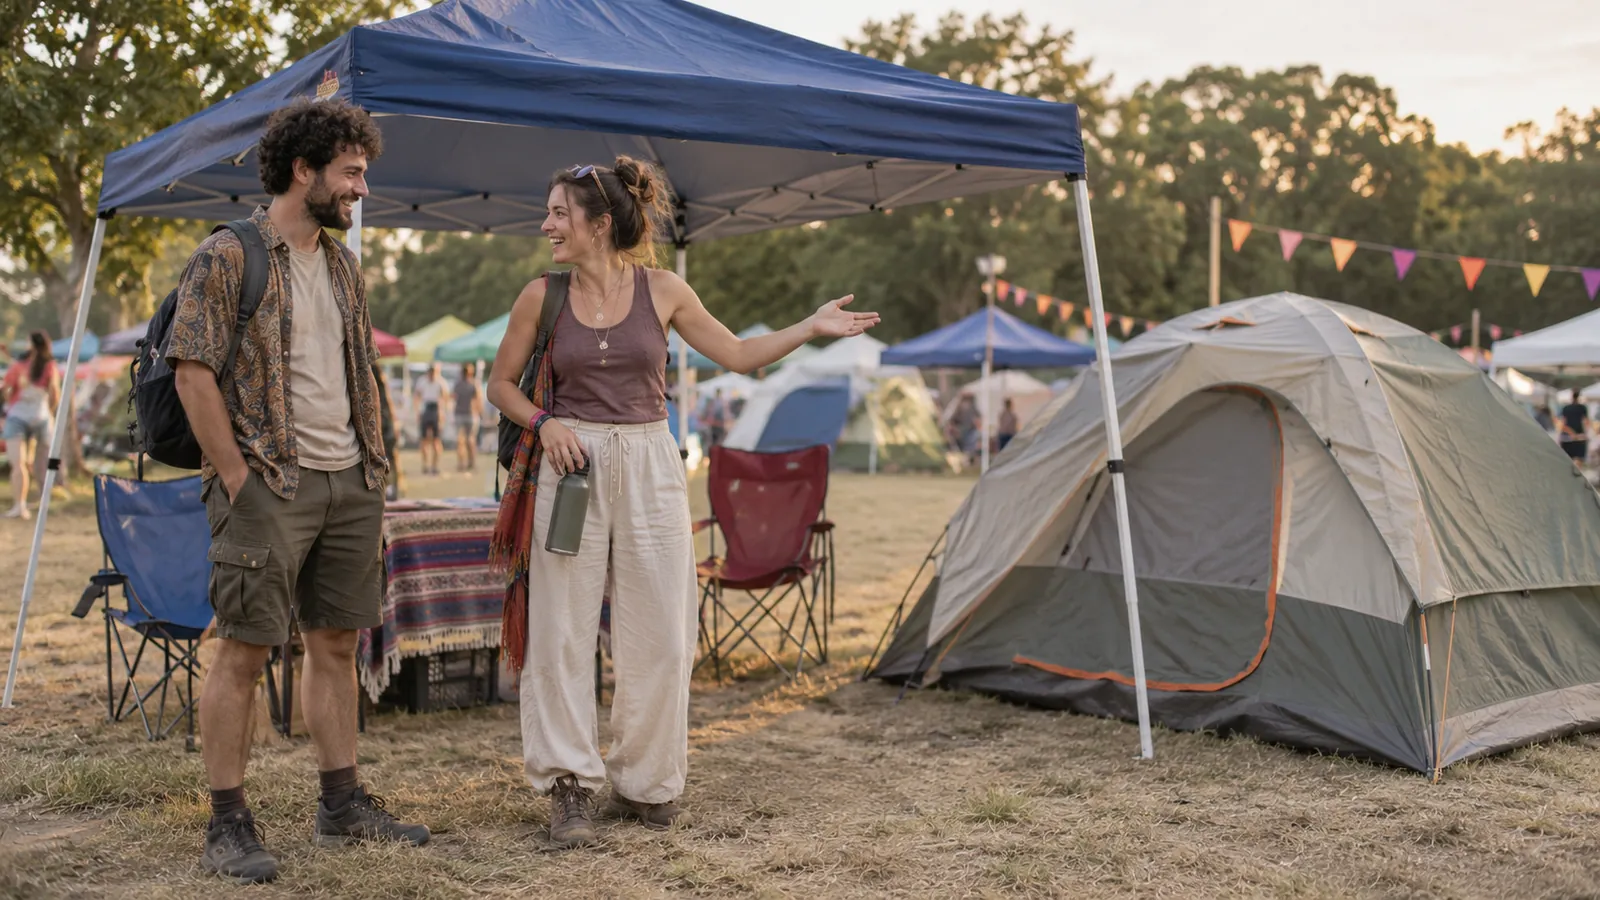
Sketch the actual arrangement once the assigned area and equipment are known. Mark the tents, canopy, table, bags and the ordinary route between the entrances. Include the space taken by guy lines and their anchors. A canopy's usable interior and the ground occupied by its supporting lines are different parts of the arrangement to account for.
Discuss where people will put their bags when they return. A clear area during setup can later become a pile of shoes, chairs and equipment cases. Give those objects a return location outside the intended walking space. Place a shared table where someone using it can sit or stand without making others step through the tent supports to pass.
Choose the meeting location as part of this layout. It might be the group's agreed side of the canopy or another clear position permitted by the event. Keep the description specific enough for someone returning to recognize it. A bright object alone leaves questions about which side to approach and where a late arrival should put their belongings.
| Camp area | Lighting job | Group decision |
|---|---|---|
| Shared canopy or table | See food, labels and belongings nearby | Which light stays available and who manages it |
| Tent entrances and support areas | Inspect the ground and the actual layout | Where people walk and where loose items return |
| Individual movement | See personal belongings and nearby details | Which complete light each person carries |
| Agreed meeting location | Recognize the chosen place | How everyone identifies it if the light changes |
Plan the Walking Space Around Guy Lines and Stakes
Inspect the actual support lines and anchors while setting up the camp. Identify where they extend beyond the fabric and how they relate to the route between tent entrances, the table and the agreed meeting position. Follow the tent and canopy manufacturers' directions for their structures. Include the complete support arrangement when deciding where people will walk.
Use a personal light to examine the relevant section of ground when the surroundings become dim. Check the entrance, the line extending from it and any belongings that have appeared nearby. A view of one small patch gives information about that patch. Continue accounting for the rest of the route as you move or as the group changes the camp arrangement.
Visible markers can make a support easier to notice when those markers suit the equipment and event instructions. Keep any added item consistent with the tent's intended use. A marker, reflective detail or small light remains one part of identifying the support. Choose a route that gives the actual lines and anchors room, and keep ordinary loose belongings out of that route.
After moving a chair or returning with a bag, look again at the walking space. A plan made earlier can change when people settle in. Tell the group about a changed position instead of assuming everyone saw the adjustment. If the layout needs revision, use the event and equipment instructions to guide that change while the relevant details are visible.
Give the Canopy Light a Defined Shared Role
Decide what the shared light needs to illuminate. Eating at a table, sorting belongings and reading a label are different from lighting the entire camp. Place the useful light around the occupied task area and the intended viewing positions. Look at the actual table and seating arrangement before choosing the normal setting you expect the group to use.
Keep the light's position compatible with the equipment involved. A tabletop arrangement needs an appropriate place that remains available while people eat or unpack. A suspended arrangement requires a suitable product, accessory and supporting structure with instructions that cover that use. Check those components together before treating the canopy frame as a place for any lamp or attachment.
Assign access to the normal control. The person responsible for the light should be able to identify it, reach it and restore the agreed setting after a change. Keep food, drinks and loose bags arranged so that the light and its required accessories retain their intended position. Include that placement in the group's setup description rather than leaving it to whoever arrives first.
Marauder Mini 2 Provides Several Lighting Configurations
Our Marauder Mini 2 has five documented lighting configurations, including floodlight, spotlight, a combined flood-and-spot option, red light and side light. These give you different functions to consider for camp tasks. Select the function relevant to the occupied area and use the exact model's instructions when preparing it.
The current US description lists a maximum flood output of 10,000 lumens and a spotlight throw rating of 750 meters. Keep those specifications with their respective functions. A nearby shared table calls for a separate choice of useful setting, position and viewing direction. The largest figure on the page gives limited information about the arrangement a group will prefer under a canopy.
Marauder Mini 2 is listed at 133 mm long with a 43 mm body diameter. It uses a rotary selector, toggle switch and rotary knob for its functions and brightness choices. Identify those controls during preparation and keep the model name with the instructions. The original Marauder Mini and Mini 2 have different documented configurations, even though a separately sold accessory may name both as compatible.
The Mini 2 manual has a separate side-light table, with published levels including 5 lumens at L1 and 25 lumens at L2. These provide concrete lower settings to consider for nearby shared tasks. Check the chosen function and level in the matching instructions, and look at the actual surface people will use. Keep both details with the group's handover note so that someone returning the light can restore the intended shared setting.
Check the Exact Marauder Mini Lampshade Package
The Marauder Mini series lampshade names Marauder Mini 2 and Marauder Mini as compatible products. Its current US listing gives a diameter of 63 mm, a height of 115 mm and white polypropylene board as the material. Use that exact compatibility description when checking the light already owned by someone in the group.
The accessory listing includes the lampshade only. The flashlight shown with it is for display and is sold separately. Keep the lamp and accessory as separate items in the packing record. If one friend owns the light and another brings the shade, confirm both exact products and the handover before counting the combination as part of the shared camp equipment.
Prepare the combination with the applicable product and accessory directions available. Decide where its complete arrangement will remain while the table is being used. Keep the chosen setting and placement within the guidance for those items. A compatible shade gives you an accessory option to assess for the camp plan, while the event's requirements and the supporting arrangement still need their own check.
Keep a Personal Light With Each Person's Belongings
A shared camp light belongs to a particular place or person at a particular time. Give each member of the group a complete light that they know how to use for their own nearby tasks. A personal light can help them read a bag label, inspect the tent entrance or find an item while the canopy light is being used elsewhere.
Choose its carrying position with the actual clothes and bag. A light in a designated accessible pocket is a different arrangement from one packed below a blanket and food container. Identify where it returns after each use. That makes it easier to collect the same complete item when leaving the camp again or when changing between a day bag and a sleeping area.
Oclip 2 Pro offers a documented clip format, with a head that tilts through 115 degrees and a clip that rotates through 360 degrees. Its white flood, spot and red functions belong to one device. Use the position and function that serve the immediate task, and keep the actual support and control access in view when considering a clip arrangement.
The current US description also identifies tail and clip magnets for work-light positioning. Follow the exact product's guidance when choosing a surface or attachment. A mechanical clip, magnetic placement and handheld use involve different contact points. Decide which arrangement is useful for the person's belongings and the equipment that will actually be present at camp.
Make the Crew Meet-Up Recognizable Without Relying on One Light
Agree on a description that everyone can repeat. Include the official camping area or assigned identifier when available, the chosen meeting position and the ordinary approach within the camp. Share the description before the group separates. A person who leaves early should receive the same information as someone who helped place every tent and chair.
Add a fallback for changes in the camp arrangement. The light's owner might leave, a table might move or the shared light might be switched off while people sleep. Keep the written meeting details and the group's agreed communication method with each person's belongings. The plan should still identify the place when a particular lighting setting is unavailable.
Decide how a late returner will let the group know they have arrived. Use the event's current instructions and the group's actual circumstances when choosing the arrangement. Keep access to tents and shared belongings clear. A meeting light is a useful feature of a camp, while the shared description tells people what that feature means and where they are expected to gather.
Choose Settings Around Occupied Tasks and Resting Neighbors
Discuss the task before changing the shared setting. Someone eating at the table may need a view of the surface, while another person nearby is preparing to sleep. Consider the direction and position of the light along with the output choice. Moving the useful area closer to the occupied task can change what the person sees and where the light falls.
Keep the normal on-and-off operation and chosen function clear to the people sharing the device. Different models use different controls and can remember settings in different ways. Review the matching instructions before handover. Tell the next person which state the light is in instead of expecting them to reproduce a sequence from another flashlight.
Use the actual event instructions for any quiet-hours or lighting restrictions. Avoid replacing a specific requirement with a general camping slogan. The useful preparation is to know which activities will continue after others rest, which personal light can serve them and who is responsible for changing the shared arrangement when the camp's needs change.
Prepare Power for Shared and Personal Lighting Separately
Record the exact light, its matching charging parts and the person responsible for preparing it. Marauder Mini 2 supports USB-C and MCC charging, and its lanyard also serves as a USB-C charging cable. Check the actual components belonging to the version you intend to bring. Keep the dual-purpose lanyard's place in both the carrying and charging plan clear.
Oclip 2 Pro also supports USB-C and MCC charging. Its Premium version includes a mobile charging dock, while the matching MCC cable is an optional accessory. Confirm the actual package before comparing it with a light-only arrangement. A component shared between friends needs an agreed return location and a person responsible for restoring its charge.
A festival's available power facilities depend on the actual event and camping arrangement. Check what is offered, what you are permitted to bring and where any shared power equipment will remain. A familiar connector name alone leaves questions about the complete route from the power source to each light. Keep the correct cable with its model and follow its instructions. Our flashlight charging guide explains the model-specific interfaces and routine care in more detail.
Choose settings using the published mode information for the exact light and the intended use. A maximum-output claim and a long low-mode runtime describe different operating choices. Account for the periods when the shared light serves the table and the shorter periods when people inspect personal belongings. Prepare any required additional power as a separate item with a clear owner.
Prepare a Separate Bundle for a Late Arrival
Someone arriving after the main group has unpacked needs a practical handover. Agree where their own tent, sleeping items and personal light will be kept, and which pieces of shared equipment will already be in use. Keep that person's essential arrival items together so that collecting them leaves the shared camp arrangement intact. Include the agreed return location for any borrowed item.
Describe the access to those belongings in the same terms used for the camp layout. Identify the correct tent entrance and the place where the person can put a bag while sorting it. If an early arrival is keeping the light or tent components, decide when that person will be available. A clear location record can be useful even when the whole crew expects to meet later.
Show the late arrival which items are personal and which remain shared. A light sitting beside an unused chair may already be assigned to the canopy table, and a cable in an open pouch may belong to another person's device. Resolve the ownership before collecting the equipment. This keeps a convenient handover from unexpectedly removing the light someone else is using.
Allow room for packing and unpacking at that time. A closed bag placed in the middle of a route still occupies the space, even if its owner intends to move it shortly. Choose a temporary sorting place as part of the arrival plan, then restore the ordinary route when the belongings have been distributed. Tell the other members where the late arrival's equipment has gone.
Assign an Opening and Closing Routine for the Camp
When the group finishes setup, walk through the ordinary arrangement while the details are visible. Identify the tent entrances, support areas, table, shared light and meeting position. Show each person where the personal light and necessary items belong. Address an unclear location or missing accessory while the responsible person is still available.
Repeat the relevant checks after a substantial change. A new arrival, a moved table or a different tent arrangement can affect the space people use. Ask the person making the change to tell the others what moved. Keep the current setup description accurate enough for a friend returning later to understand where their belongings and the agreed meeting location will be.
Before leaving the camp for the day, decide which shared equipment stays and who keeps responsibility for it. Use the event's instructions and the owners' actual arrangements. Account for lights, cables, shades and personal items separately. A flashlight serving the meeting area may also be someone's personal device, so identify which role takes priority before that person leaves with it.
When breaking camp, collect the light and its matching parts before folding or removing the structure around them. Check the table, tent entrances and the places used for small accessories. Return borrowed items to their owners, follow the relevant care instructions and identify anything needing attention. Keep the light available for the remaining ordinary packing tasks until those tasks are finished.
Build the Kit Around the Group's Actual Gaps
For broader product and budget comparisons, our festival camping lighting guide covers equipment choices for the topic. Use current product and package information when considering a purchase. This setup plan focuses on how the chosen items are assigned, placed, shared and collected throughout the visit.
Avoid counting several functions on one flashlight as several independently available lights. Marauder Mini 2's configurations share one device, and a compatible shade remains an accessory to the selected light. Count the complete devices the group can actually use at the same time. That gives the packing list a clearer relationship to the people and tasks it is intended to serve.
FAQ
Changelog
- November 6, 2026: Product information and buying guidance reviewed.