⚡ TL;DR
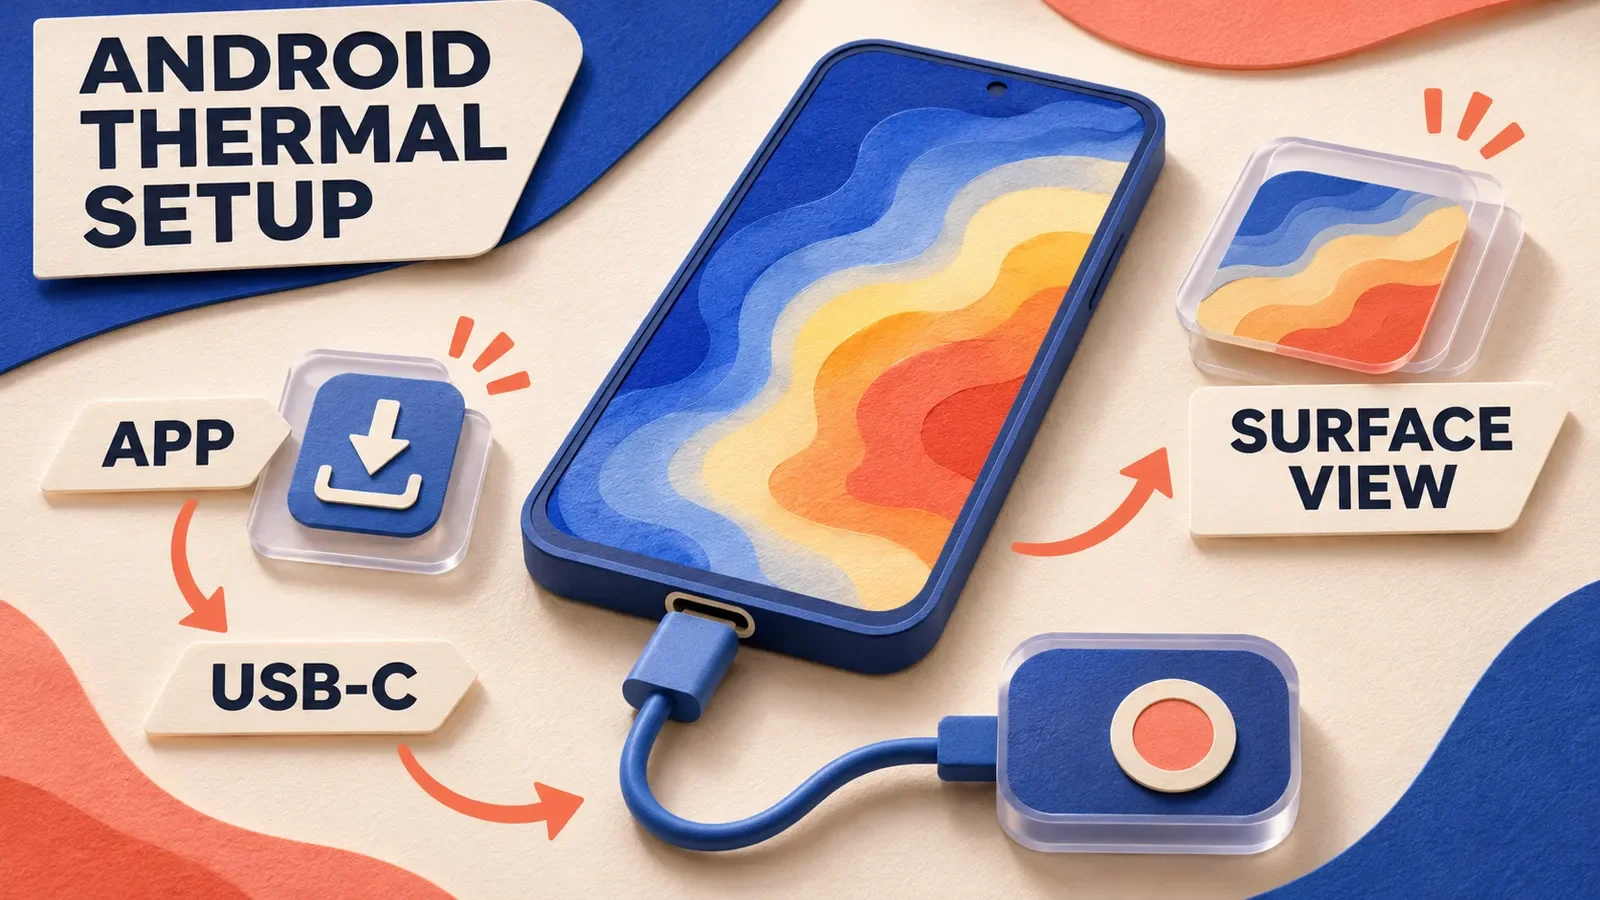
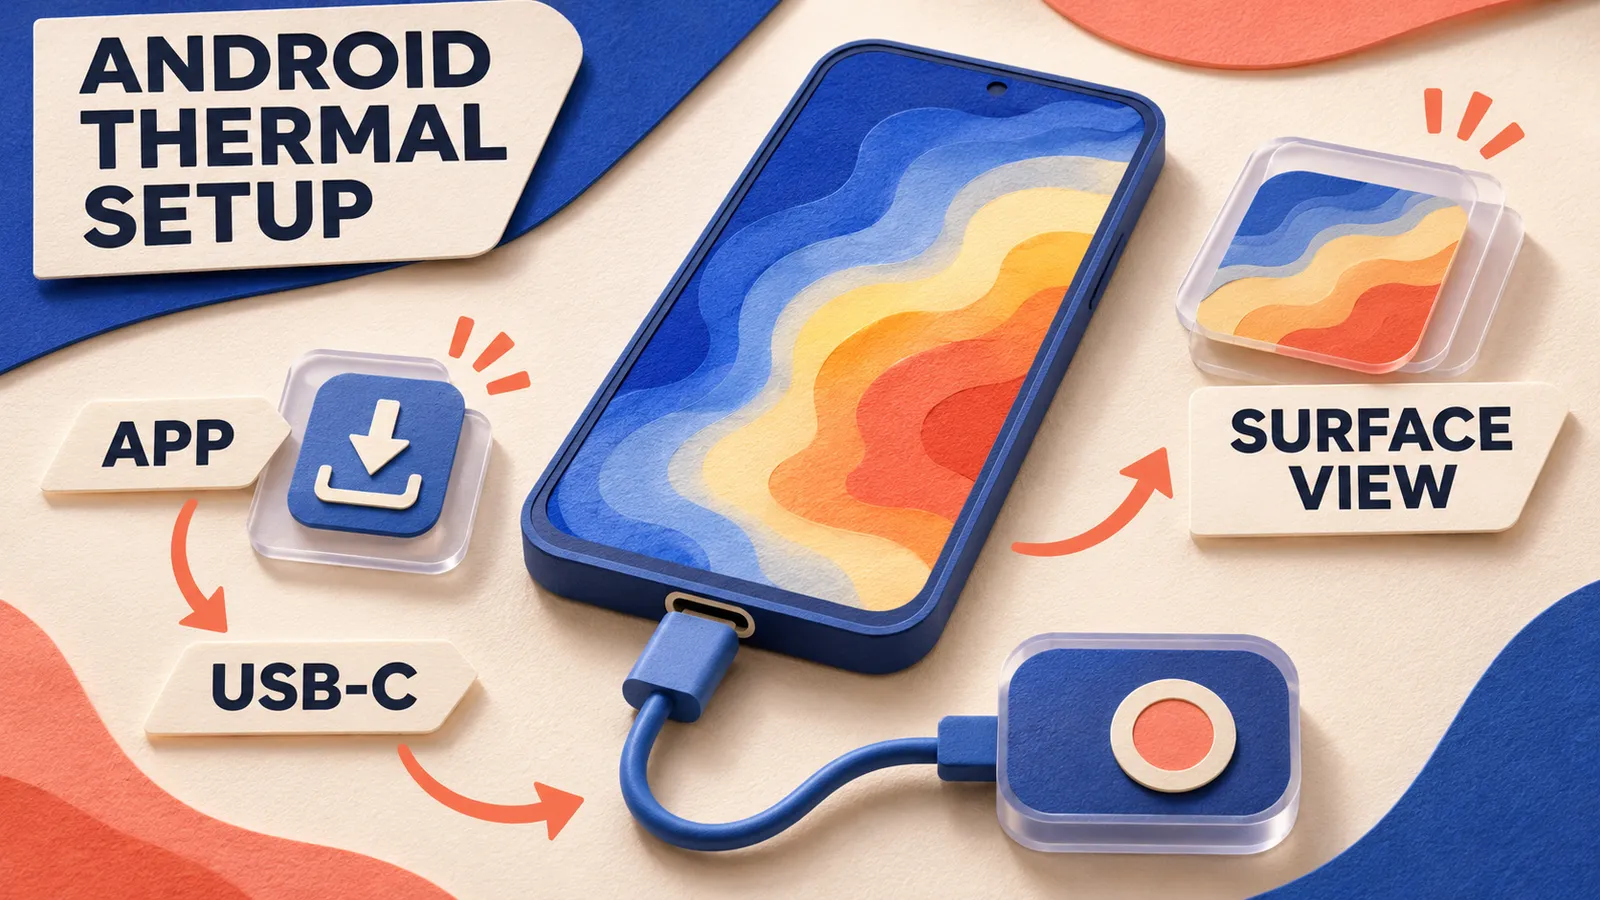
For TC001 Max Android setup, install and launch TOPDON's Topinfrared app, connect the camera through USB-C and follow the permission prompts. If the image does not appear, check OTG, USB access and competing camera apps. Your first useful scan should establish what surface you are viewing and which settings belong with its image.
📋 Table of Contents
- 1. Confirm the Android Thermal Camera and Its Host
- 2. Which App Does TC001 Max Need on Android?
- 3. Choose the USB-C Connection for Your Phone Arrangement
- 4. Complete USB and Storage Permissions Deliberately
- 5. Why Won't TC001 Max Show a Thermal Image on Android?
- 6. Recognize the TC001 Max Automatic Shutter Refresh
- 7. Use Image Calibration for Ghosting or Halos
- 8. Choose a Simple Surface for the First Indoor Scan
- 9. Set Measurement Conditions Before Comparing Temperatures
- 10. Separate Thermal Resolution, TISR and Visible Detail
- 11. Use Palettes and Rotation to Make the Record Readable
- 12. Place Temperature Tools on the Part You Intend to Compare
- 13. Save a Photo or Video With Enough Context
- 14. Plan Phone Power and Protect the Camera Between Sessions
- 15. FAQ
Confirm the Android Thermal Camera and Its Host
Our OSelect range includes the TOPDON TC001 Max thermal imager. TOPDON makes this camera and its software. The module combines an infrared lens with a separate visible-light lens and uses a connected host for viewing. Its published compatible systems include Android, iOS and Windows. This guide follows the mobile-device instructions for an Android setup.
Identify the exact model before downloading software or following a troubleshooting instruction. TC001 Max has its own manual, connector arrangement and application guidance. A similarly named thermal camera can have different host requirements. The connector on a phone also tells you only part of the compatibility story. The camera needs the appropriate application and access to the phone's USB connection before it can display an image.
The phone becomes part of the working arrangement. You will hold its screen where you can read it while directing the camera toward the surface of interest. For someone deciding between this arrangement and a device with its own viewing system, our thermal-camera form-factor guide explains that broader choice. Here, the practical starting point is a compatible host already available for the scan.
Which App Does TC001 Max Need on Android?
TC001 Max uses TOPDON's Topinfrared app for its Android mobile workflow. Download Topinfrared from your preferred app store or use the download page linked from TOPDON's TC001 Max product page. Install the application, launch it and then connect the camera directly through USB-C or through the supplied adapter cable. Follow the application's onboarding to complete its permissions setup.
Keep the application name with your preparation notes. The manual uses Topinfrared for mobile devices and TopView for its Windows workflow. Selecting software by a broad search for a thermal-camera app can send you toward instructions for a different product. The TC001 Max manual also identifies a version-specific exception for Android 10. If that is your phone's system and the image will not display, use the Android 10 application provided through TOPDON's official website.
Once the application is available, find its own instructions before changing advanced settings. The manual directs mobile users to Me, then e-Manual, within Topinfrared for detailed operation. That gives you a model-relevant reference alongside the interface you are using. Keep this route available when a menu has moved or an unfamiliar icon appears, instead of matching it to a screenshot from another thermal-camera application.
Choose the USB-C Connection for Your Phone Arrangement
TC001 Max supports a direct USB-C connection and a connection through its supplied adapter cable. Our US product information describes use with most phone cases. Check the actual fit of the connector against your own case opening. If the case obstructs a complete connection, resolve that physical obstruction before diagnosing an application problem. A loose or partly seated connector gives you a different question from a correctly connected camera that lacks permission.
The US package listing includes the camera, a USB-C to USB-C extension cable, a USB-C to Lightning cable, cleaning cloth, carrying bag, user manual and packing box. For an Android USB-C arrangement, identify the USB-C parts you intend to use. The presence of a Lightning cable in the package does not make it the connection needed by that Android phone. Keep each cable associated with its actual host role.
Direct connection keeps the module beside the phone. An extension cable offers a different physical arrangement when you need to position the viewing screen and camera separately. Before beginning, check where you will support the phone and how the cable will lie. Leave enough freedom to aim at the chosen surface without pulling on the phone's port or supporting the entire assembly by the cable.
Complete USB and Storage Permissions Deliberately
Topinfrared's onboarding guides the permissions setup. In its troubleshooting section, the TC001 Max manual specifically identifies USB access and storage among the necessary permissions. Read the prompts presented by the installed application and complete the relevant requests. A phone that can open the application still needs to allow the application to use the connected module and handle the records you intend to save.
The same manual tells Android users to search their phone settings for OTG and ensure it is on when troubleshooting a missing image. Use the settings available on your particular phone. Keep a short note of the system version and the permission or OTG change you made. That lets you distinguish a persistent requirement from a setting you happened to change while several other applications were open.
Permissions also separate two practical stages. First establish whether the application can show the camera's live view. Then confirm that you can save and reopen the kind of record you need. If viewing works while saving does not, retain that distinction when checking storage permissions or requesting support. It is more informative than reporting that the entire camera fails to work.
Why Won't TC001 Max Show a Thermal Image on Android?
The manual's missing-image checks cover software selection, other applications using the USB camera, OTG, permissions and a second host. Start with the part of that list that matches the observed symptom. Close another thermal-imaging or video-capture application that may be accessing the same camera through USB. Then return to Topinfrared and confirm the relevant access requests and OTG setting.
| What you observe | Relevant check from the TC001 Max instructions | Useful detail to retain |
|---|---|---|
| An Android 10 host does not display an image | Use the specifically provided Android 10 application | System version and application used |
| Another imaging or capture app is open | Close applications accessing the camera through USB | Whether the image appears after closing them |
| The application opens without a camera view | Check OTG and required USB access | Connection arrangement and permission response |
| The first host still shows no image | Try a different compatible phone or laptop | Which host and connection produced a view |
Treat the second-host check as a way to narrow the problem. If one host produces an image, you have something concrete to compare in the first host's setup. If the documented checks do not work, the manual directs you to after-sales support because the module may be faulty. Send the model, host details and the checks already completed. Opening the camera or altering its connector adds a new problem and conflicts with its care instructions.
Recognize the TC001 Max Automatic Shutter Refresh
A brief click and occasional image stutter have a documented explanation. TC001 Max refreshes its shutter automatically every 30 seconds by default. The manual describes this refresh as part of maintaining image clarity during imaging. When the interruption is brief and follows that behavior, recognize the shutter event before treating it as a failed USB connection or an application crash.
The manual also identifies a Shutter Setting where automatic refresh can be switched off. Consider the imaging task before changing it. Describe the duration and recurrence of an interruption when asking for help.
Use Image Calibration for Ghosting or Halos
Persistent visual abnormalities call for a different response from the ordinary shutter click. For ghosting, halos or other image anomalies, the manual directs you to Learn More, then Image Calibration, within Topinfrared. Follow the instructions shown there. The manual also notes that extended exposure to high-temperature sources can reduce image quality and points users toward image calibration for that condition.
Keep image calibration separate from the question of temperature accuracy. A clearer outline can make a surface easier to locate, while the numerical reading still depends on the measurement conditions and settings. Record which problem you are addressing. If the concern is an image artifact, describe the artifact. If the concern is a temperature reading, retain the selected point, target material and correction settings for review.
Choose a Simple Surface for the First Indoor Scan
Begin with a stationary, accessible indoor surface that you can also identify in an ordinary view. An opaque window frame or an interior wall area gives you a location to describe without moving equipment or opening a cabinet. Decide which section you intend to view before raising the phone. You can then concentrate on framing and understanding the display, with both the surface and your standing position kept simple.
The published field of view is 56 by 42 degrees. Use that framing information when deciding whether you want a broad view of the window area or a particular joint within it. Start with enough surrounding detail to identify the location, then obtain a closer view within the camera's focus requirements if the question concerns a smaller feature. Keep the broad and close views together. One locates the feature in the room, while the other gives your measurement tool a more specific area to select.
TC001 Max's published image frequency is 25 Hz. That is a camera specification to retain when describing its live-view capability. The separate 30-second shutter-refresh interval describes an image-maintenance event. If motion makes a detail difficult to follow, settle the camera on the intended surface before placing the marker or saving a still image. This gives you a clear point at which to judge the view, instead of trying to interpret an indistinct frame while the phone is moving between objects.
For a window-area scan, identify the frame, surrounding wall and glass as separate surfaces. The TC001 Max manual says it measures surface temperatures and cannot detect heat through glass, acrylic, water or opaque objects. A view directed at a pane belongs to that viewing situation. Avoid interpreting it as a thermal view through the window to an outdoor object. The physical boundary you aimed at belongs in the image description.
Keep this first task observational. A color difference can give you an area to document and examine further. Establishing a leak, an insulation defect or the condition of an appliance requires the relevant inspection context and expertise. Our thermal-imaging uses guide discusses broader tasks and follow-up limits. For Android setup, a useful first result is a clearly identified surface with a readable, recoverable record.
Set Measurement Conditions Before Comparing Temperatures
Emissivity and distance appear in the manual's Temperature Correction guidance under Learn More. Enter settings appropriate to the surface and the actual measurement arrangement using the application's instructions. The manual's emissivity value of 0.96 belongs to its specified ice-water accuracy-check procedure. Keep that value with that procedure. Choosing it as a default for every household material would discard the condition that gives the number its meaning.
The manual advises avoiding direct strong light and reflective surfaces when seeking accurate results. That matters when you choose where to stand and which surface to record. If a shiny item or glass dominates the image, describe it and reconsider whether the view answers your intended question. Moving the target marker to another point does not remove the material or reflection conditions affecting the view.
TC001 Max publishes accuracy as plus or minus 2 degrees Celsius or 2 percent of the reading, whichever is larger. Its specification also lists 0.1 degree Celsius resolution and NETD of 40 millikelvin or less. These entries describe different aspects of measurement and sensitivity. A finely displayed number is not a promise of the same-sized absolute error. Preserve the accuracy statement when interpreting a reading close to a decision threshold.
Separate Thermal Resolution, TISR and Visible Detail
The camera's native infrared resolution is 256 by 192 pixels. Our US product information describes TOPDON's TISR enhancement to 512 by 384. Keep both figures with their labels when describing a saved image or comparing camera specifications. Enhancement and native sampling are separate entries. The larger enhanced figure alone does not establish what small feature you can identify in your particular framing.
TC001 Max also has its separate visible-light camera, and the published image modes include thermal imaging and dual fusion. Visible outlines can help you associate an image feature with the object in front of the lens. They do not turn every visible boundary into a temperature boundary. Use the mode description when explaining what another person is looking at, especially if the record combines visible and thermal information.
The manual lists the visible-light lens at 1.5 megapixels, separately from the infrared camera's 256 by 192 pixels. Associate the resolution with the lens that supplies it when documenting your image mode. A recipient comparing visible detail with thermal detail needs those separate component descriptions to understand the record.
The specification lists a minimum focus distance of 0.2 meter. Give the camera an appropriate view of the subject rather than pressing the lens against a small label or fitting. For a nearby surface, frame the area you intend to compare, check that it remains identifiable and choose the measurement region within that view. Enlarging a display later serves a different purpose from obtaining a useful original view.
Use Palettes and Rotation to Make the Record Readable
Our US product information includes image rotation and multiple color palettes among the application features. Rotation helps present an image in a useful orientation. If the view appears upside down, consult the installed application's rotation control and its e-Manual. Describe the surface and orientation consistently when saving the result. Avoid relying on the direction in which the phone happened to be held as the only clue to the location.
Palettes such as White Hot and Black Hot change the display treatment of thermal information. Include the chosen palette when handing an image to someone else, and keep it consistent across images you want to compare visually. A color is part of the presentation. Read the associated temperature information and the surface description before attaching a meaning to a bright or dark patch.
For a first session, change one display choice at a time. Observe how the same framed surface looks after a rotation or palette change, then choose the presentation that makes your location easiest to explain. This separates learning the interface from comparing two different objects. Save the preferred view with enough context that you can recognize its orientation after closing the live camera screen.
Place Temperature Tools on the Part You Intend to Compare
The published measurement tools include center, hot and cold spots, along with three user-defined points, three lines and three rectangles. Choose a tool according to the question. A point belongs to a particular location. A line gives a different spatial selection, and a rectangle describes an area. Follow the e-Manual for the installed interface rather than assuming every selectable shape reports the same statistic.
For a window-frame record, describe whether your selection sits on the frame, the adjacent wall or another visible surface. A rectangle crossing their boundary can include more than the feature you meant to document. Review the selected region before saving. If you later place a second tool, retain its identity and position so that another reader can tell which reading goes with which part of the scene.
The US page also describes real-time graphs and three-dimensional temperature analysis among application capabilities. Use those options when the question calls for them and the application instructions explain their operation. The first useful scan may need only a legible surface view and a well-placed point. Additional displays create additional interpretation tasks, so choose them for a specific reason.
Save a Photo or Video With Enough Context
Photo and video capture are published application features. A still image suits a stationary surface you want to label and revisit. Video can retain a sequence, but its viewer also needs to understand where the camera moved and which part deserves attention. Decide what the recipient needs to see before recording, then verify that the saved file opens and contains the intended view.
Keep the visible location, date, camera model, viewing mode and relevant correction settings with an important record. If a second image uses a different palette, framing or measurement region, identify that difference. This gives you a usable explanation of how the records relate. A row of unexplained colored images makes it difficult to recover the original question, even when each image is clear.
Plan Phone Power and Protect the Camera Between Sessions
Our US product information describes operation without a separate camera battery, camera charging or wireless pairing. The connected host therefore remains an essential part of preparation. Start with a phone that has enough available power for the task, and account for other uses you still need from it. The stated camera arrangement gives you no fixed promise of phone runtime for every handset or session.
Keep the camera's operating environment separate from the temperature range of the subject. Its published working temperature range is minus 10 to 50 degrees Celsius, while the object-temperature range is minus 20 to 550 degrees Celsius. The second entry describes the measurement range. Use the working-temperature entry when planning where the camera itself will be used. A subject reading near one end of the object range does not establish suitable surroundings for the phone and camera.
For a first indoor session, choose an accessible surface and a position that let you handle the connected assembly normally, with the lenses and port clear of water or contact with the subject.
After use, protect the camera's two lenses and connector during storage. The manual says to keep the unit away from water, avoid touching or scratching the lens, and avoid disassembly. Keep the supplied cloth and carrying bag with the module so that those parts remain available at the next session. Inspect the connection before packing it alongside other items that could press against the exposed plug.
FAQ
Changelog
- November 7, 2026: Product information and buying guidance reviewed.