⚡ TL;DR
A headlamp for outdoor equipment setup should put usable light on the part you are handling while leaving your hands available. We recommend choosing from our headlamps by the position of the task, the details you need to distinguish and the controls you can reach. Check the complete wearing arrangement and power accessories before adding another device.
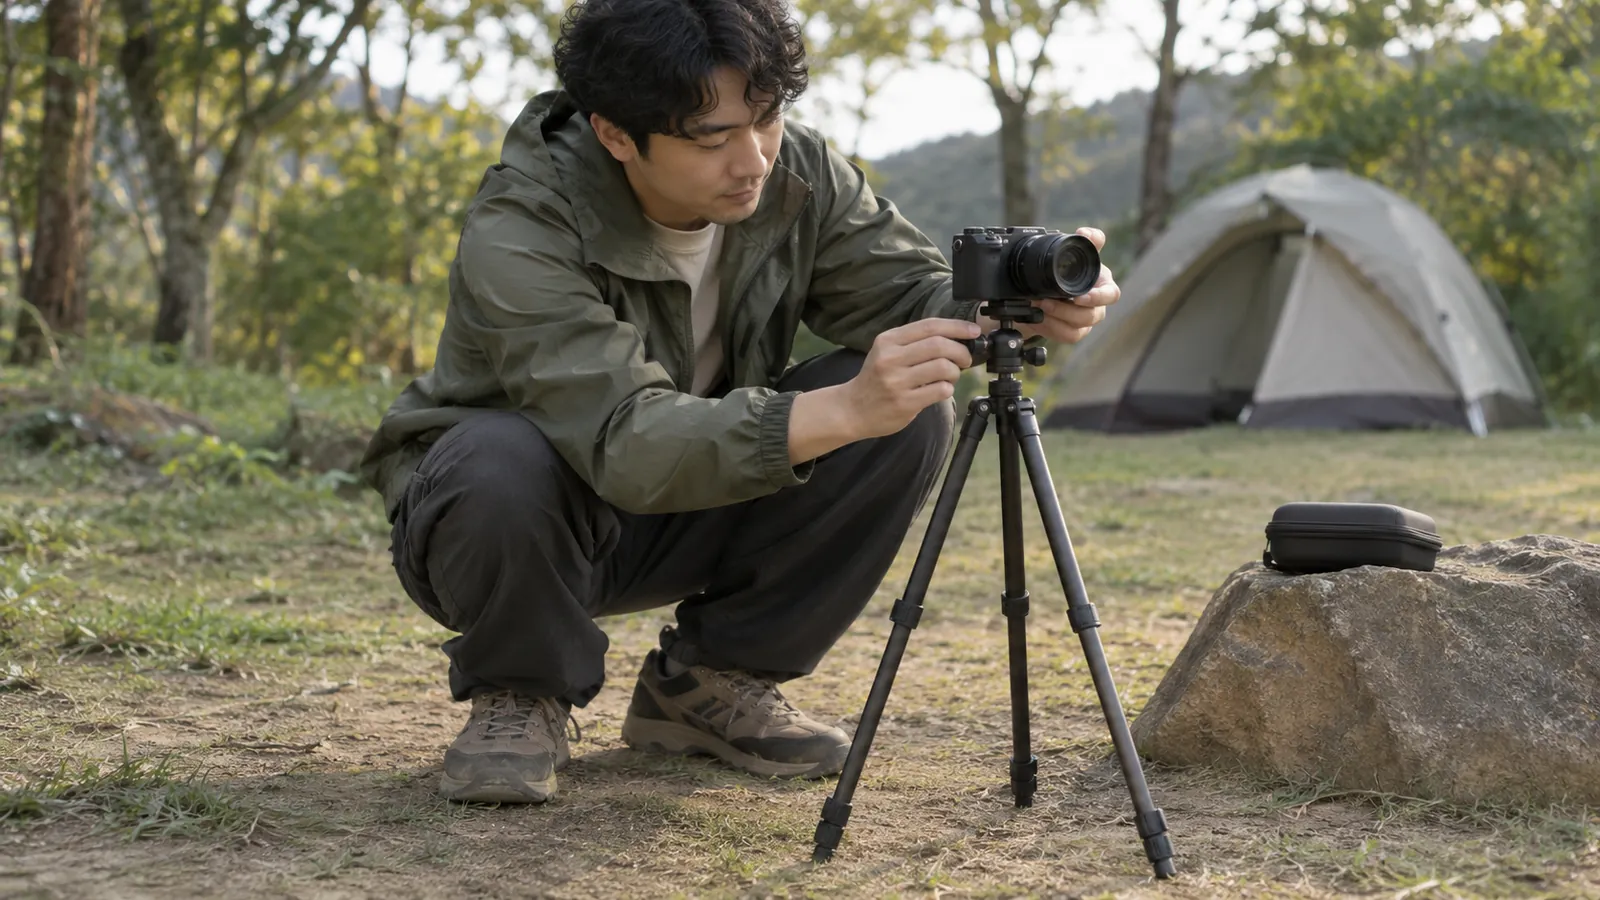
Setting a camera on a small tripod, sorting parts at a campsite table and reading a handheld controller create different lighting problems. One needs light near a fitting, another needs an orderly view across several objects, and another combines an illuminated screen with surrounding buttons. Describe those tasks individually. That gives you a reason to choose a position or setting beyond the largest output printed on a box.
📋 Table of Contents
- 1. Match the Headlamp to the Part You Are Handling
- 2. Choose Between a Moving View and a Fixed Task Area
- 3. Perun 3 Offers Head-Worn and Handheld Configurations
- 4. Oclip 2 Pro Adds Directional Adjustment to a Clip Format
- 5. Use White Light When the Task Depends on Color
- 6. Read Screens and Physical Controls as Separate Details
- 7. Keep Thermal Viewing Separate From Visible Setup Light
- 8. Learn the Light's Normal Control From Its Actual State
- 9. Compare Published Modes With the Duration of Your Tasks
- 10. Pack the Charging Connection and the Correct Package Parts
- 11. Choose a Second Light for a Simultaneous Task
- 12. Compare the Light and Its Charging Dock as Separate Items
- 13. Carry the Arrangement You Will Actually Use
- 14. FAQ
Match the Headlamp to the Part You Are Handling
Start with the object and the movement involved. When your hands are adjusting a familiar piece of ordinary equipment, your eyes may move between the fitting, the equipment's instructions and the place where you put a removed part. A head-worn light follows those changes in viewing direction. That can make it convenient for a sequence of short tasks spread around a table.
Some work stays in one place while you look elsewhere. You might set a small accessory on the table, turn to read its instructions and then return to the same group of parts. A separately positioned task light can continue illuminating that area during the change. Decide whether the useful light should follow your view or remain with the object before deciding how many devices to carry.
Consider how your own hands affect the view. A hand between the source and a small fitting can cast a shadow over the detail you need. Change the ordinary viewing position or the light's direction to see the part clearly. Use the equipment manufacturer's instructions for the equipment itself. Lighting preparation supplies a view of the task, while assembly requirements remain specific to the item.
Keep a place for small loose pieces within the lit area. A plain tray or parts pouch can separate an item awaiting use from one you have removed. Choose the arrangement before opening several containers. The useful outcome is being able to identify which object belongs to which step when you return your attention to the table.
Choose Between a Moving View and a Fixed Task Area
A headlamp suits a person who changes position frequently. It can follow the view from a bag pocket to a tabletop and then to an equipment label. Its direction also changes when that person turns toward a companion. Include those ordinary head movements when you consider the arrangement, especially if another person is looking at the same object.
A clip light offers a different reference point. Its usefulness depends on the chosen support, the available angle and whether the controls remain accessible there. A light on a garment moves with that garment, while an independently placed light stays with its support. Describe the actual position instead of treating every clip arrangement as equivalent.
Two people can also divide the work. One person may read the instructions while the other handles the item. They need an agreed place for the instructions and a view of the relevant part. A light following the reader's head may leave the fitting in shadow when they turn toward the page. Identify that interaction before adding brightness or asking the other person to keep changing position.
| Setup task | Detail to keep visible | Useful arrangement to consider |
|---|---|---|
| Sorting small accessories | Labels and separate groups of parts | A lit area with a designated parts tray |
| Handling an ordinary fitting | The contact point and the next piece | Head-worn light or a suitably aimed task light |
| Reading a controller | Screen, physical buttons and nearby cable | A position that allows all three to be inspected |
| Sharing instructions | The page and the object being discussed | Separate positions for reading and handling |
Perun 3 Offers Head-Worn and Handheld Configurations
Our Perun 3 includes a headband and a right-angle light. Its US description also identifies a clip, magnetic tail and lanyard. Those options let you consider how the same light will move between carrying and ordinary task positions. Decide which configuration you will actually use while working and where the other parts will remain.
The light is listed at 150 grams including the battery, with a length of 116.8 mm. Keep the battery description with that weight. A complete head-worn arrangement also involves the band and the clothing you choose. When comparing what goes in a small equipment bag, account for the accessories you intend to bring alongside the light itself.
Perun 3 provides five white-light modes. Its published settings include 5-lumen Moonlight, 30-lumen Low and 120-lumen Medium, as well as a 3,000-lumen maximum. This gives you several settings to consider for nearby labels, a group of objects or a wider ordinary view. Select the setting for the detail you need to distinguish and the conditions around that task.
The product's large concave metal side button is described as glove-friendly. Its position is a concrete feature to assess with your own normal clothing and familiar equipment. The US guidance also notes that repeated removal from the metal headband bracket can scratch the body. If you expect to change formats often, plan where the bracket and band will stay during each change.
Oclip 2 Pro Adds Directional Adjustment to a Clip Format
Oclip 2 Pro has a head that tilts through 115 degrees and a clip that rotates through 360 degrees. These are separate adjustments. One changes the head's angle relative to the body, while the other changes the clip's orientation. That distinction helps when the suitable support and the surface you want to illuminate sit at different angles.
The current US description identifies both tail and clip magnets for work-light positioning. Keep the chosen surface and the actual arrangement in view when considering that option. Magnetic attachment, a mechanical clip and a head-worn band solve different placement questions. Use the model's instructions and the properties of the available support when deciding which arrangement belongs in your setup.
The Pro model has white flood, white spot and red-light functions. Its white flood maximum is 530 lumens. The exact Pro and Pro Premium columns in the manual are the relevant references for this model. Model names matter because the same series manual also contains Ultra versions with different light functions and specifications.
An adjustable light can be helpful when the object stays on the table and your body needs room to move. Place the light where you can reach its normal control, then consider the intended hand movement around the object. Our headlamp setup guide covers ordinary wearing arrangements and named accessories when you are comparing a clip format with a conventional headband.
Use White Light When the Task Depends on Color
Describe the information you need before choosing a light color. A label may combine colored symbols with small black text. Two otherwise similar pieces may be distinguished by a colored marking. Looking at the actual item under ordinary white light gives you a way to check those visible details before relying on a different setting for the next part of the task.
Perun 3 and Oclip 2 Pro each provide white and red functions, with their own published controls and modes. Treat the choice as part of viewing the item. If a colored setting leaves two marks difficult to distinguish, return to white light and inspect the original label or instructions. Keep a written equipment identifier when the distinction matters during packing or handover.
The material around a label also matters. Glossy packaging, a clear cover or a shiny metal surface can reflect light into your view. Change the ordinary angle between your eyes, the source and the item, and use an appropriate setting for the task. A setting that makes one part look bright can still leave a neighboring mark difficult to read.
Read Screens and Physical Controls as Separate Details
A handheld controller can present information in two places. The screen may show a setting while a nearby button carries the label needed to change it. Prepare to inspect both. Follow the controller manufacturer's instructions for its own display and operation, and keep the lighting control distinct from the control you are trying to read.
Check the ordinary viewing position with the equipment switched into its intended normal state. A screen's apparent reflection can change when you tilt it, move the lamp or turn your head. Identify a position from which you can read the screen and locate the physical controls without holding several objects in the same hand. A strap or pocket can give one item a return location between checks.
When another person passes you a controller, identify its current state before changing anything. A visible button label can help locate a function, while its effect still belongs to the equipment's instructions. Leave room on the table for the controller beside the item it belongs to. That physical separation can make a handover clearer than piling everything into the same open bag.
Keep Thermal Viewing Separate From Visible Setup Light
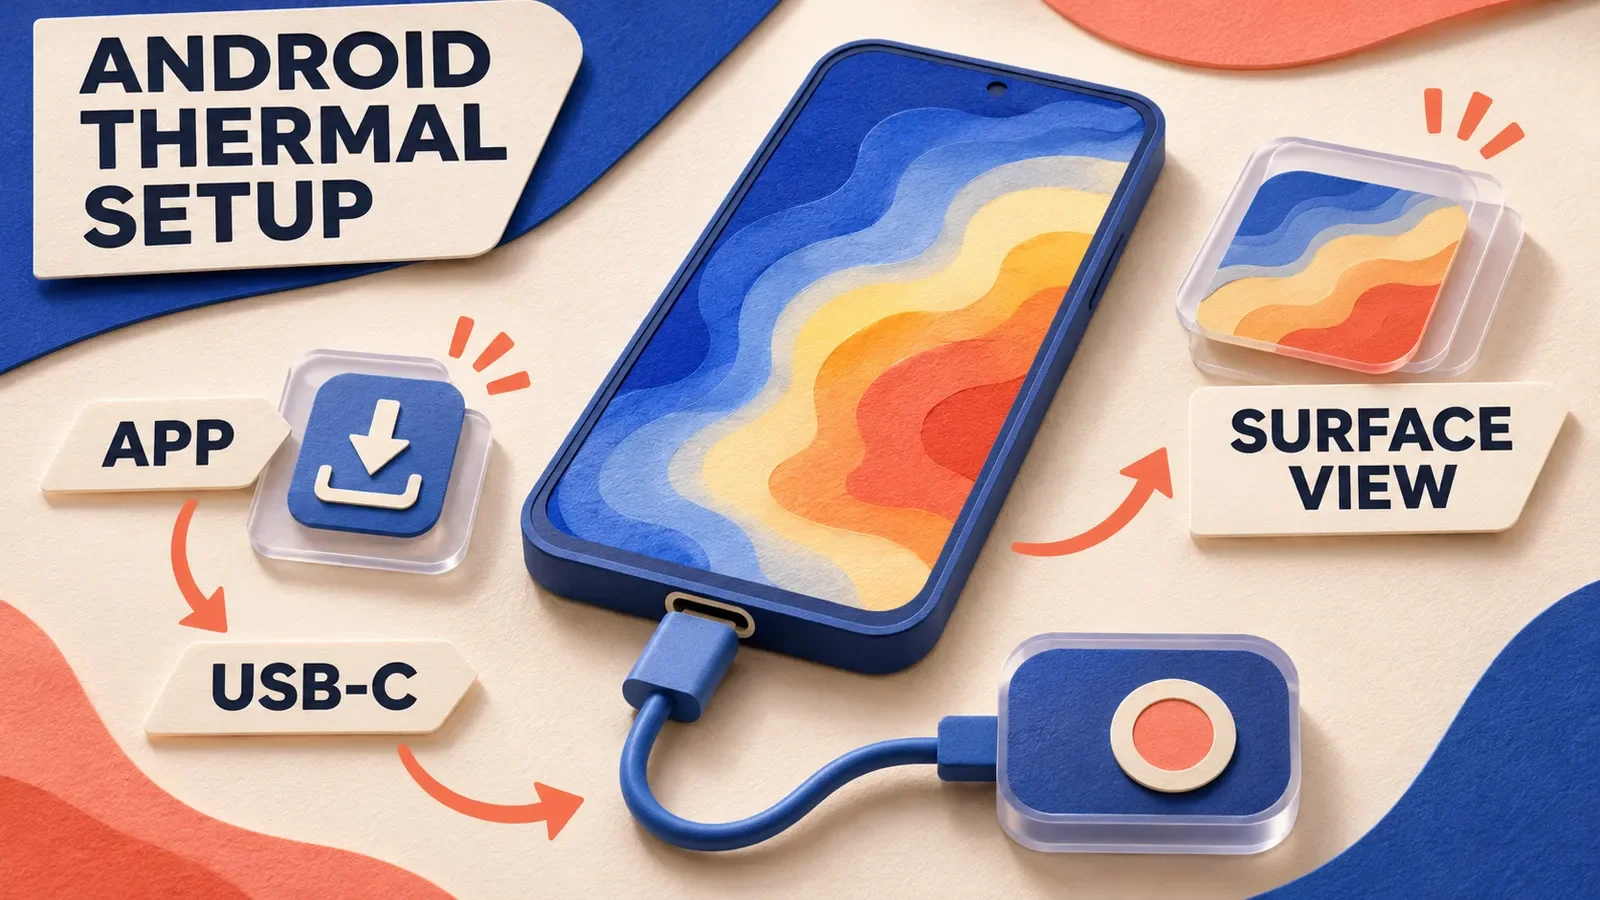
The TOPDON TS004 thermal imaging monocular is offered through OSelect. TOPDON is the original manufacturer. Its published thermal-camera resolution is 256 × 192, with a 50 Hz refresh rate. These describe the imaging function viewed through its eyepiece and belong to a different equipment role from seeing printed labels on a preparation table.
The TS004 manual lists five display palettes, including White Hot, Black Hot and Red Hot. Those names describe how the thermal image is displayed. Keep the palette choice within that viewing function. The manual also identifies a separate LED flashlight on the device, which should be considered by its own instructions rather than by the name of the selected thermal palette.
A handheld viewer also occupies a hand and part of your attention while you use its eyepiece. Put loose setup parts in their designated place before picking up another device. Keep visible task lighting available for returning to the equipment. Our guide to thermal monocular uses explains the viewing role and its limits in more detail.
Learn the Light's Normal Control From Its Actual State
Review the exact model's normal operation before putting it into a shared bag. For Perun 3 white-light operation from an unlocked state, a single press of the side switch turns the light on or off. Keep that starting condition with the instruction. A carrying or locked state needs to be understood before another person expects the usual response.
On Oclip 2 Pro, the selector determines the light function. The manual's normal white-light operation uses a single press of the side button for on or off. Identify the white-light function and unlocked state before applying that instruction. An identical-looking press can have a different purpose in a different operating state or light function.
Practice the ordinary on, steady-light and off sequence during preparation with the light's instructions available. Identify which setting you want to return to for the equipment task. If someone has changed the mode or carrying state, include that information in the handover. This makes the next action specific to the actual light instead of relying on the recipient's familiarity with another model.
Compare Published Modes With the Duration of Your Tasks
Perun 3's 120-lumen Medium setting has a published 25-hour runtime entry. Its Turbo entry is a staged sequence of 3,000, 800 and 600 lumens over 2, 180 and 30 minutes. Keep the stages together when reading the maximum-output specification. A nearby task can call for a different setting from a brief wider view across the equipment area.
The Oclip 2 Pro manual lists white flood Medium at 100 lumens. Its flood Turbo entry also steps down through published output stages. Compare the mode you expect to use with its own entry and the exact model's conditions. The useful question is how that mode fits the planned work and the power you will actually have available.
Separate continuous work from short inspections in your plan. Reading instructions, checking a fitting and returning an accessory to a bag can use the light differently. Prepare the required power using the manufacturer's guidance and the expected activity. Keep any separately required backup as a complete device with its own preparation, so its availability is clear when the main light is being used elsewhere.
Pack the Charging Connection and the Correct Package Parts
Perun 3's manual lists its MCC3 magnetic charging cable in the package. The power-source end is USB Type-A, specified at 5 volts and 2 amps. Identify the matching cable and the power source before leaving it with other equipment. A bag containing a USB-C cable for a camera can still require a separate cable for the headlamp.
Oclip 2 Pro supports USB-C and MCC charging. Its Premium version adds a 1,000 mAh mobile charging dock, while the manual identifies the MCC cable as an optional accessory. Confirm the actual version and supplied parts when comparing a light-only purchase with a Premium package. A dock's additional stored power is a separate planning item from the light's own published mode duration.
Choose where each charging component belongs during the outing. A cable can remain at the accommodation, stay with a shared power source or travel with the equipment, depending on the plan. Label the cable's association with the light when several people use the same table. Our flashlight charging guide gives a fuller comparison of model-specific connections and routine care.
Choose a Second Light for a Simultaneous Task
Before adding a second light, identify what must remain illuminated while the first one is occupied. One person may need a head-worn view of the equipment while a companion reads an instruction sheet beside them. A separate light can serve that second location. Give it a defined user and purpose so that the two lights become a usable arrangement during the same part of the work.
Changing a single light between several functions creates a different workflow. A headlamp removed from its band can illuminate a table, but that same device then needs to be restored before it serves the head-worn role again. Consider the parts and hand movements involved in that change. If frequent switching interrupts the task, a separately prepared table light may be worth the additional space in the bag.
The number of light functions also differs from the number of complete devices available. Perun 3's white and red outputs share one body. Oclip 2 Pro's flood, spot and red functions likewise belong to one light. Assign each physical device to the task where it will be used. A second function on the light already held by another person remains part of that person's device during the work.
Keep a distinction between an additional working light and a backup reserved for later. A backup may stay in its carrying place, while a second working light is already being used elsewhere. If both roles matter to your plan, account for them separately before counting the equipment as ready. This makes it clearer which light can actually be handed to someone when the tasks overlap.
Compare the Light and Its Charging Dock as Separate Items
The Oclip 2 Pro Premium package can be useful to someone who wants the charging dock in the same equipment arrangement. The manual distinguishes the light's 600 mAh battery from the dock's 1,000 mAh battery. These belong to two components with different roles. The light produces the selected output, while the dock provides stored power for topping it up according to the product's instructions.
The Pro manual lists a light full-charge time of 1 hour 30 minutes via USB-C or 1 hour 15 minutes via MCC. It also specifies that the electrical connection during charging is made indoors. Keep that location requirement with the timing when planning the break between setup sessions. Identify the permitted indoor charging place and the matching cable before making a turnaround plan. The figures are published references for those methods, while your preparation depends on the complete equipment and conditions you will actually use.
Package choice also affects who carries which component. If a shared dock remains in one person's bag, identify how the light returns to that bag between uses and who restores the dock's charge afterward. If you choose the light without the Premium dock, prepare its actual charging cable and power source. Compare the real package contents and your existing accessories before paying for a component that has no assigned place in the plan.
Carry the Arrangement You Will Actually Use
Give the light a reachable place during movement between the bag and the equipment area. A headband, clip or lanyard changes how you take hold of it and how it returns to that place. Consider the complete arrangement with the clothes and ordinary bag you intend to use, including whether another object blocks the control or catches the accessory.
Keep the frequently used small items together in a designated compartment. A light buried beneath a camera case requires a different retrieval action from one kept in an accessible pocket. Decide which items need to come out first and where they will rest while the others are being unpacked. This is a packing choice you can make with the actual objects at home.
At the end of a task, account for the light, its chosen carrying accessory and the equipment parts before closing the bag. Restore shared items to the responsible person and identify anything that needs attention under its own care instructions. A visible return location helps the next person distinguish equipment that is ready to collect from loose parts still being sorted.
FAQ
Changelog
- November 6, 2026: Product information and buying guidance reviewed.