⚡ TL;DR
A useful headlamp setup starts with the task, the exact light and the parts you already have. We recommend checking included headbands before buying extras, matching replacement accessories by model, and choosing a position that keeps the work visible while both hands are occupied. Keep the light's weight, power supply and controls on the same preparation checklist.
📋 Table of Contents
- 1. Start Your Headlamp Setup with the Actual Task
- 2. Check What the Headlamp Package Already Includes
- 3. Match the Perun Headband Option to the Exact Light
- 4. Decide Whether an Oclip Headlamp Strap Adds a Useful Role
- 5. Compare Published Light Weight on the Same Basis
- 6. Set Headlamp Position Around the Work Surface
- 7. Use Oclip 2 Pro Adjustment for Nearby Tasks
- 8. Keep Headlamp Controls Accessible During the Task
- 9. Plan Headlamp Power Beside the Session Length
- 10. Plan When the Light Will Leave Its Headband
- 11. Pack the Headlamp Kit for the Next User and Task
- 12. Check the Complete Headlamp Setup Before Starting
- 13. FAQ
Start Your Headlamp Setup with the Actual Task
Describe what your hands will do before choosing how to wear the light. Sorting supplies at a table, reading instructions beside a cupboard and carrying camping equipment each create a different arrangement. A headlamp can free both hands, but the useful position depends on where the work sits and how often you turn toward another person.
For example, assembling an ordinary storage organizer may involve reading a page, finding a fastener and looking into a shallow compartment. Those actions move your attention between several surfaces. A head-worn light can follow the changes in head position. If another person needs to see the same work, a separate, suitably positioned light may give both people a more consistent view.
Begin with our headlamps collection when you are comparing equipment formats. Then write down the intended carrying arrangement. A light that will stay in its headband throughout a camping evening creates a different packing decision from a clip light that will move between a strap and a pocket during short household jobs.
Include the end of the job in this description. Decide where the switched-off light will go while you put the equipment away. If you will need a handheld light immediately afterward, choose a setup whose normal change of carrying position is straightforward for you. This helps you decide whether one adaptable light or two separate lighting positions will serve the work better.
Check What the Headlamp Package Already Includes
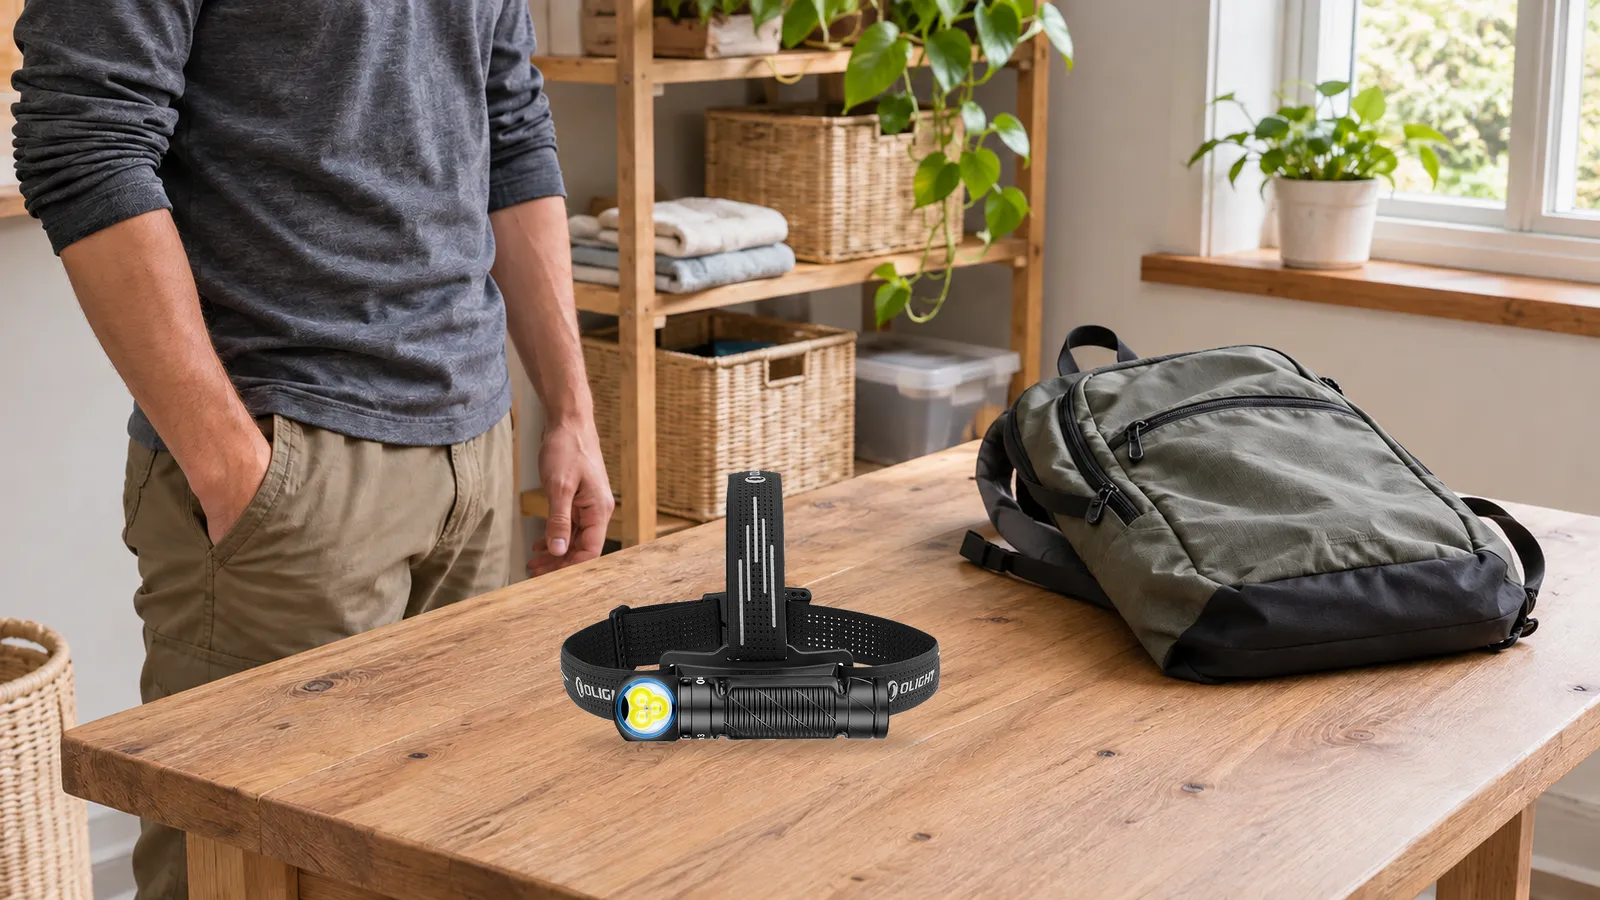
Before adding a headband to an order, read the package contents for the exact light and version you intend to buy. Our Perun 3 package lists a headband, an MCC3 magnetic charging cable, a lanyard with a pin and a user manual alongside the light. Someone starting with that package already has a head-worn arrangement to prepare. Our Perun 3 headlamp guide explains its output choices and model-specific features in more detail.
An accessory purchase answers a different question from a new-light purchase. A replacement Perun headband may be useful when you already own the matching light and need another band. An Oclip headlamp strap can add a head-worn role to a compatible clip light. In either case, identify the light you will use before treating an accessory listing as a complete lighting kit.
Use this inventory to decide what belongs on your shopping list.
| Your starting point | Check first | Possible next purchase |
|---|---|---|
| Buying a Perun 3 package | Its listed headband and charging cable | An extra accessory only if your routine requires one |
| Owning a Perun light and replacing its band | The exact Perun model and matching headband option | The corresponding replacement headband |
| Owning a compatible Oclip light | The strap's compatibility list and your existing accessories | An Oclip headlamp strap if head-worn use helps the task |
| Buying a clip light and strap together | The named light, selected version and every item in the offer | Whatever component the chosen package does not include |
Keep an order confirmation or a simple equipment note with the kit. Record the full model name and the accessory option you selected. This is especially helpful when two lights share a family name or when a spare band will remain in a cupboard for several months before anyone needs it.
Match the Perun Headband Option to the Exact Light
Our Headband for Perun Series page groups several replacement options together. Its compatibility statements identify Perun 3, Perun 3 Mini, Perun 2 Mini and Perun Mini separately. The model suffix matters when choosing the band. Read the selected option as carefully as the broad product-page heading.
The current page identifies these specific matches.
| Headband option | Listed matching light |
|---|---|
| Perun 3 Headband | Perun 3 |
| Perun 3 Mini Headband | Perun 3 Mini |
| Perun 2 Mini Headband | Perun 2 Mini |
| Perun Mini Headband | Perun Mini |
For a Perun 3 kit, select the Perun 3 Headband option. If you are helping someone replace a band, ask them to identify the exact light from their equipment or purchase record before placing the order. A photograph of a similar-looking headband does not establish that it is the selected part for their model.
Check the chosen option again in the cart. A family accessory page can open with a different variant selected from the one you need. Keeping the model name beside your shopping list makes this check simple, particularly when you are ordering several small accessories at once. Retain the original band until you have identified the correct replacement and can prepare the intended arrangement.
The selected variant also determines the accessory price. At our November 5, 2026 US-page check, the Perun 3 Headband option was $12.99 and the Perun 3 Mini Headband option was $9.99. The Oclip Series Headlamp Strap was listed at $7.99. These are accessory prices for the named choices, so keep them beside the model and quantity in your budget. The first price displayed by a family page may belong to a different headband option.
For a shared household purchase, list each owner's existing light before counting replacements. Two adults who own different Perun models need their own corresponding accessory choices. Buying two of whichever variant is initially selected does not establish that both lights have matching replacements. If you also want a spare for travel, record which setup it will support and where it will be stored. This keeps an additional accessory tied to a specific use.
Decide Whether an Oclip Headlamp Strap Adds a Useful Role
The Oclip Series Headlamp Strap lists compatibility with Oclip Pro, Oclip Pro S, Oclip Ultra, Oclip 2 Pro and Oclip 2 Ultra. Match your exact model to that list. Similar family wording elsewhere in a store does not replace the accessory's own compatibility statement.
This option can be useful when you already carry a compatible clip light and occasionally need both hands. You might carry the light normally during the day, then prepare its head-worn arrangement before organizing camping equipment or working through a household instruction sheet. The strap becomes part of that planned setup, rather than another loose item whose purpose you must work out at the job.
Count the light and strap separately when checking what you own and what is included in an offer. If your compatible light is already in the bag, the additional decision is whether a head-worn position improves the task. If you are starting from nothing, compare the complete set of items you intend to purchase with a dedicated headlamp package.
Consider how often you expect to change positions. Keeping a compatible clip light in a headlamp strap may suit one long hands-free activity. For repeated short jobs, you may prefer its normal clip position or a dedicated headlamp that stays ready in its own band. Make this choice around the transitions you will actually use, including putting everything back after the job.
Compare Published Light Weight on the Same Basis
Published weight can help you narrow the equipment choices. Our Perun 3 specifications list 150 grams including the battery. The Oclip 2 Pro listing gives 75.5 grams including the battery. Keep those light specifications attached to their exact models when making a comparison, and account for the accessories in the arrangement you intend to carry.
A head-worn kit also contains its chosen band or strap. A carried kit may include a cable, a spare accessory and a storage pouch you already own. Decide which question you are answering before using a weight figure. The weight of the light helps describe the device, while your packing list describes the whole collection of equipment going with you.
Weight also belongs beside the other requirements. You may value a larger light's published runtime for a longer activity, or prefer a compact clip format because it will remain in a pocket between jobs. A lighter listed device still needs a suitable attachment, accessible controls and enough useful light for the work. Choose these features together before buying solely around one number.
Set Headlamp Position Around the Work Surface
A headlamp moves when your head moves. That is useful while looking between a page, a storage shelf and an item in your hands, but the work may need a different arrangement when it stays in one place. Set up the task so you can see the necessary information without repeatedly holding an awkward posture to keep the light aimed.
Prepare the headband and light while you are stationary, using the matching mounting arrangement. Check that the band lies as intended and the light is properly seated before beginning. Then look at the actual working surface. For a cupboard task, that means the shelf or label you need to see, rather than the brighter wall beside it.
Separate the direction of the light from the way the band sits. Reposition or adjust the lamp using the movement provided for that model. Avoid using extra band tension as the answer to every aiming problem. If the arrangement remains uncomfortable or keeps distracting you, stop and choose another suitable lighting position before continuing the task.
Allow for changes in working height. A table may be convenient while you are sitting, while a lower shelf may require a different light angle when you stand. Decide where the equipment and instructions will sit before starting, especially if another person will share the space. This can remove unnecessary rearranging once your hands are occupied.
Use Oclip 2 Pro Adjustment for Nearby Tasks
Our Oclip 2 Pro combines a head that tilts up to 115 degrees with a clip that rotates through 360 degrees. These are separate direction adjustments. They can help place light on a nearby object while you choose a carrying position that suits your clothing, strap or other permitted attachment.
Think through the task before choosing the angle. When reading a page, check where the light falls in your normal position and whether your hand creates an unhelpful shadow. When sorting equipment, consider whether leaning toward the table changes the aim. Make adjustments while stationary, then check the view from the position in which you will actually work.
The same light can have different roles within a kit. A head-worn arrangement moves with the wearer. A suitable clip position can keep it attached elsewhere while you inspect a small item. A permitted magnetic placement can provide another position when an appropriate surface is available. Choose the arrangement for that particular job and keep the emitting window clear.
For shared work, check what the other person can see as well. A position that makes a label clear to you may cast a shadow across the part they are handling. Moving one light or preparing a separate source can be more practical than repeatedly changing output. The adjustment features give you options, while the actual work determines which position is useful.
Keep Headlamp Controls Accessible During the Task
Perun 3's US product description identifies a large metal side button with a concave shape and describes glove-friendly operation. This can be relevant to ordinary jobs involving work gloves, but prepare the actual arrangement you will use. The headband, clothing and your normal hand position all affect how conveniently you can reach a control.
Before putting gloves on for a job, identify the intended switch and the ordinary setting you plan to use. Keep the light off while arranging its band and other equipment. Once the setup is ready, follow that model's instructions to select the output needed for the task. A headband adds a carrying position, while the light retains its own controls and modes.
Avoid making a hurried source change while carrying several items. Put the items down and adjust from a stable position when necessary. If a task repeatedly requires both hands and frequent lighting changes, arrange the supplies or lighting differently so those interruptions are manageable. This is particularly relevant when you alternate between reading a page and handling small parts.
When another adult will use the kit, show them the correct device and its normal controls before handing over the work. Keep instructions for Perun 3 with Perun 3, and instructions for the exact Oclip model with that light. A shared accessory family does not make the operating sequences of all its compatible lights interchangeable.
Plan Headlamp Power Beside the Session Length
A useful head-worn position needs a suitable power plan. Perun 3's published specifications list its 120-lumen Medium setting at 25 hours and its 30-lumen Low setting at 89 hours. Select a mode that gives you the information the task requires, then use that mode's stated runtime when planning the session. Keep maximum-output figures separate from lower-output runtime ratings.
Write down the approximate length of the work and whether the same light will be needed afterward. An evening organizing camping equipment and a brief household check create different demands. Allow for other uses of the light between charging opportunities, and keep a separate lighting option available when the work cannot conveniently pause for charging.
Pack the charging equipment specified for your selected light. Perun 3's package lists an MCC3 cable, while the standard Oclip 2 Pro package lists a USB-C cable. Check what you already have before departure or before assembling a kit for someone else. A matching headband and a charged light can still leave an incomplete travel kit if its required charging equipment remains at home.
For a broader explanation of brightness choices, our flashlight modes guide covers that separate decision. Within this checklist, the purpose is to choose a useful setting for the job, identify its published rating and include the correct charging items. A long headline runtime alone does not describe every setting a light offers.
Plan When the Light Will Leave Its Headband
Perun 3's product page notes that repeated removal from its metal headlamp bracket can scratch the light's body. Consider that detail when deciding how often your routine will move the light between head-worn and other carrying positions. If several tasks suit the same headlamp arrangement, preparing them together can reduce unnecessary changes of setup.
List the transitions that matter. You might use a headlamp while sorting supplies, switch to a handheld position for a short check and return the light to its storage place. Alternatively, you may prefer a clip light that normally stays attached to clothing and only occasionally uses a headlamp strap. The better arrangement depends on how you expect to carry and use it between tasks.
Keep the removed accessory somewhere deliberate. A spare band left loose among cables can be harder to identify later, especially when several people own similar lights. Place it with its equipment note or matching storage area. This makes it easier to return the light to the intended setup without buying another accessory simply because the first one cannot be found.
Reconsider the kit when the pattern of use changes. A light chosen mainly for a table task may later spend more time in a daypack. Update the accessory and charging list for that routine. You can preserve a useful existing light while changing the arrangement around it, provided the accessories remain the correct ones for that model.
Pack the Headlamp Kit for the Next User and Task
Store the light switched off and follow its matching carrying and lockout instructions before placing it in a bag. Keep the equipment organized so the next user can identify the light, band and charging cable without searching through unrelated items. Protect the emitting window from accidental obstruction during use, and finish with the light off before packing.
For a household kit, choose a known storage place and keep the components together. For a camping bag, decide which items must be reachable first and which can remain packed until later. A headband needed at the start of an evening belongs somewhere different from a spare accessory that is only intended as a replacement.
Review the arrangement when you lend the kit. Confirm which parts should return, where the charging cable belongs and whether the borrower will need the headlamp or the clip position. This brief handover helps keep a complete kit available for the next task. It also makes a missing component easier to notice before the following outing.
Check the Complete Headlamp Setup Before Starting
Do one practical preparation check with the equipment you intend to use. Work at a stable table in ordinary light, with space to place the items safely. The purpose is to confirm that the kit has the right parts and a useful arrangement before you depend on it for an activity.
- Identify the light and accessory. Match the exact model to the named band or the published strap compatibility list. Check the selected variant in an order rather than relying on the family heading alone.
- Count the components. Include the light, the intended head-worn attachment and the charging equipment needed for that model. Check package contents before adding a duplicate accessory to a purchase.
- Prepare the working position. Set the task at its normal height, arrange the light in its permitted mounting position and check the direction. Keep the light off while handling the mounting arrangement.
- Confirm the information you need to see. Once the setup is ready, choose an appropriate setting and check the actual page, label or object. Adjust while stationary if the view changes when you sit, stand or move your hands.
- Plan the handover and return. Keep model-specific instructions with the correct light and decide where every component will go after the job. Include any separate strap that will be removed for normal carrying.
FAQ
Changelog
- November 6, 2026: Product information and buying guidance reviewed.