⚡ TL;DR
Flashlight modes are selectable output settings or functions, such as Moonlight, Low, High, Turbo and Strobe. Your flashlight button selects among them, but the names alone do not tell you how much light you will get or for how long. We recommend choosing a useful everyday level first, then checking its rated output, runtime and access method.
| Mode | Useful starting task | What to check |
|---|---|---|
| Moonlight | A small object close to you in a dark room | Whether the dim setting makes the detail readable |
| Low | Nearby objects without unnecessary reflected light | Enough light for the surface and surroundings |
| Medium | A longer routine task | The model's actual lumens and rated runtime |
| High | A larger area or more demanding detail | Whether output changes during the listed runtime |
| Turbo | A brief need for maximum available output | The initial output and subsequent lower stages |
These are task descriptions, not universal brightness bands. A mode called Medium on one light can have a different output from Medium on another. Within our flashlights, compare the specific lighting-level rows instead of assuming that the label defines a fixed number of lumens.
📋 Table of Contents
- 1. Flashlight Modes Describe Different Kinds of Choices
- 2. Moonlight Mode for Small Tasks in Dark Surroundings
- 3. Low and Medium Modes for Everyday Flashlight Use
- 4. Turbo and High Modes Have Different Runtime Conditions
- 5. Reading Flashlight Runtime Without Mixing Settings
- 6. Flashlight Mode Memory and the Starting State
- 7. Flashlight Shortcuts Are Model-Specific
- 8. ArkPro Beam Selection Is Different From Brightness Selection
- 9. Strobe Is Separate From Steady Flashlight Modes
- 10. Unused Flashlight Modes and Accidental Activation
- 11. Choosing Flashlight Modes for Three Everyday Tasks
- 12. Common Flashlight Mode Mistakes
- 13. FAQ
Flashlight Modes Describe Different Kinds of Choices
A brightness level changes the amount of white light. Low, Medium and High usually belong to this group. A separate light channel changes the source or beam you are using: floodlight and spotlight, for example, answer different coverage needs. A flashing function changes the light over time. These choices can share a control, but they should not be treated as interchangeable steps on one brightness ladder.
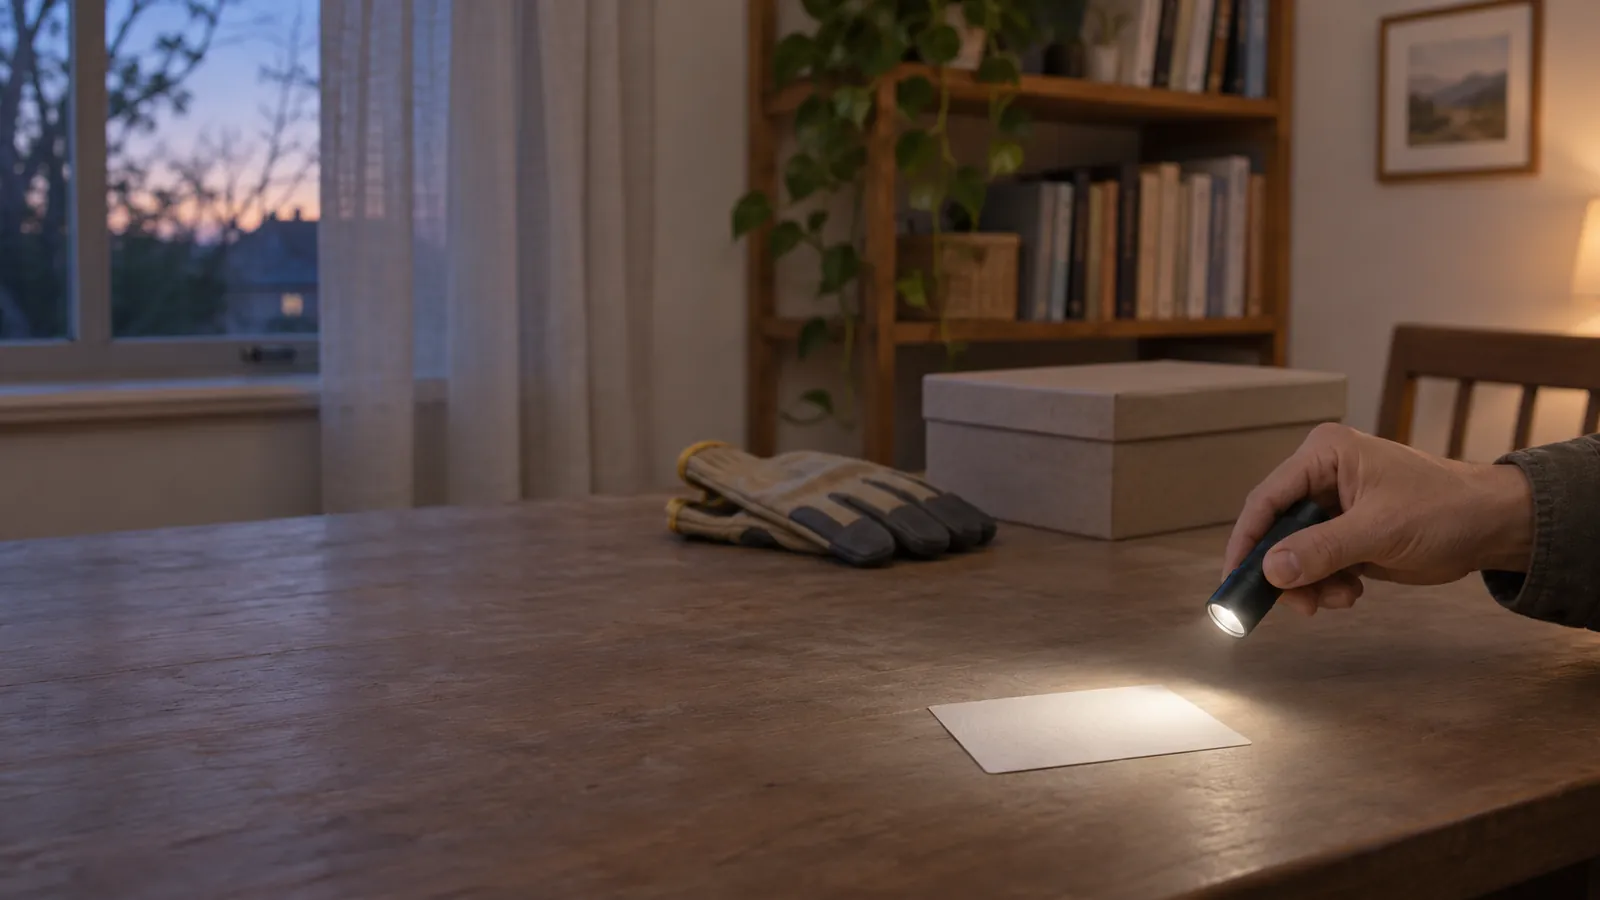
Think about the task before looking for the brightest setting. Reading a small label on a nearby box requires light on that label. Finding the box at the back of a storage area adds distance and surrounding detail. Keeping a broad work surface visible adds coverage. The task may call for a different output, a different beam, or a different position; pressing Turbo does not solve every one of those problems.
This distinction also makes a product page easier to read. A list that includes five brightness levels and Strobe does not describe six steady illumination levels. A light with several emitters may offer functions that are irrelevant to your everyday white-light task. We recommend separating the white-light levels you expect to use from optional channels and flashing functions before comparing two models.
The same discipline applies to a mode count on a shopping page. More modes can mean more choices, but the useful question is whether the light offers the setting you need and a convenient way to reach it. A simple set of well-spaced levels may suit a household task better than extra functions you would rarely select. Controls and output choices need to work together.
Moonlight Mode for Small Tasks in Dark Surroundings
Moonlight is a very dim steady setting intended for close tasks when you need only a little light. Our published specifications list Moonlight below 1 lumen for the Baton 4 Pro and at 1 lumen for the Warrior 3S. Those figures identify specific models; the word Moonlight does not establish an industry-wide output limit for every flashlight.
Useful examples include finding a bedside item, checking the contents of a small bag or locating a door handle in an already dark room. Keep the light directed at the object. If you cannot read the detail or distinguish the surrounding obstacles, move to a more useful level rather than treating the lowest available output as a goal in itself. A staircase or an unfamiliar path requires more information than the single object in your hand.
A pale surface close to the light can reflect light back toward you. Changing the angle or increasing the distance between the light and the page may make a close task more comfortable before you increase the output. With a dark fabric bag or a recessed label, the same setting may reveal too little. Surface color, position and the task's size help explain why a lumen figure alone cannot promise that Moonlight will work in every room.
Low output is also useful when other people are sleeping nearby, but aim and placement still matter. A dim lamp pointed at another person's face can remain a disturbance. We recommend using a localized pool of light for the object you need, then turning it off when you are finished. Avoid turning a shared sleeping area into a demonstration of every available mode.
Low and Medium Modes for Everyday Flashlight Use
Low and Medium deserve attention before the maximum-output headline. These are the levels you may use for sorting stored items, checking a doorway, examining a dropped object or continuing a routine outdoor task. The right starting point is the least output that lets you identify the relevant detail and your surroundings comfortably, with room to increase it when the task changes.
Consider an adult looking through a shelf of household supplies. Low may be sufficient to find a familiar container at arm's length. Medium may be more useful for reading smaller labels across the shelf or seeing the floor at the same time. Increasing output should answer a visible need: missing detail, a greater distance or a larger area. If the problem is a blocked beam, move the obstruction rather than adding brightness behind it.
Our Olight Baton 4 Pro specifications list Low at 15 lumens and Medium at 120 lumens, with rated runtimes of 155 hours and 18 hours 30 minutes respectively. That makes the middle of the mode range worth examining for regular use. These are separate rated settings, not a promise that a partly charged light will deliver either full duration after an earlier session at another level.
Medium is not a fixed cross-model category. The Warrior 3S lists Medium at 200 lumens with a 13-hour rated runtime. A buyer comparing the two should therefore write down the output beside the mode name. Comparing only the word Medium would hide both the different output and the different runtime. Neither row alone decides which light is better for your particular object, beam coverage or carry preference.
Turbo and High Modes Have Different Runtime Conditions
Turbo makes the highest available output accessible when you need a brief increase in light. High is another selected level below it. Both names require a careful reading of the specification: a runtime beside Turbo does not mean that the initial maximum output remains unchanged for the entire period. High can also have more than one output stage.
The Baton 4 Pro provides a clear example. Its Turbo row lists 1,600 to 600 lumens with a runtime of 2 plus 198 minutes. Read that as a staged rating: the initial 1,600-lumen portion is associated with the first two minutes, followed by the listed lower-output portion. Adding the two durations does not produce 200 minutes at 1,600 lumens. The High row separately lists 600 to 120 lumens with 200 plus 20 minutes.
| Baton 4 Pro setting | Published output | Published runtime | Correct reading |
|---|---|---|---|
| Moonlight | Below 1 lumen | 100 days | A very dim setting, separate from other levels |
| Low | 15 lumens | 155 hours | A named lower-output rating |
| Medium | 120 lumens | 18 hours 30 minutes | A separate middle setting |
| High | 600 to 120 lumens | 200 plus 20 minutes | Two listed output stages |
| Turbo | 1,600 to 600 lumens | 2 plus 198 minutes | Initial maximum followed by a lower stage |
This is why we recommend comparing the full row, not pairing the biggest number on the page with the longest duration. The table describes published ratings. Your remaining charge, previous use and operating conditions still belong in a practical plan. It is not a personalized countdown showing how many minutes your light has left today.
For a quick look across a storage area, a short increase may help you locate the item. Once you bring the object close, a lower setting may make more sense. For a longer continuous task, choose a level that already supplies useful light and examine its runtime conditions. Planning every task around repeatedly returning to Turbo leaves the sustained requirement unanswered.
Do not keep reactivating maximum output as a way to defeat a reduction. Our product instructions include heat and operating precautions that apply even when you would prefer more light. If the flashlight becomes hot, reduce output or turn it off as directed. Leave the light outlet uncovered and keep an illuminated light out of pockets and bags. A brightness preference does not override the handling instructions.
Reading Flashlight Runtime Without Mixing Settings
Runtime is useful only when you keep its associated setting attached. The longest listed duration often belongs to a very dim level, while the maximum lumen figure belongs to a different one. A statement such as “maximum output and months of runtime” combines two pieces of information that may describe completely different tasks. Look for the specific row that matches the level you expect to use.
The Olight Warrior 3S illustrates the same principle with three Turbo stages: 2,300 to 805 to 253 lumens, paired with 2.5 plus 160 plus 39 minutes. Its Moonlight row instead lists 1 lumen and 55 days. The long Moonlight figure does not describe the duration at 2,300 lumens, and the Turbo figure does not describe what you will get throughout the Moonlight rating.
Repeated short sessions introduce another practical limitation. A person who uses a light for several minutes each evening will not necessarily reproduce a published continuous runtime by dividing it into calendar days. Charging habits, previous output choices and the starting charge affect the next session. Use the rated row to compare the intended setting, then make a charging plan that fits how you actually use the light.
Mixed-mode use is especially easy to overestimate. Ten minutes on one level followed by a brighter session does not leave a known percentage of the Low rating unless you have additional model-specific information. We do not recommend calculating remaining runtime by subtracting minutes from unrelated rows. Check the available battery indication, recharge according to the instructions and arrange another light when an interrupted task would matter.
For a purchase decision, write a short requirement in ordinary terms: the object or area, the intended session length and the opportunity to recharge afterward. That is more useful than trying to maximize a lumen-times-hours score. Our guide to how bright 2,000 lumens is explains the brightness question; this mode choice also needs the duration and control conditions.
Flashlight Mode Memory and the Starting State
Mode memory means a light can return to a remembered setting, but the scope varies by model. It does not automatically mean every special function is remembered or that every control recalls the same output. Read the ordinary on/off behavior separately from direct shortcuts. The starting state, the control you use and the action you perform all affect the result.
For example, the Warrior 3S instructions describe a single click of the side switch for on/off and a return to the memorized brightness when turned on again. While the light is on, holding that side switch cycles through Low, Medium and High. Moonlight, Turbo and Strobe are outside that automatic cycle. This makes the normal brightness loop different from the full list of available functions.
That distinction helps you prepare a light for its next use. If you expect a close indoor task, check what an ordinary side-switch activation recalls before putting the light away. Do not assume that a direct shortcut you used earlier has become the new everyday starting level. Verify the behavior on the exact model while the light is pointed at an ordinary nearby surface, away from anyone's eyes.
A dual-switch light can make this less obvious because a tail control may provide a direct function rather than the side switch's ordinary remembered setting. Learning one button does not establish the behavior of the other. The Baton 4 Pro and Warrior 3S both have side and tail controls, but that shared description does not make their gestures or configuration options interchangeable.
Flashlight Shortcuts Are Model-Specific
A shortcut bypasses the normal cycle to reach a particular function. Its usefulness comes from predictability: you know which control to use, whether the light starts on or off, and whether the action is a click, a hold or a sequence of clicks. “Double-click for Turbo” is incomplete advice without a model and the relevant operating instructions.
On the Warrior 3S, the manual specifies a rapid double-click of the side switch for Turbo. It also specifies an off-state hold of that switch for more than one second to access Moonlight. These are named examples from one light's instructions, not a universal Olight control chart. A hold performed while the light is already on has a different role in its brightness cycle.
Use shortcuts selectively. A household user may need reliable access to a dim setting and an ordinary working level. Another adult may value quick access to a brighter setting for a brief outdoor check. Both can benefit from knowing how to return to the intended normal level. Memorizing every optional function is less useful than being confident about the few actions your actual task requires.
When showing another adult how to use the light, identify the model and demonstrate the ordinary on/off action before special functions. Explain the starting state instead of giving a sequence of button presses without context. Leave the exact instructions available. This keeps a shared household light usable without implying that its controls will match every flashlight someone has used before.
ArkPro Beam Selection Is Different From Brightness Selection
Our Olight ArkPro family adds another distinction: selecting a light channel is different from adjusting its brightness. For example, our ArkPro Ultra specifications distinguish Pure Flood and Spot white light. A broad white-light task and a more concentrated white-light task call for different coverage. Treat the channel selection and the output level as two separate questions rather than assuming every additional function is simply a brighter mode.
For a close work surface, start by asking whether the light covers the area you need. For a particular object farther away, consider whether the selected beam places useful light on that object. Then choose an appropriate brightness within the available settings. If your immediate need is ordinary white-light illumination, additional specialized channels do not have to be part of that decision.
Check the exact ArkPro model before following a control diagram. A family name can include variants with different channels and controls. Do not transfer an instruction for one variant to another because the bodies look similar. We recommend keeping the selected model's channel names beside its brightness instructions, particularly when more than one person uses the light.
Strobe Is Separate From Steady Flashlight Modes
Strobe is a flashing function rather than another steady brightness level. Both the Baton 4 Pro and Warrior 3S list it separately from their ordinary levels. If your task is reading a label, sorting items or following the walking surface, choose steady illumination that lets you keep observing the detail. A flashing pattern does not provide the same continuous view.
Do not assume that Strobe also means SOS or Beacon. The Baton 4 Pro and Warrior 3S specification tables list Strobe as available and SOS/Beacon as unavailable. These names describe different functions, so check the actual feature list if a particular pattern matters to your intended use. The presence of one flashing setting does not establish every other signaling capability.
For a shared household light, knowing how to avoid an unwanted shortcut can be more useful than deliberately selecting the flashing function. Keep practice directed at a nearby unoccupied surface, and avoid cycling flashing light around other people. There is no need to demonstrate it toward someone's eyes to learn the ordinary working modes.
Unused Flashlight Modes and Accidental Activation
An unused mode is not necessarily a mode you can delete. Do not assume a flashlight offers programmable mode groups, a user-defined brightness cycle or a way to remove Strobe. If the exact instructions do not describe such an option, plan around the available normal cycle and shortcuts. Changing a control configuration on one model is not evidence that another model has the same feature.
You can simplify everyday use without inventing a customization feature. Choose the ordinary level that suits the task, learn its normal access path and keep optional functions separate in your notes. For a shared light, a brief reminder naming the model, the everyday control and the source instructions can be clearer than a handwritten chart attempting to describe every possible combination.
Lockout solves a different problem: unintended activation during storage or carry. It is not a way to erase unwanted modes. Use the lockout procedure given for your exact model and confirm its expected indication before carrying the light. Do not borrow a sequence from another dual-switch flashlight or keep pressing controls at random when a locked light does not turn on.
If a light behaves unexpectedly, stop and identify its current state before trying more gestures. It may be locked, on a different channel or at a different remembered level. If the correct procedure still does not restore normal operation, follow the product's support guidance. Avoid disassembly or improvised electrical changes as a solution to an unfamiliar mode sequence.
Choosing Flashlight Modes for Three Everyday Tasks
For a bedside or shared-room task, arrange access to a useful dim level before the room is dark. Point the light at the small object you need and increase output only if that object remains unclear. When you move from the object to walking through the room, reassess the surrounding floor and obstacles. The setting suitable for a label is not automatically suitable for movement.
For an evening household job, such as locating supplies in a storage area, prioritize a steady working level and beam placement. Check whether your hand or the container blocks the light. If you need both hands for the task, choose an appropriate supported lighting arrangement rather than holding a light insecurely. A higher mode cannot fix a light that keeps pointing away from the work.
For a longer routine outdoor session, consider the useful middle settings, the rated duration and how you will recharge afterward. Conditions can change as you move between a nearby object and a wider area, so convenient adjustment matters. Keep maximum output available for a defined brief need rather than treating it as the default for the whole session. Carry an accessible alternative when losing light would interrupt your return or essential task.
These examples also help narrow a purchase. Compare the brightness levels you would actually use, the way you reach them and the size you are willing to carry. Our best EDC flashlights guide compares carry styles; a mode-focused choice should add the everyday output and control requirements to that carry decision.
Common Flashlight Mode Mistakes
Several common assumptions combine settings that need to be kept separate. Use this quick check when reading a specification or learning a new light.
| Assumption | More useful interpretation |
|---|---|
| Medium means the same output on every light | Match each name to its model-specific lumen figure |
| Turbo runtime means constant maximum output | Read every listed output and time stage together |
| Every function belongs to the ordinary cycle | Check the normal loop and separate shortcuts |
| A brighter mode fixes poor coverage | Check the channel, beam direction and obstruction |
| Lockout removes unwanted modes | Treat carry lockout and mode selection separately |
Before choosing a light, identify one routine task and one occasional demanding task. Find the appropriate setting for each, read the associated runtime and confirm the access method. Before carrying it, check the charge and the prescribed lockout. That small amount of preparation gives the mode names a practical meaning without requiring you to use every function on the specification sheet.
FAQ
Changelog
- November 5, 2026: Product information and buying guidance reviewed.