⚡ TL;DR
The brightest flashlight under $200 is not necessarily the best value for lighting a yard: peak output falls after a short burst, while the beam pattern and a useful lower mode shape the rest of the job. Within our four-model comparison, the Seeker Ultra has the highest published peak; the Seeker 4 Pro offers a lower listed price and a 300-lumen medium mode. Compare the exact option and price before ordering.
| If your priority is | Start with | Why it is worth comparing | Tradeoff |
|---|---|---|---|
| Highest published peak in this group | Seeker Ultra | 4,800-lumen maximum; 300 lumens for 12.5 hours on medium | Higher listed price and weight |
| A lower-priced broad-output option | Seeker 4 Pro | 4,600-lumen maximum; 300 lumens for 11 hours on medium | Lower capacity than the Ultra's listed battery |
| More emphasis on distance | Warrior Ultra | 26,000-candela maximum intensity rating | Narrow-beam intensity alone does not describe coverage |
| A smaller purchase price in this set | Warrior 3S | $119.95 reference price; 200 lumens for 13 hours on medium | Lower maximum output than either Seeker |
Our comparison uses published model ratings and selected-option regular prices checked on November 4–5, 2026, before tax and shipping. These are not a ranking of every light sold below $200. Prices, availability and specifications for individual versions can change.
📋 Table of Contents
- 1. Start With the Area You Need to See
- 2. Four Flashlights Under $200: Published Specifications
- 3. Peak Lumens, Step-Down and the First Five Minutes
- 4. Peak Lumens per Dollar: A Limited Price Comparison
- 5. Seeker Ultra vs Seeker 4 Pro for a Wide-Area Job
- 6. Candela, Beam Distance and Coverage
- 7. Choosing the Right Brightness for an Outage
- 8. Heat, Eyes and Responsible Use of High Output
- 9. Building a Useful Comparison Before Buying
- 10. Keep the Complete Flashlight Setup Below $200
- 11. Match Flashlight Modes to a Yard or Campsite Routine
- 12. FAQ
Start With the Area You Need to See
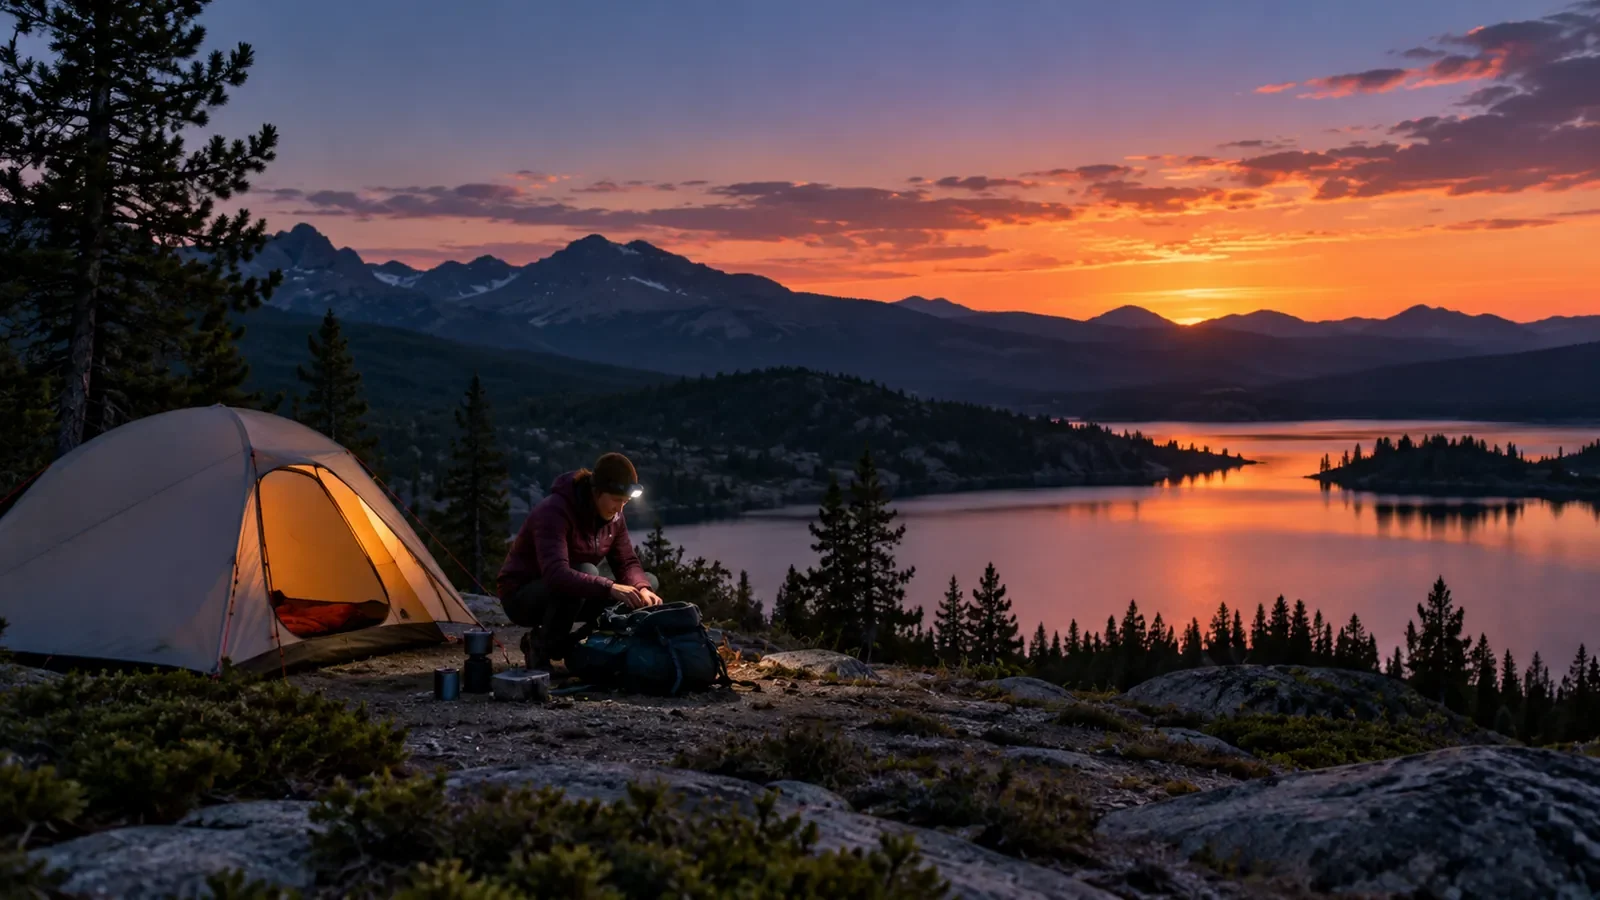
For a campsite, think about the whole job: finding the edge of the tent pad, checking a path between tables and looking at a distant tree line are different tasks. A high-output light can provide a short broad look; a lower setting is often more practical when working near people or reflective surfaces. A beam aimed toward someone's eyes or a neighboring tent can make a shared space harder to use, even when the total output is impressive.
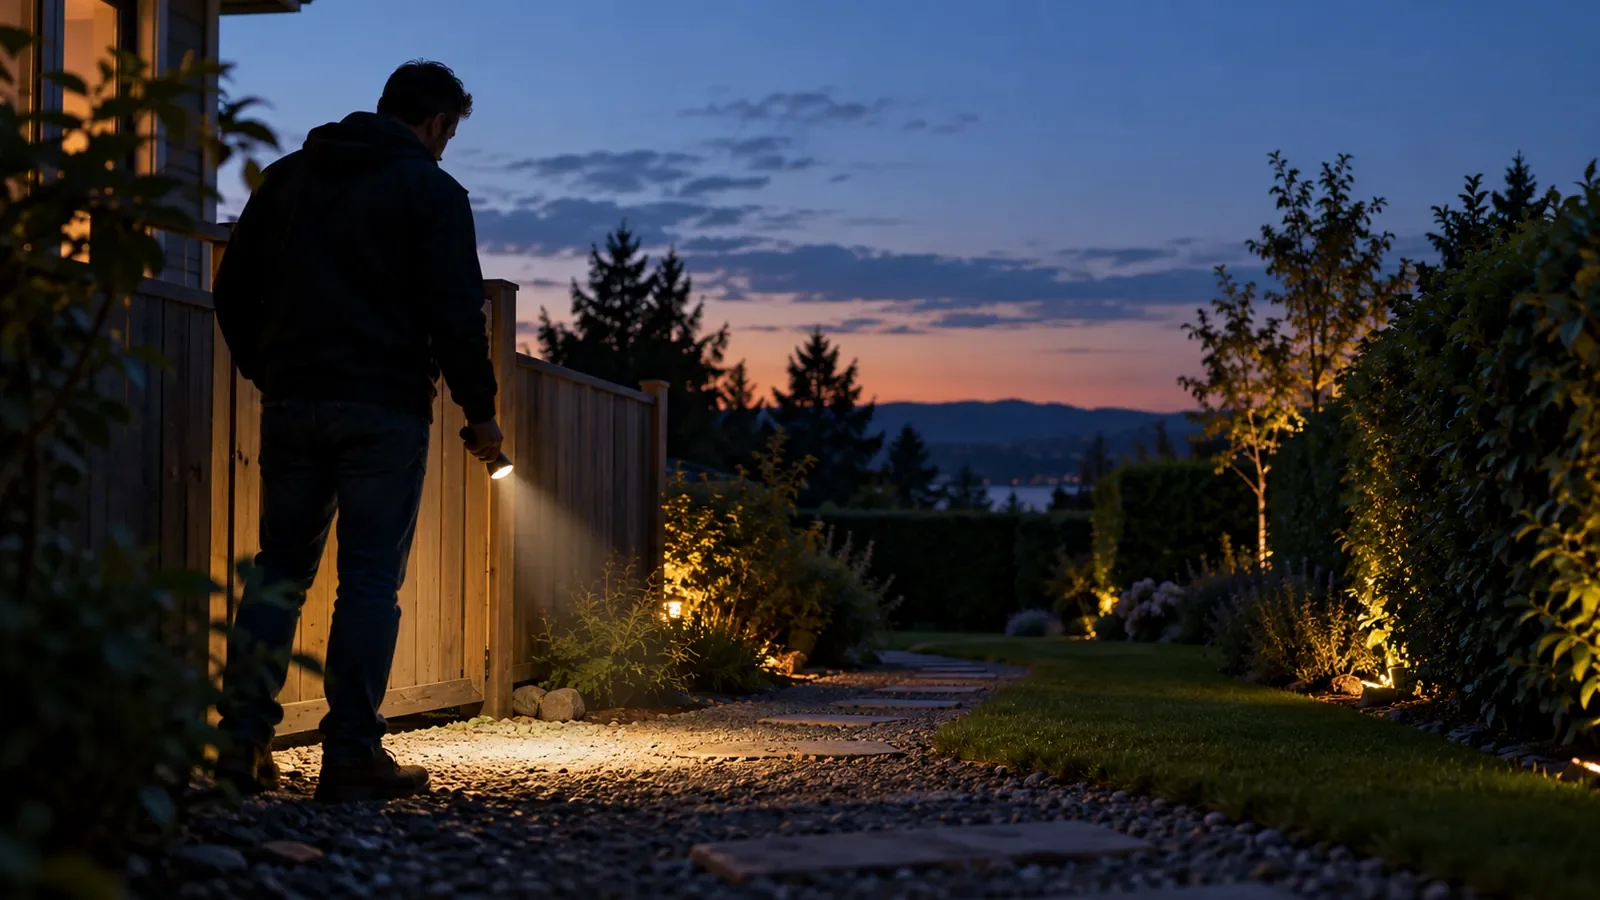
For a farm or a large yard, decide where you will stand and which areas are obstructed by buildings, vegetation or terrain. A light cannot reveal what is hidden behind a wall. If you need to inspect an animal or an unfamiliar object, approach only when safe and avoid aiming a powerful beam directly into eyes. Use a route and a backup plan appropriate to the site, especially when walking around fences or equipment in darkness.
After an outage or a storm, checking the yard from a safe location is different from inspecting a damaged roof. Do not use a light as a reason to climb onto a potentially damaged structure, approach a downed wire or enter an unstable area. Follow local emergency guidance and contact the appropriate professionals when hazards are present. Keep a second light available in case the first one is charging or misplaced.
Four Flashlights Under $200: Published Specifications
The four reference options below had regular listed prices under $200 at the time shown. Maximum output is a peak rating; the separate medium-mode row is a practical comparison of an explicitly named setting. Battery-inclusive weights do not include a separate holster unless stated.
| Model and example option | Reference regular price | Published peak | Medium setting and rated runtime | Weight with battery |
|---|---|---|---|---|
| Seeker Ultra, olive green | $169.99 | 4,800 lm | 300 lm / 12.5 h | 220 g |
| Seeker 4 Pro, black cool white | $139.99 | 4,600 lm | 300 lm / 11 h | 205 g |
| Warrior Ultra, OD green | $139.99 | 2,500 lm | 200 lm / 13 h | 178 g |
| Warrior 3S, black or green | $119.95 | 2,300 lm | 200 lm / 13 h | 176 g |
For the Seeker 4 Pro, the 205 g figure is for the other listed finishes; its silver-plated bronze version is listed at 350 g including battery. Our product pages identify the selected batteries as rechargeable 21700 cells: 5,800 mAh for Seeker Ultra and 5,000 mAh for the other three. Use the compatible cell specified for the exact light rather than assuming that all batteries of the same size are interchangeable.
The Seeker pair share a 300-lumen medium rating, so those two listed runtimes are useful to compare as a starting point: 12.5 hours versus 11 hours. The Warrior pair both list 200 lumens for 13 hours. Do not compare the two pairs' hours as though all four were producing the same output. Ambient temperature, battery condition and how often you change modes also affect your own use.
Peak Lumens, Step-Down and the First Five Minutes
Lumens describe total visible light output. A peak figure tells you the most a mode is rated to produce, not the level it will maintain indefinitely. A high-output light may lower its output to manage heat or power. A runtime chain is more informative than a single large number because it tells you which stages belong to the same mode.
Our Seeker Ultra specifications list Turbo as 4,800 → 1,000 → 600 lumens, with corresponding stages of 2.5 + 150 + 70 minutes. The Seeker 4 Pro lists 4,600 → 1,200 → 600 lumens for 2.5 + 122 + 35 minutes. These are published stage ratings, not a continuous trace of the first minute or fifth minute in your yard. They do not establish the exact brightness at either minute under your conditions.
Similarly, the Warrior Ultra page lists 2,500 → 800 → 250 lumens for 2.5 + 162 + 39 minutes, while Warrior 3S lists 2,300 → 805 → 253 lumens for 2.5 + 160 + 39 minutes. Read the arrows as a single mode's sequence. Adding the time stages gives a total for that published sequence; it does not mean the maximum output lasts for that total.
For a short sweep, the first stage may be relevant. For a ten-minute check, the following stage matters more. If your task lasts an hour, start with a mode you can use for an hour and keep the top mode available for a specific need. Check the exact manual for mode access and heat warnings, and let the light cool according to its instructions.
Peak Lumens per Dollar: A Limited Price Comparison
Dividing the published maximum by the selected option's regular price gives a narrow way to compare peak ratings with purchase price. It is not a measure of useful light on the ground, a battery-efficiency figure or a ranking of brightness after five minutes. These figures use the reference prices above, rounded to one decimal place.
| Model | Peak calculation | Rated peak lumens per dollar |
|---|---|---|
| Seeker 4 Pro | 4,600 ÷ $139.99 | 32.9 |
| Seeker Ultra | 4,800 ÷ $169.99 | 28.2 |
| Warrior 3S | 2,300 ÷ $119.95 | 19.2 |
| Warrior Ultra | 2,500 ÷ $139.99 | 17.9 |
On that limited measure the Seeker 4 Pro leads this four-option table. The Seeker Ultra lists 200 more peak lumens and a longer 300-lumen medium rating, but its reference price is $30 higher. Whether that difference is worthwhile depends on the mode and charging arrangement you need. Neither ratio tells you how long a peak lasts, how wide a beam appears or what the checkout price will be.
A promotion can change the arithmetic, but a sale price for one finish cannot be treated as the regular price of all versions. The OD green Warrior Ultra option provided the $139.99 reference here; do not assume that other finishes have the same availability. Compare the actual selected SKU, stock and total at checkout; tax, shipping or an accessory may push a nominally sub-$200 light above your budget.
Seeker Ultra vs Seeker 4 Pro for a Wide-Area Job
The Seeker Ultra is the higher-peak option in this comparison. We list a 5,800 mAh customized battery, 220 g weight with battery, and a 138 × 35 mm body. Its rotary side switch offers a way to adjust output, and the listed package includes a vertical holster and USB-C charging cable. The page also lists magnetic charging; check the selected package for the cable supplied.
The Seeker 4 Pro lists a 5,000 mAh customized battery and a 133 mm length with a 35 mm head. Its selected regular option costs less in the reference table, and its published peak is 200 lumens lower. The standard version's 205 g battery-inclusive weight is 15 g less than the Ultra's listed weight. That difference is easy to calculate but does not tell you which grip will feel better in your hand.
Both products list a vertical holster with USB-C charging and an IPX8 water rating. Confirm the package and instructions for the actual option. IPX8 is a specified water-immersion rating, not a claim of dust-tightness, unlimited waterproofing or suitability for charging a wet light. Dry and inspect the light and charging contacts as directed before charging.
A longer medium-mode rating may matter if you want a light ready for an extended outage. A lower initial price may matter more if you plan to buy a second light as a backup. Compare total cost, controls and where each light will be stored rather than assigning a universal winner from a 200-lumen difference at maximum.
Candela, Beam Distance and Coverage
Candela describes intensity in a particular direction. It helps explain why two lights with similar total lumens can send different amounts of light toward a distant point. Our Warrior Ultra lists 26,000 candela and a 320 m beam-distance rating; the Warrior 3S lists 23,000 candela and 300 m. The Seeker Ultra and Seeker 4 Pro list 17,600 and 16,895 candela respectively.
Those numbers are useful for a directional-intensity comparison, but a rated beam distance is not a promise that you can identify a person, animal or obstacle at that distance. Identification depends on contrast, weather, target size, eyesight and background light. A focused hot spot can help direct light farther, while spill can help reveal the area around it. Neither total lumens nor peak candela by itself tells you the full shape of the beam.
Illuminance measured at one point one meter away is also insufficient to describe an entire yard. A reading in a bright hot spot says little about the darker edge. Distance, angle and surface reflectance change the result. For a coverage comparison, use comparable beam images or measurements with the same camera settings, distance and environment; otherwise treat apparent size and exposure differences cautiously.
When choosing, trace the route with a map or in daylight. A fence line viewed from one end calls for different intensity and reach from a close work area around a table. If you need both, choose a light whose available beam and lower modes suit the closer work as well as the occasional longer look. Avoid using another model's photo as proof of your chosen light's coverage.
Choosing the Right Brightness for an Outage
A light kept for power cuts needs a storage place, a charge plan and a person who knows its controls. Put it somewhere accessible without crossing the dark room it is supposed to illuminate. A simple label beside the storage spot can identify the model and its charging cable. Check the battery and operation at intervals recommended in its instructions, rather than assuming a full charge will remain untouched indefinitely.
Start indoors with a low mode aimed away from faces. Light-colored walls can reflect a considerable amount of light; a high mode may cause glare at close range. If you move outdoors, allow your eyes time to adapt and direct the beam toward the ground ahead. For a broader household setup, more than one light can keep an exit path and a task area available at the same time.
A $200 budget may need to cover more than the light itself. Confirm the included battery, charging cable and holster for the chosen option. Leave room for any compatible spare cell or second light that your plan actually requires. A spare lithium-ion cell should be carried in a protective case, separated from keys, coins and other metal objects; follow its manufacturer's charging and storage instructions.
Do not leave a rechargeable light in a hot vehicle merely because a kit is convenient there. Follow the particular product's storage limits, carry the light in a secured kit and return it to an appropriate indoor location when necessary. A light that remains at home, charged and easy to find, can be more useful than a higher-output model stored somewhere inaccessible.
Heat, Eyes and Responsible Use of High Output
High-output LEDs can heat the light and nearby materials. Keep the lens clear and do not leave an operating light face down on fabric or inside a bag. Use lockout when the manual calls for it during transport, and check that the switch cannot be pressed accidentally. A proximity sensor is an additional feature on some models; it is not a replacement for switching off and securing the light.
Never aim a bright light at a person's or animal's eyes, toward drivers, or at aircraft. Reflected light from glass, a mirror or a light wall can also be uncomfortable at close range. In a group, tell people before you change to a higher setting, point away from them and return to a suitable lower setting when the task is done.
A high-lumen flashlight is not a safety certification. For hazardous work environments, follow the site's equipment rules and the exact product's approvals; a water rating does not establish suitability for a flammable atmosphere. If a light, battery or charger is damaged, stop using it and follow the manufacturer's guidance.
Building a Useful Comparison Before Buying
Start with a shortlist of the exact versions you can purchase. Browse our flashlight store and record the regular price, current selling price and what comes in the box in separate columns. If one option includes a charger and another requires one, add the compatible charger to the second option before comparing the totals. A battery included in the first package is part of that package, not a free extra to count a second time. Keep taxes and shipping visible because they can change which combination fits the budget.
Next, write down the mode you expect to use most. A light with a higher peak may have a lower mode that better matches close work; that lower rating is the one to compare with your usual task. If two lights publish the same output for different durations, compare those durations as rated starting points. If their outputs differ, keep both numbers together instead of writing a runtime-only league table. Check the manufacturer’s conditions and battery as well as the mode name. When a mode steps down, record the output and duration for each published stage together: a long total runtime does not establish the brightness of its final stage. Check whether the listed battery is supplied and whether a replacement must be a specific customized cell.
Then think through the controls. An outdoor check might begin with gloves on, but a small control or unfamiliar mode sequence can be difficult for an individual user. Read the exact instructions, check whether a lockout must be released, and practice the ordinary settings in a safe place. If another household member may need the light, put the instructions where they can find them. A product with many settings is only useful when the people relying on it understand how to reach the one they need.
Our guide to 2,000 lumens gives additional context for reading output figures. For a head-worn alternative, the brightest headlamp for camping guide focuses on setup bursts and head weight. Those jobs are related, but a handheld light and a headlamp solve different carrying problems.
Consider how the light will be carried during the task. A belt holster keeps the hands available while walking, but the light must fit the supplied or compatible holster securely. A larger head may take more room in a bag, while a compact body can be easier to store at home. Check the product's dimensions and package information rather than assuming that every holster shown in a photo comes with every option. Once the light is stored, make sure you can retrieve it without moving heavy objects or opening a blocked door.
Finally, decide what you will do if the first light fails or needs charging. A second light can cover a different part of a property, and a familiar lower mode can reduce the temptation to use maximum output for every short task. A backup is only useful if it is charged, stored where expected and accessible to the person who needs it. Revisit that plan after a move or a change in household routines.
Keep the Complete Flashlight Setup Below $200
Treat $200 as a limit for the setup you intend to receive. The reference table compares light prices before tax and shipping, so it leaves different amounts for other costs. At the listed regular prices, a $139.99 Seeker 4 Pro leaves $60.01 of a $200 budget before those additions. A $169.99 Seeker Ultra leaves $30.01. These differences describe remaining budget, not the price of a promised accessory bundle. Use the actual checkout figures to decide whether the completed order fits.
Separate essential accessories from optional additions. If the selected package already contains the charging equipment needed at home, adding another cable does not increase the light's published output. If you need a second charging location, price the compatible equipment explicitly. A spare battery adds cost and a storage responsibility; include it only when the approved cell and a way to charge it address your intended use. Do not assume that an inexpensive generic cell will work because its size has the same number.
Compare a sale on the exact finish you would buy with the regular-price table, then record both figures. If a promotion ends before checkout, use the updated total. An unavailable finish with a low historical price does not provide a usable purchasing option. Keep any alternate model on the same basis, including its own required accessories and delivery charge. That gives you a budget decision you can repeat without relying on a temporary banner price.
Match Flashlight Modes to a Yard or Campsite Routine
Write down a proposed outing as a sequence of tasks before choosing a maximum-output rating. For example, you might need a brief look across an open yard, a walk along a familiar path and several minutes reading a latch or finding an item in a bag. The distant look and the close work do not require the same beam or setting. Choose a model that lets you reach a suitable ordinary mode as well as the occasional higher output. Follow its control instructions and practice where accidental activation will not disturb other people.
Use the published medium figures to narrow that choice without converting them into a battery forecast. The two Seekers list 300 lumens in medium; the two Warriors list 200 lumens. You can compare the Seeker pair's stated hours at their common medium output, and separately compare the Warrior pair. You cannot subtract a few minutes of Turbo from those ratings and calculate an exact remaining runtime: the supplied specifications do not establish that mixed-use discharge history. Leave a practical reserve and keep a separate available light when losing illumination would interrupt the task.
For a shared campsite, agree where each person will stand and who may need light while the handheld is elsewhere. A person cooking near a table may need a different arrangement from someone checking a distant edge of the site. Aim and position the light so that the intended task is visible without sweeping nearby faces. When both jobs happen together, an existing second light may solve the access problem more effectively than increasing the first light's maximum setting.
After the task, return the light to the chosen storage spot and check its condition according to the instructions. If it has become hot, follow the cooling guidance before placing it against other items or charging it. Record a missing cable or an awkward control as a setup issue to fix. This routine gives the next purchase a clear purpose: easier access, a different beam, compatible charging or a useful backup, rather than a small increase in a peak number alone.
FAQ
Changelog
- November 5, 2026: Product information and buying guidance reviewed.