⚡ TL;DR
For a trained off-duty emergency medical technician (EMT), an everyday carry (EDC) trauma kit's light should be easy to retrieve and suited to the space you need to see. We recommend choosing its carrying position and hands-free arrangement together. A separate light can help you find equipment while leaving your phone available for communication.
| Lighting role | A useful arrangement | What to decide first |
|---|---|---|
| Find the bag opening or a nearby item | A small accessible handheld light | Whether you can retrieve it before opening the main compartment |
| Keep light with your view while using both hands | A headlamp | Where the headband travels and how you will retrieve it |
| Illuminate one position without holding the light | A directional clip light | Whether the actual carrying point gives the beam a useful angle |
| Keep a separate backup available | A small light carried in a different location | Whether its battery and controls fit your maintenance routine |
The medical contents of your kit belong with your professional training and the requirements that apply to your practice. Here, we focus on fitting illumination around that existing equipment: access, carrying space, controls, power and the return to everyday storage. Our everyday lighting collection offers different formats for those decisions.
📋 Table of Contents
- 1. EDC Trauma Kit Lighting Starts With the Retrieval Path
- 2. Pocket, Everyday Bag and Vehicle Carry Need Different Plans
- 3. A Headlamp Follows Your Gaze; a Handheld Changes the Angle
- 4. Perun 3 Combines Head-Worn and Handheld Lighting
- 5. Oclip 2 Pro Offers Directional Clip Lighting
- 6. Small Backup Lights Serve a Different Role
- 7. Light Position and Output Matter More Than a Maximum Number
- 8. Learn the Exact Light Controls Before Packing
- 9. Keep the Phone Available for Communication
- 10. Battery Preparation Has to Fit Your Actual Power Sources
- 11. Clean Storage Is Separate From Disinfection
- 12. Reset the Lighting Arrangement When the Bag Changes
- 13. FAQ
EDC Trauma Kit Lighting Starts With the Retrieval Path
Start with the bag closed and in the position in which you actually carry it. A light can occupy little space yet be difficult to reach underneath a jacket, behind a zipper or among loose objects. Decide which opening you will use to retrieve it and whether another item has to come out first. That sequence tells you more about access than the light's maximum output alone.
Give the light a repeatable location. An accessible compartment, a suitable clip position or a familiar pocket can each work, depending on your clothing and bag. Avoid a location that changes whenever you add a water bottle or put away your keys. If you transfer the pouch between bags, include the light in that transfer rather than assuming it follows automatically.
Treat the zipper, the carrying attachment and the light's control as separate parts of the arrangement. Being able to find a pouch does not mean the lamp is ready to use. Equally, an exposed control is of little help if the clip is trapped beneath a shoulder strap. During ordinary preparation at home, check the complete route from carrying position to an illuminated view of a harmless household object.
Notice whether you have to put the bag down, which hand holds it open and where the light goes when you finish. Change an awkward pocket or attachment before buying a brighter lamp. Access is a property of the whole carrying arrangement, including the bag and clothing you use that day.
Pocket, Everyday Bag and Vehicle Carry Need Different Plans
A pocket light travels with the person, including when the larger bag stays elsewhere. This makes it useful for finding the bag, reading its exterior label or looking into a nearby compartment. The trade-off is limited carrying space. A small light that shares a pocket with other objects also needs a deliberate return position, so it does not disappear beneath the contents.
An everyday bag can accommodate a headlamp and its headband, along with an accessible smaller light. Put the parts needed for head-worn use together. A lamp body in one compartment and a headband underneath unrelated equipment create an extra assembly task. Check whether the bag still closes normally and whether retrieving the light disturbs the organization of the equipment you already carry.
A vehicle changes access as well as storage conditions. A bag inside a parked vehicle is unavailable when you have left the vehicle behind, and a locked compartment introduces another step. For a lamp you bring on a journey, read its storage requirements and consider how you will take it with you. Do not treat a product's everyday-carry description as approval for permanent storage in a hot vehicle.
These are carrying choices, rather than three mandatory levels of medical equipment. Choose around your actual routine: walking with a small pouch, carrying a work bag or moving a larger bag between home and a vehicle. Buying a second light helps only when it closes a real access gap. Two lights left in the same inaccessible bag still depend on that bag being available.
A Headlamp Follows Your Gaze; a Handheld Changes the Angle
A headlamp is useful when you want light to move with your view while both hands organize a bag or handle ordinary equipment. It also stays with you when you step away from the original surface. The headband therefore deserves the same attention as the lamp: where it is packed, whether it is adjusted for you and how easily the complete arrangement can be retrieved.
A source that follows your head has limits. Turning toward another person also changes where the beam points. Looking into a compartment may leave a label partly obscured by the hand reaching into it. A handheld light lets you move the source to one side while keeping your viewing position. That flexibility can help when an item or reflective surface obscures the detail you need.
Neither format automatically replaces the other. If you mainly need a brief look at a bag fastening, a small handheld light may be sufficient. If the recurring task involves organizing several items with both hands, a headlamp may address the inconvenience directly. Our headlamp collection offers that format, while our headlamp selection guide provides a broader comparison of wearing options and intended tasks. Include the space needed for the headband in your decision.
A useful preparation exercise is to read an ordinary printed label inside your own bag, then move the light to reveal another side of the same object. Observe which position blocks your view and whether you need to hold the light throughout. This is a way to choose the format for your own equipment, without turning a household observation into a medical assessment method.
Perun 3 Combines Head-Worn and Handheld Lighting
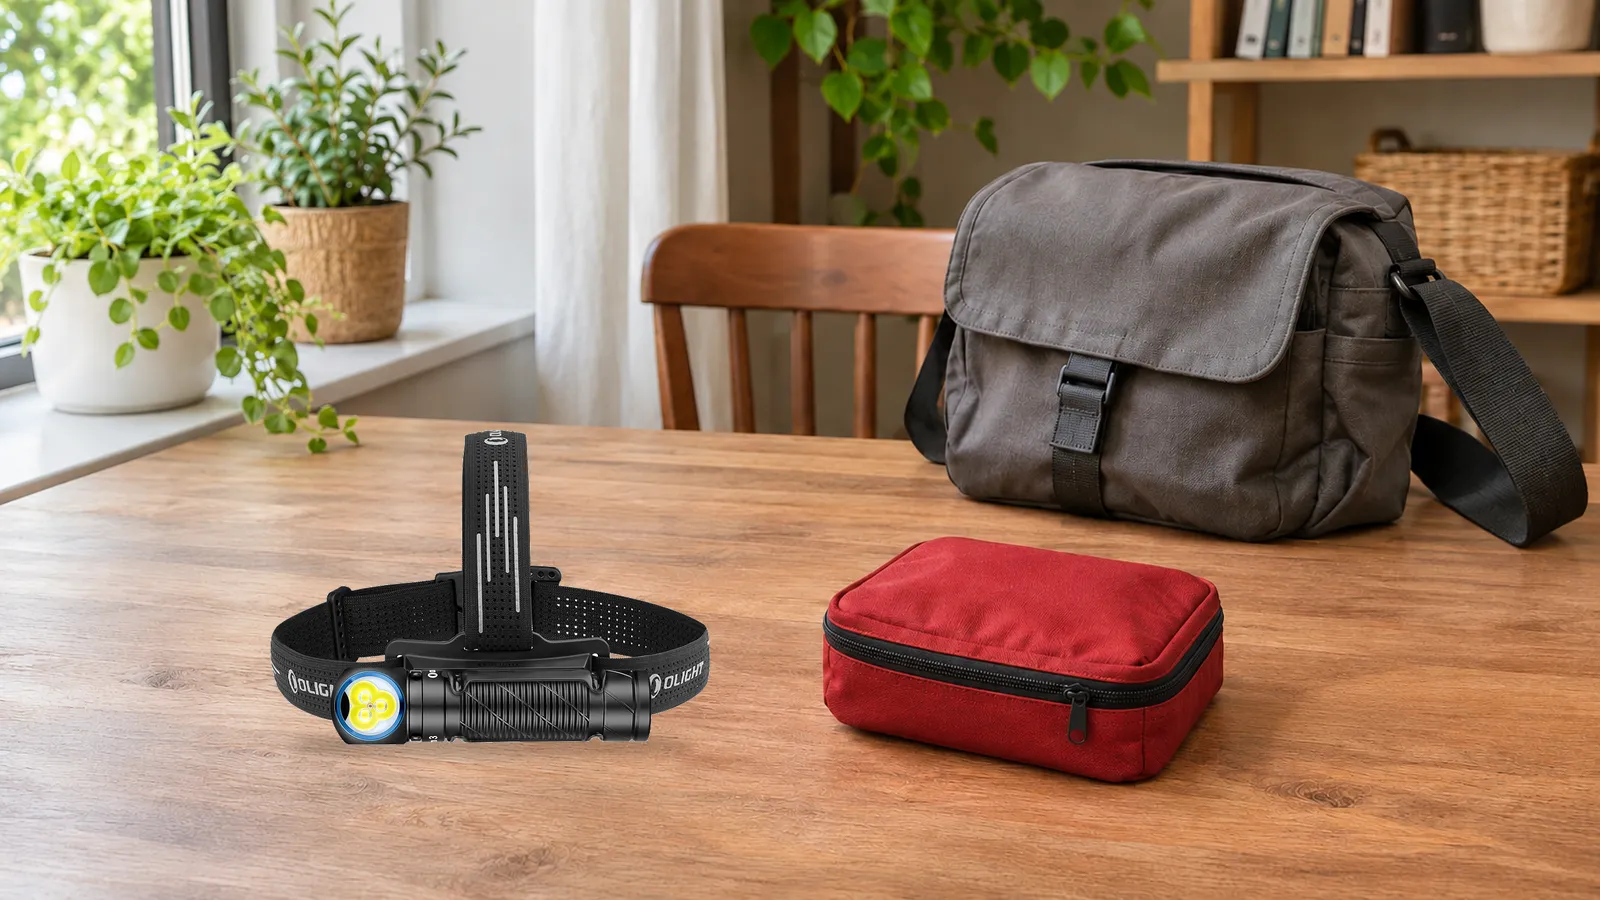
Our Perun 3 includes a headband and can also be used as a handheld light. Its published configuration weighs 150 g including the battery. The supplied headband, clip and lanyard give it several carrying options; the current US description also identifies a magnetic tail for hands-free placement on an appropriate iron surface.
For this kit-planning task, the main benefit is choosing how to support the light as the task changes. You might organize the bag with the lamp head-worn, then hold it separately when you need light from another angle. Pack the headband with that change in mind. If you frequently remove the body from its metal bracket, note our product-page guidance that repeated removal and insertion can scratch the body.
Perun 3 has five white-light modes as well as red-light modes. Its white-light specifications include Low at 30 lumens and Medium at 120 lumens, giving you alternatives to its maximum setting. Choose a level that reveals the ordinary detail you need without lighting the whole area unnecessarily. The existence of a high-output mode does not make it the default for looking inside a nearby bag.
The large concave metal side button is described in our US listing as glove-friendly. That design feature can inform a choice, but your own preparation still needs to account for the exact gloves, carrying position and control state involved. Choose its output and position for seeing your equipment.
Oclip 2 Pro Offers Directional Clip Lighting
Our Oclip 2 Pro takes a different approach: its head tilts through 115 degrees and its clip rotates through 360 degrees. This lets you adjust the light's direction separately from the point where the clip sits. That distinction matters when the most accessible attachment point is on a bag or strap that does not face the object you want to illuminate.
Begin with the actual attachment and the intended view. A collar, a loose pocket edge and a bag strap move differently. Arrange the light while the bag is in its normal position, then check whether opening the compartment changes the beam's direction. A lamp that points neatly at a closed bag may need repositioning once you lift the flap or set the bag down.
The current US description also specifies tail and clip magnets for work-light placement. Use that as another placement option where the surface and position suit the task; do not assume every nearby metal object provides the same support. A light placed away from your body also needs an obvious retrieval plan, especially if you move the bag or hand it to someone else.
Oclip 2 Pro offers floodlight, spotlight and red-light choices. For bag organization, select the light type and angle around the area you need to see, rather than choosing by maximum throw. Its adjustable direction may be more valuable than another peak-output figure. If you are buying a kit version, check its contents: the Mobile Charging Dock belongs to the Premium version and is not a standard inclusion with every Oclip 2 Pro.
Small Backup Lights Serve a Different Role
A small backup is useful when it remains accessible independently of the larger lamp. Our i3E EOS uses one AAA battery and a twist control. Its current US description specifies 90 lumens. This offers a compact way to find an opening or look at a nearby item, with a replaceable battery instead of an onboard charging connection.
Choose the AAA arrangement only if replacement cells fit your routine. A spare battery needs suitable protected storage, and the light still needs periodic attention to its condition and normal operation. Do not assume that all AAA battery types have identical runtime. For this role, deciding whether you will keep the light supplied is more useful than comparing an isolated runtime number with a rechargeable model's different specification.
Our iUltra offers another workflow. Its published output is 80 lumens and its weight is 20 g including the battery. Pull the light body away from its magnetic base to turn it on, then snap it back into the base to turn it off. Its integrated USB-C plug provides cable-free charging, and its current US description identifies a magnetic base for hands-free use.
With iUltra, account for both parts when using the light away from its carrying point. A small detached body is easy to place beside a bag and then overlook while repacking. Choose between i3E EOS and iUltra by the controls and power source you can maintain consistently. A backup should solve an availability problem; its presence does not turn a tiny light into the equivalent of a headlamp and headband.
Light Position and Output Matter More Than a Maximum Number
Reading inside a pouch involves more than producing light. Your hand may cast a shadow across the opening, reflective packaging may obscure part of a label, or another object may sit in front of the detail you need. Change the light's position and reveal the complete object before assuming that a higher output will resolve the problem.
Start with a normal, accessible viewing position and an appropriate steady white-light mode. Use enough light to read the necessary information, then adjust the angle if the view is uncomfortable or incomplete. Do not build a kit around an invented minimum lumen threshold: the object, distance, surrounding light and way you hold the bag all affect the result.
A peak output is also different from an output that remains unchanged throughout a task. For example, Perun 3's published Turbo sequence is 3,000, then 800, then 600 lumens, with durations of 2, 180 and 30 minutes respectively. That specification is not a claim of 3,000 lumens for the combined duration. A lower, suitable mode can be a more relevant planning choice for ordinary nearby organization.
Keep any consequential identification within the lighting and professional conditions it requires. A small lamp can help you locate equipment, but finding an object and correctly interpreting all its information are different tasks. If the view is inadequate, use a more suitable arrangement rather than treating a product's lumen or throw rating as proof that the necessary detail is visible.
Learn the Exact Light Controls Before Packing
During ordinary preparation, learn the controls of the model you actually carry. With Perun 3 unlocked and off, a single press of its side switch turns on the white light. While the white light is on, a single press turns it off. Brightness memory and separate modes mean that remembering only the position of the button is not the whole preparation task.
Read the matching manual before changing lockout or selecting special modes. A long press, double press or selector movement does not have the same meaning across all lights. Our flashlight mode guide explains the distinctions between common modes and their uses. Keep any control reminder tied to the exact model, and check it again if you replace the lamp with a different version.
Separate locating the control from operating it in the conditions you expect. A clip can rotate the control away from your fingers, a strap may obstruct it or a bag pocket may make the lamp difficult to grasp. Work through those ordinary handling details with your own equipment in a familiar place.
Keep the Phone Available for Communication
A phone may be the device you need for a call, location information or messages. Using its flashlight at the same time also makes the phone a lighting object that has to be held or placed somewhere. A separate lamp gives you another way to direct light without repeatedly moving that communication device between your ear, hand and the bag opening.
Plan where the phone can stay while you retrieve equipment. It should not be balanced across an opening you need to reach through, or placed somewhere you are likely to leave behind when you move. The same applies to the separate lamp: choose an arrangement that works with the phone's use, rather than simply adding another loose object to manage.
If help is needed, arranging a lamp or taking a photograph must not delay contacting emergency services. For preparation outside an incident, distinguish the two roles clearly: the phone provides communication and information, while the light is selected for the view you need.
Battery Preparation Has to Fit Your Actual Power Sources
The useful charging arrangement is the one available where you normally prepare your bag. Perun 3 uses the supplied MCC3 magnetic charging cable. iUltra has an integrated USB-C plug. Oclip 2 Pro supports USB-C and MCC charging, while its standard listed package includes a USB-C charging cable. i3E EOS uses a replaceable AAA cell. These are different preparations, even when the lights occupy a similar pocket.
| Light | Power preparation | A practical packing question |
|---|---|---|
| Perun 3 | Supplied MCC3 magnetic charging cable | Will that cable be available where the lamp returns? |
| Oclip 2 Pro | USB-C or MCC; Premium dock is version-specific | Which charging arrangement is actually included in your kit? |
| iUltra | Integrated USB-C plug | Can the plug connect appropriately to your usual power source? |
| i3E EOS | One replaceable AAA battery | Do you maintain the correct replacement cell and protected storage? |
Keep the charging point compatible with the light's instructions and give the connection enough room. An integrated plug removes the need for a separate cable but still needs a suitable socket and physical clearance. With a cable-charged lamp, keeping the right cable at the normal return point is more useful than discovering the mismatch while packing to leave.
Follow the matching manual's charging, temperature and storage requirements. For example, iUltra's manual warns against storing it in a car where the temperature may exceed 60 degrees Celsius or in similar environments. It also instructs you to keep the charging port clean and dry. A convenient vehicle socket does not make the vehicle a suitable permanent storage place.
Runtime specifications do not tell you the state of charge after the light has been used for another task. Check the actual lamp before it returns to the bag, and replenish what that use consumed. If a battery or connection is damaged, address it according to the manufacturer's guidance rather than treating a spare light as a repair method.
Clean Storage Is Separate From Disinfection
Use a dedicated place for the lamp and its carrying accessories so ordinary dirt, loose objects and used supplies do not become part of the same storage arrangement. Keep the equipment dry and maintained according to its instructions. An accessible separate pocket can make it easier to find the light and to notice when it has not been returned.
A water-resistance rating describes a particular product capability; it is not a cleaning-chemical compatibility list or a disinfection certification. Do not choose a treatment for a lamp from its IP rating. If equipment contacts potentially contaminated material, follow the applicable professional procedures and the equipment manufacturer's guidance.
Include lighting readiness in your own bag review while keeping the tasks distinct. Medical supplies have their own condition and replacement requirements; the lamp needs its appropriate power, accessories and normal carrying state.
Reset the Lighting Arrangement When the Bag Changes
A familiar setup can change when you replace the bag, add a jacket, lend a light or recharge it in another room. Use those changes as prompts to check the arrangement again. The aim is to restore what you rely on, rather than add a complicated checklist that duplicates all of your professional kit procedures.
- Return the light to its designated place, with the parts and accessories needed for its role.
- Check its normal operation and prepare its power source according to the matching instructions.
- Close the bag and confirm that the light can still be retrieved without rearranging unrelated contents.
- Identify what remains separately accessible if the larger bag is elsewhere.
If someone else may use the light, explain its model, ordinary controls and return position. A lamp left in a different mode or a headband separated from the body changes the setup for the next person. Clear handover is especially useful with a detachable keychain light or a clip light placed away from the bag, because all the relevant parts need to come back together.
FAQ
Changelog
- November 6, 2026: Product information and buying guidance reviewed.