⚡ TL;DR
A useful flashlight grip keeps the light supported while your thumb or finger can reach the intended switch. Start with the task, the hand you can spare and the gloves you will wear. We recommend checking those details with the light switched off, then choosing the control and brightness appropriate to the job before you begin.
📋 Table of Contents
- 1. Match Your Flashlight Grip to the Task
- 2. Check Flashlight Fit With the Light Switched Off
- 3. Separate Switch Reach From Flashlight Commands
- 4. Position the Flashlight for Labels and Close Objects
- 5. Use Glove Fit to Assess Flashlight Switch Reach
- 6. Plan Brief One-Handed Flashlight Tasks
- 7. Choose Hands-Free Lighting for Two-Handed Work
- 8. Compare Verified Features That Affect Daily Handling
- 9. Prepare the Flashlight Before Leaving Its Carrying Position
- 10. Adjust Flashlight Output Without Straining the Grip
- 11. Keep Fingers and Clothing Clear of the Flashlight Head
- 12. Resolve Handling Problems Before Changing Equipment
- 13. FAQ
Match Your Flashlight Grip to the Task
Reading a shelf label, finding a dropped object and carrying groceries through a doorway make different demands on the hand holding a flashlight. A label may need steady illumination from one position. A dropped object may require moving the beam around an obstruction. A doorway adds keys, a handle and somewhere to put the light afterward.
Before choosing a grip, describe the work in one sentence. Include what the other hand will do. For example, you might hold the flashlight while the free hand turns a page, or inspect a storage shelf while both feet stay on the floor. That description reveals whether changing brightness during the task is important and whether a handheld light leaves enough hands available.
Choose the lighting format at the same time. Our everyday flashlights cover different carrying needs, while a hands-free format may suit work involving both hands. A larger handheld light can be reasonable for a short inspection even when a smaller light is easier to keep in a pocket throughout the day. The task and carrying arrangement need to work together.
Include the end of the task in this decision. A useful setup lets you switch the light off and put it away without balancing it on the item you were examining. On a home table, leave a clear place for it before starting. At a doorway, put down the bags before reorganizing keys and lighting.
Check Flashlight Fit With the Light Switched Off
Begin in a well-lit room with the flashlight switched off and a clear table below your hands. Identify the head, body, side switch, and tail control where fitted. Use the exact model's instructions to distinguish a working control from an indicator or charging connection. Keep the front of the light directed away from faces.
Support the body with your fingers and palm, then notice where the intended operating finger rests. If finding the side switch requires repeatedly rotating the whole light, consider how you will orient it when taking it from its carrying position. If reaching the rear control moves the body out of a supported position, a side control or another size may be more convenient for that task.
Check the arrangement in the hand you expect to use. A person who normally writes with the right hand may want the left hand to hold the light while checking a list. Thumb reach, finger placement and the position of a pocket clip can feel different after that change. Choose a workable arrangement for the actual activity instead of assuming that the writing hand must always hold the flashlight.
Keep observations concrete. You can note that your thumb reaches a particular switch without sliding along the body, or that a glove catches on the pocket opening. Those observations help you compare your own equipment. Hand size alone cannot describe the shape of a glove, the location of a control and the way a particular task occupies your fingers.
Separate Switch Reach From Flashlight Commands
Reaching a switch is a physical question. What the switch does depends on the model, its starting state, and sometimes its selected configuration. A comfortable rear-control position still requires you to understand whether releasing that control leaves the light on. This matters when you set the flashlight down or move your hand to something else.
Warrior 3S illustrates that distinction. Its manual describes a side switch and a two-stage tail switch. The tail switch has two program configurations. In Configuration 1, the manual distinguishes a quick press and release from holding for momentary operation. Configuration 2 uses different outputs and turns the light off when the tail switch is released. Identify the active configuration before relying on release behavior.
For a straightforward side-switch example, with Warrior 3S unlocked and switched off, a single click of its side switch turns it on at the memorized mode. With the light on, a single click of that same side switch turns it off. Its manual separately explains brightness selection and the limits of mode memory. That separation lets you learn basic control without treating every button press as equivalent.
Our flashlight modes guide explains output choices in more detail. For grip selection, decide which control you expect to use and whether you need the light to stay on while your operating finger relaxes. Then confirm that behavior in the instructions for your own light.
Position the Flashlight for Labels and Close Objects
A shelf label or small household part often needs light from a particular direction. Keep your hand and flashlight where you can see the target without reaching through the beam. If the label reflects brightly, change the position of the light and your viewing angle. Adjust the arrangement before trying to hold an awkward position for longer.
Keep the flashlight beside the work rather than resting its head against the object. Warrior 3S instructions warn against covering the head or placing the head on the ground while the light is on because heat can damage the light or nearby material. A clear gap also leaves room to move the beam as you look at another part of the object.
For a paper list, decide which hand will turn the page or make a note. Hold the light in the other hand, with the switch accessible and the beam clear of the writing hand. If the page must be held open and you also need to write, the job has acquired another hand requirement. Arrange suitable hands-free lighting before continuing.
When looking for something on a low shelf, change your viewing position without using the flashlight as a support. The hand holding it should remain available to control the light. If the item is out of comfortable reach, stop and reorganize the task. Illumination helps you see an object, but retrieving it may require a different arrangement.
Use Glove Fit to Assess Flashlight Switch Reach
Gloves change the space around a fingertip and the way the hand wraps around a flashlight. Bring the gloves used for the intended activity into your selection process. Check where seams and spare material sit when the hand closes around the body. The important detail is whether you can locate the intended control while supporting the light.
The Warrior Ultra has an oversized side switch that our product page describes as accessible while wearing gloves. Its knurled tail switch provides another textured control location. Those features make switch size and surface texture relevant comparison points when you are choosing a light for ordinary outdoor chores or gloved preparation work.
Use the actual glove and carrying clothing together. A glove may fit around the flashlight yet make a narrow jacket pocket inconvenient to use. Another glove may leave enough finger access but bunch at the wrist when you bend your arm. Examine each part of the sequence, including taking out the light and returning it after switching it off.
Separate glove selection from switch operation. Warrior Ultra's manual gives distinct side-switch commands and two tail-switch configurations. The larger side switch does not remove the need to know the starting state and intended command. If the work requires protective gloves, choose lighting that works with those gloves instead of removing required protection to accommodate a flashlight.
Plan Brief One-Handed Flashlight Tasks
A short one-handed task often becomes difficult during the transition between actions. You may be carrying a flashlight when you reach a door, need a key, or pick up a package. Plan where the objects will go before combining them in one hand. Put the package down, organize the key, and keep the flashlight supported while using the other hand.
Avoid adding loose items between the fingers holding the light. Keys or a phone can occupy the space needed to reach the switch and make it harder to return the flashlight to its carrying position. A dedicated pocket for the other item may solve the problem more effectively than changing the way you wrap your fingers around everything.
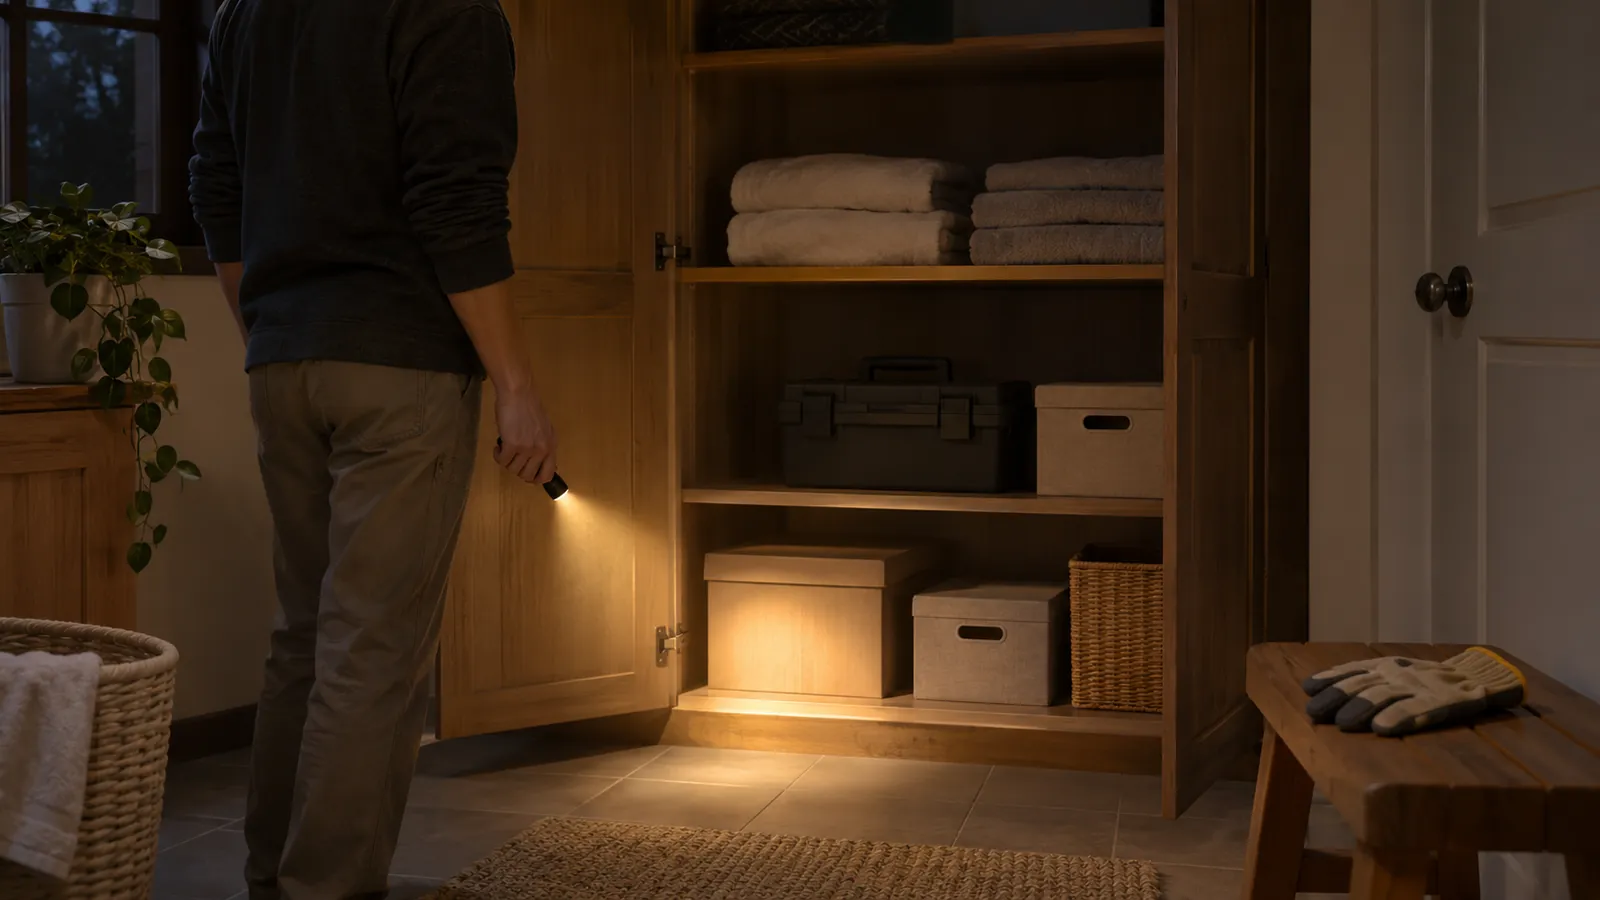
For a brief view inside a cupboard, choose the light setting before opening the door if access to the switch will become less convenient. Then support the flashlight in a position that leaves the other hand available for the door. If you need to rearrange the grip, pause the activity and move the light to the clear table or another suitable resting place first.
The same planning applies when changing hands. Finish the immediate action, switch the light off and make the transfer where you can see both hands and the equipment. Reestablish your grip and locate the intended control before resuming. This avoids trying to learn a new orientation while simultaneously managing a door, bag, or loose object.
Choose Hands-Free Lighting for Two-Handed Work
Some tasks need both hands throughout. Folding a map in wind, fastening equipment or holding a part while working on it can leave no hand available to support a flashlight. Make that decision while preparing the job. Our headlamps offer a lighting format to consider when a handheld light would compete with the work for a hand.
A headlamp moves the lighting support to the head, so its fit and beam direction become separate checks. Consider where you will look and whether another person will be facing you. Follow the chosen model's fitting instructions and direct the light toward the task. A handheld light can still be useful for a separate inspection angle, provided someone has a hand available to hold it.
An ordinary home example is sorting a box while reading labels and moving items. If the box needs one hand to steady it and another to move its contents, plan fixed room lighting or an appropriate hands-free light. Holding a flashlight in the mouth, under clothing or between parts of the work creates another support problem.
For a shared task, agree who handles the light and who handles the object. The person holding the light needs a clear view of the work area and a way to communicate before changing its position. If both people need both hands, change the lighting arrangement before starting rather than assigning an extra job to an already occupied hand.
Compare Verified Features That Affect Daily Handling
Different features answer different handling questions. The Warrior 3S places four-level brightness and battery indicators around its side switch and offers a two-stage tail switch. The indicators help make the side-control area identifiable. Its manual is the source for the separate side and rear operating behavior.
Warrior Ultra adds an oversized side switch and a knurled tail switch, making control size and texture explicit parts of its published design. Warrior X4 contributes a different preparation example, with a portable holster, a three-color battery indicator and USB-C plus MCC3 charging support. These details let you compare the whole routine, from carrying to checking readiness before use.
| Flashlight | Verified feature relevant to handling | Question for your daily task |
|---|---|---|
| Warrior 3S | Side switch with surrounding brightness and battery indicators, plus a two-stage tail switch | Which control and configuration will you use while holding the light? |
| Warrior Ultra | Oversized side switch and knurled tail switch | Can you locate the intended control with the gloves required for the work? |
| Warrior X4 | Portable holster and three-color battery indicator | Can you prepare the light before the task and return it conveniently afterward? |
Choose the feature that addresses the actual obstacle. If the problem is locating a side switch through gloves, charging options alone will not resolve it. If the problem occurs while taking the light out of a crowded bag, look at the carrying arrangement first. Our everyday carry flashlight comparison considers broader carrying choices when the present size or format is inconvenient.
Prepare the Flashlight Before Leaving Its Carrying Position
Preparation can reduce the number of things you must do while holding the light for work. The Warrior X4 supports USB-C and MCC3 charging and has a three-color battery indicator. Its product page places the indicator and USB-C interface behind a dust cover. Check the indicator during preparation, when you can give the equipment your attention.
The X4's portable holster also makes the return step worth planning. Consider where the holster will sit relative to clothing and what else you will be carrying. Leave room to reach the flashlight and its intended storage position. Use the accessory according to its instructions, with the light switched off for storage and transport.
Keep the carrying location consistent enough that you can find the light without emptying unrelated items onto the floor. A bag compartment may suit equipment used occasionally. A readily accessible pocket may be more useful for a light needed several times during an evening. The best location depends on your clothing and ordinary movements, including sitting down.
Check the change between indoor and outdoor clothing. Adding a coat can cover a belt location or move a familiar pocket under another layer. Solve that access issue before walking out with bags or other equipment. Keep the flashlight in a location intended for it, with its controls protected as required by the model's instructions.
Adjust Flashlight Output Without Straining the Grip
Choose output for the detail you need to see. A close label and a distant object can call for different settings, and switching between them may require using another control or changing the way you hold the light. Set up for the first task while you have space and attention available, then pause when a different setting becomes necessary.
For Warrior 3S, with the flashlight on, pressing and holding its side switch cycles through Low, Medium, and High. Release that side switch at the desired level. The manual excludes Moonlight, Turbo, and Strobe from that cycle. Being able to locate the side switch matters even if you take the light out with a finger close to its tail control.
Avoid choosing a grip that commits you to an uncomfortable position simply to keep reaching one button. Put the light down while it is off, adjust your hand position and resume with the relevant control accessible. If brightness changes are frequent, consider whether the task would be easier with the side switch positioned near your thumb from the beginning.
Pay attention to heat during demanding use. Warrior 3S instructions warn that repeatedly activating Turbo in high temperatures can overheat the body and hurt the user's hand. Follow that model's warning and reduce the demand or pause as appropriate. A grip that feels convenient at the start does not remove the need to respond to the light's condition.
Keep Fingers and Clothing Clear of the Flashlight Head
Look at the front of the light as well as the switch when assessing a grip. A glove cuff, loose sleeve or nearby object can occupy the space in front of the lens even when your hand supports the body comfortably. Keep that space clear as you move between the carrying position and the task. Turn the light off before returning it to storage.
Warrior Ultra's manual describes automatic brightness reduction when its proximity sensor detects an obstruction near the lens in High, Turbo, or Strobe. It also describes brightness returning when the obstruction is removed and automatic shutoff if the obstruction persists for more than one minute. If output changes as the light approaches a shelf or fabric, pause and check the position of the head before changing how you operate the switch.
Warrior 3S has its own proximity-protection instructions. Its manual warns that water or dirt blocking the front lens can affect the sensor, and that scratches can cause mistaken dimming. An unexpected change in output therefore needs attention to the equipment and its surroundings. Increasing pressure on the body or repeatedly trying a brighter setting does not establish why the output changed.
Separate an obstruction from a support problem. If clothing has moved into the space in front of the light, switch it off and clear the arrangement. If your grip requires a finger across the front, reposition your hand around the body while the light is off. If the light continues behaving unexpectedly with a clear front, stop the task and consult its instructions or support.
This check is especially relevant at a cupboard door, where the edge of the door, a hanging garment and your own sleeve may all be close to the light. Look at the whole arrangement before moving farther into the space. Keep the light where you can control its direction and observe the object you came to inspect.
Resolve Handling Problems Before Changing Equipment
Name the point at which the arrangement stops working. Difficulty finding the light, difficulty supporting it, difficulty reaching the switch and difficulty understanding its response call for different changes. This keeps a purchase decision tied to something you can describe instead of a general impression that a flashlight feels awkward.
If access is the problem, first review the pocket or holster location and nearby objects. If supporting the body is the problem, compare another size in the hand and clothing intended for the task. If the response is unexpected, check the exact manual and configuration before assuming that a different grip will correct it. Stop using equipment that behaves abnormally and seek product support.
For equipment shared by adults, explain the control location and selected configuration when handing it over. The next user may prefer another hand or wear different gloves. Show the next user where to find the instructions and agree where everyone will return the light. Each person should have time to become familiar with the arrangement in a well-lit setting before relying on it during work.
Keep a brief selection note that describes the task, glove and carrying location that matter to you. For example, record that you need a side switch accessible with your work gloves while your other hand handles a list. That requirement is specific enough to compare with published features and your own fit observations when choosing the next light.
FAQ
Changelog
- November 5, 2026: Product information and buying guidance reviewed.