⚡ TL;DR
A mountain-bike (MTB) flashlight backup should help you stop, check equipment and prepare a controlled return when your main light fails. We recommend carrying a separately powered light where you can reach it after stopping. Choose its useful modes, carrying arrangement and power supply before the ride, then plan how you would walk or obtain assistance if riding cannot continue.
| Backup role | Useful equipment choice | Preparation that matters |
|---|---|---|
| Checking a stopped bicycle | A compact handheld flashlight | Reachable storage and a useful working mode |
| Keeping both hands available after stopping | A headlamp with its matching headband | Complete attachment, accessible controls and suitable power |
| Restoring a riding-light arrangement | A suitable dedicated bicycle light | Approved mounting, correct operation and the required visibility equipment |
| Navigating or contacting someone | A charged phone and your route information | Accessible location details and a separate lighting plan |
📋 Table of Contents
- 1. Stop Before Reaching for Your MTB Backup Light
- 2. Separate a Dim Mode from a Bicycle-Light Fault
- 3. Choose the Backup Format Around the Job After Stopping
- 4. Consider Baton 4 Pro for Stopped Checks and Pocket Carry
- 5. Prepare Perun 3 Mini for Hands-Free Tasks While Stopped
- 6. Read Backup Runtime by Mode and Output Stage
- 7. Choose Whether the Backup Needs a Charging Cable
- 8. Give the Backup Its Own Reachable Storage Position
- 9. Keep Phone Power Available for Route Information and Contact
- 10. Check Bicycle Mounting Before Treating a Light as a Riding Backup
- 11. Choose a Return Route You Can Actually Manage
- 12. Check the Whole Lighting Plan Before Departure
- 13. FAQ
Stop Before Reaching for Your MTB Backup Light
When the main light dims unexpectedly, bring the bicycle to a controlled stop before searching pockets, changing settings or opening a bag. Keep control of the bike while slowing. Once stopped, choose a stable place clear of passing riders, using the available view of the immediate area. Avoid moving into an unseen verge simply to clear the trail.
Take out the backup only after you can handle it without also trying to steer. A light stored in a familiar pocket is easier to locate than one loose beneath tools and clothing. Turn it on from a stable position and use it to see the items you need for the next decision. Keep its emitting window clear of gloves, straps and the inside of the bag.
Tell riding partners that you have stopped. A group can easily become separated when one person pauses and the others continue around a bend. Agree on where everyone will wait and keep the route through the stopping area clear. If someone needs to move past, explain your position without aiming the light into their face.
Separate a Dim Mode from a Bicycle-Light Fault
A change in brightness can have several explanations. A light may have reached a lower stage in its published output sequence, its battery may be depleted, or its normal operating arrangement may have changed. Identify the exact light and the setting it was using before assuming that a darker beam has one particular cause.
Our flashlight modes guide explains why maximum output and total runtime need separate attention. Keep the instructions for your bicycle light available too. The everyday carry (EDC) flashlight in your pack has its own ratings and controls, which may differ substantially from those of the bar light that has just changed behavior.
While stopped, look for information that the bicycle light's own instructions tell you to check, such as its selected mode or a battery indication. If the light has an external battery or a connection intended for normal user access, follow its manufacturer's procedure. Keep the task limited to ordinary checks you understand and can carry out in that location.
Damage, unusual heat or behavior that you cannot explain changes the plan. Set that equipment aside and use your separate light to organize the next step. A dark trail is a poor place to improvise electrical repairs, open unfamiliar components or repeatedly operate a light that appears damaged. Getting the bike home and arranging proper attention can become the remaining task.
Choose the Backup Format Around the Job After Stopping
A handheld flashlight is useful for directing light toward a specific item while the bicycle is stationary. You can check a bag compartment, read a label or illuminate part of the bike without changing a worn setup. Its storage position should let you find it before unloading the rest of your equipment.
A headlamp can be useful when the stopped task needs both hands. Sorting equipment or consulting a map while managing a bicycle can create awkward arrangements with a handheld light. Prepare the correct headband and mounting parts before departure so that the hands-free option is a complete kit when you need it.
A second bicycle light serves a different part of the plan. If you want equipment that could restore a riding-light arrangement, choose a light and mount intended for that use. Check the requirements of your route and any road section. Include rear visibility equipment in that decision, since a front beam alone does not describe the whole bicycle lighting setup.
Our headlamp guide for mountain biking provides related reading about an additional light position. For this backup plan, decide in advance which tasks belong to the handheld light, which need both hands and which require a suitable bicycle-light arrangement. This makes the contents of your bag easier to use when the original plan changes.
Consider Baton 4 Pro for Stopped Checks and Pocket Carry
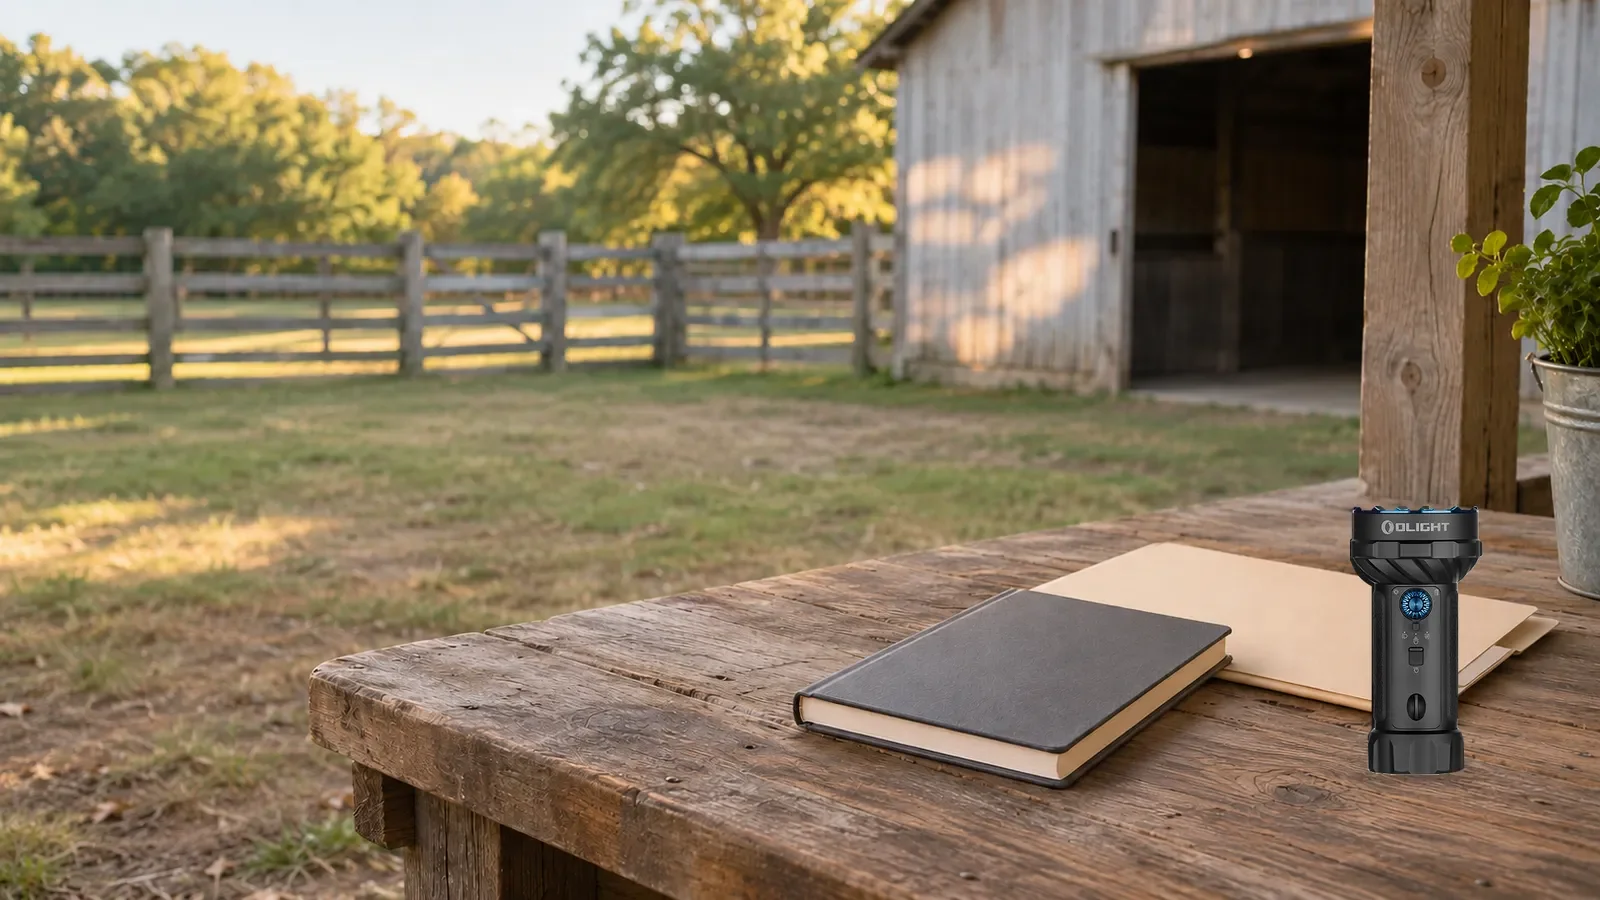
Our Baton 4 Pro is a compact handheld option for ordinary checks after stopping. Its published specifications list a length of 111 millimeters and a weight of 114 grams including the battery. Those figures describe the light you need to allocate space for beside the rest of your cycling equipment.
The model offers both a side switch and a tail button. Learn their different roles before placing the light in your pack. For an unlocked Baton 4 Pro, a single press of the side switch turns the light on or off. Keep this simple action familiar, and prepare the useful working mode while you are stationary rather than trying to learn controls during a roadside interruption.
The published Medium setting is 120 lumens with a rated runtime of 18 hours 30 minutes. Its 1,600-lumen Turbo rating follows a separate sequence of two minutes at the initial output followed by 198 minutes at 600 lumens. Keep the output stages attached to those times when considering how you will use the light. The long combined duration does not describe sustained maximum output.
Baton 4 Pro supports USB-C and MCC charging, and its listed package includes an MCC3 cable. Choose the charging equipment you will actually take on a trip and check the package contents when buying. A compatible input method is useful only when the corresponding cable and an appropriate power source are available at the place where you intend to charge.
Keep the model name attached to these figures. The shared product material also discusses Baton Ultra, whose output, dimensions and weight differ. For the backup considered here, record Baton 4 Pro and the selected mode on your equipment list. This avoids building a plan around a neighboring model's larger headline number.
Prepare Perun 3 Mini for Hands-Free Tasks While Stopped
Our Perun 3 Mini offers a head-worn option for equipment checks and other tasks after stopping. The standard light's published weight is 54 grams including the battery. Its listed package includes the headband and headlamp base, so identify those parts and keep them together if this is your intended hands-free backup.
For the cool-white version, the published white-light Medium setting is 100 lumens with a rated runtime of 4.5 hours. The mode can be considered alongside the length of a stationary task or a planned walk. Choose the setting by the information you need to see, including the ground immediately around you, rather than selecting a mode solely because it has the longest listed duration.
The standard version uses an MCC charging cable. The Premium package adds a charging case and has a different combined weight and contents. Keep those versions separate when deciding what will fit in a cycling bag. A comparison between a bare handheld light and an entire charging-case package would answer a different question from the weight of the light alone.
Prepare the headlamp on its matching headband for ordinary head-worn use. Helmet attachments require their own compatibility and helmet-manufacturer guidance. Plan a stopped hands-free task around the mounting arrangement you actually have, and keep any decision about restoring a riding setup separate. Being able to wear a light does not establish a secure or approved helmet installation.
Read Backup Runtime by Mode and Output Stage
Start a runtime plan with the tasks the backup may need to cover. These could include checking the original light, reading route information, organizing equipment, walking an appropriate return section or waiting for assistance. Include the uses that may happen before the interruption, such as looking for an item at the trailhead.
A published runtime belongs to a specific mode. Baton 4 Pro's 120-lumen Medium rating and Perun 3 Mini's cool-white 100-lumen Medium rating describe different devices and outputs. They help you identify the available choices for each light. Keep the comparison tied to its stated conditions and the task rather than treating the two numbers as a complete performance ranking.
Step-down modes need another line on the plan. Perun 3 Mini's cool-white Turbo specification lists 1,250 lumens for two minutes followed by 350 lumens for 60 minutes. Read both output levels and their respective durations. A task that requires light for an extended period needs a suitable ongoing mode, rather than a plan based only on the opening Turbo figure.
The Perun 3 Mini manual describes its ratings as reference laboratory results, with tests indoors at 25 degrees Celsius in still air, and notes that temperature and ventilation affect runtime. A cold or wet outdoor outing introduces conditions outside that particular laboratory description. Leave room for delays and keep a way to change the plan if the remaining useful light is less than expected.
Check the backup's starting condition before every outing. A light that was charged before last weekend's ride may have been used at home since then. A case, cable or power bank packed alongside it does not by itself confirm that the light is ready. Inspect and prepare each device through its normal instructions before relying on its published mode ratings.
Choose Whether the Backup Needs a Charging Cable
Think about how the light will be ready at the start of each ride. A rechargeable backup fits a routine in which you check and charge the equipment at home. A light with a replaceable battery creates another preparation option. In either case, keep the required power item tied to the exact model, and include it in your equipment check.
Our i3T 2 EOS includes a 1.5-volt AAA alkaline battery. Its published weight is 41.8 grams including the battery. This gives you a small handheld option to allocate a separate pocket for, particularly if the stopped task is finding equipment or reading a nearby item. Identify its tail switch before packing it alongside the other devices.
The included-battery specification lists a 5-lumen Low mode at 21 hours. Its High rating starts at 200 lumens for seven minutes and then continues at 100 lumens for 28 minutes. Keep that sequence attached to the battery and model when considering the task. A compact light's long Low rating does not establish the duration of its higher-output mode or the view you will have along a particular trail.
A replaceable-battery option also adds an inventory decision. Check whether the specified battery is installed and ready, and prepare any matching spare through that model's instructions. Keep a new battery separate from a used one so that the equipment note remains meaningful. The useful distinction is whether your planned routine includes charging equipment, a prescribed replacement battery or both across separate lights.
Give the Backup Its Own Reachable Storage Position
Choose a pocket or compartment that you can identify after stopping. A shoulder-strap pocket, cycling-pack compartment or suitable seat bag can each work as an equipment location, depending on the actual bag and light. Check the available space with the full kit packed, including the items that normally sit beside the backup.
Put the light away switched off and follow its model-specific carrying instructions. Arrange the bag so pressure from other equipment is unlikely to operate a control. Keep loose metal objects and damp gear away from the parts that need protection under that light's instructions. A pocket clip is part of a carrying arrangement, so check the complete retention of the item in your actual bag.
Practice locating the compartment in ordinary light with the bicycle parked. Check whether gloves make the zipper or fastening difficult to use, and whether opening the bag releases other equipment. This is a preparation check for your own packing arrangement. The aim is to retrieve the light without emptying tools or small parts onto a dark trail.
If you prefer a clip-light format for other stopped tasks, our Oclip series offers related options to consider. Check the exact model, attachment and controls. Keep the light secured for transport, and decide where it will be used after you stop. A convenient carrying clip does not establish suitability as a bicycle mount.
Keep Phone Power Available for Route Information and Contact
A phone may hold your route, contact information and the details needed to explain your location. Keep those uses in the return plan when deciding how much you will rely on its flashlight. A separate light lets you examine equipment while leaving the phone available for navigation or a call.
Prepare the route information before departure, including the return point and the permitted ways to leave the riding area. Check what you can access without a connection and how you will identify your location if you contact someone. Tell a person outside the riding group where you expect to go and when you expect to return.
During a stop, keep the phone secure while changing tasks. A useful sequence might be to read the route, put the phone away and use the separate light to handle the equipment. This reduces the number of objects you are trying to hold at once. It also keeps the navigation device out of the pile while you search a bag for another item.
If you need help, give clear location information and explain whether anyone is injured or in immediate danger. Follow the instructions of the relevant emergency service when there is an emergency. For an ordinary pickup arrangement, agree on a reachable meeting point that fits the actual route and access conditions, rather than assuming a vehicle can reach the trail where you stopped.
Check Bicycle Mounting Before Treating a Light as a Riding Backup
An improvised strap around a handlebar leaves several questions unresolved. The light may move, a control may become obstructed, or the arrangement may interfere with parts of the bicycle. Decide on a bicycle-light system and its intended mounting method before the outing. Keep any installation and compatibility checks within the instructions for the bicycle, mount and light.
If the original bar light fails, make the return decision around the equipment already prepared. Avoid turning a trail stop into a mounting experiment. A handheld flashlight can help you read instructions and inspect the stopped bike. Any continuation by bicycle needs an appropriate lighting and mounting arrangement for the route, together with the visibility equipment required for road use.
The National Park Service's biking preparation guide recommends front white lights, rear red lights and reflectors, alongside checking the bicycle, route access and weather. Apply the requirements of the place where you will ride. A flashlight's maximum lumen or beam-distance specification alone does not establish that a bicycle lighting arrangement meets those requirements.
Choose a Return Route You Can Actually Manage
Use the information available at the stop to decide whether to walk, wait for assistance or use a properly prepared riding-light setup. Consider the condition of the route, the remaining light, the ability to manage the bike and any route restrictions. Keep the choice specific to that section rather than assuming the outward ride and return will demand the same things.
Walking with a bicycle can still require attention to uneven ground, limited space and other trail users. Use a known permitted route that you can manage with the available equipment. A difficult descent, unknown shortcut or unlit road connection can change the decision. If you cannot identify a manageable way forward, organize help from an appropriate stable waiting place.
Keep the group together through that decision. Confirm that everyone knows the chosen destination and whether a junction lies ahead. Share practical tasks while stopped, such as checking route information or locating the backup equipment. Each person's required light should remain available to them, rather than assuming one shared source can cover people who become separated.
When you reach a road or a public access point, reassess the requirements of that setting. The lighting arrangement and visibility needs may change. A trail-return plan should account for the final connection to the vehicle, home or meeting point, so that reaching the end of one section does not leave another unplanned journey in the dark.
Check the Whole Lighting Plan Before Departure
Use our flashlight collection to compare a backup around its intended role, then check the equipment as a complete kit. Include the bar light, rear visibility equipment, separate backup, matching charging items and the route information needed to make a return decision.
- Confirm the route. Check access, opening restrictions, weather and a practical return or pickup point. Keep the route details available to the riding group and someone outside it.
- Prepare each light separately. Check the starting charge or battery condition, selected mode and normal operation through the exact model's instructions. Account for previous uses of the backup.
- Check riding equipment. Inspect the bicycle lights and their intended mounts before leaving. Keep the beam and controls in their normal working positions and confirm the rear visibility arrangement.
- Pack for a stopped transition. Secure the backup switched off in its known compartment. Include its complete headband if hands-free use is part of the plan, and check access with the other equipment packed.
- Agree on the interruption plan. Decide how the group will stop, remain together and choose between walking, assistance and a properly equipped continuation. Review the equipment after any real interruption before the next outing.
FAQ
Changelog
- November 6, 2026: Product information and buying guidance reviewed.