⚡ TL;DR
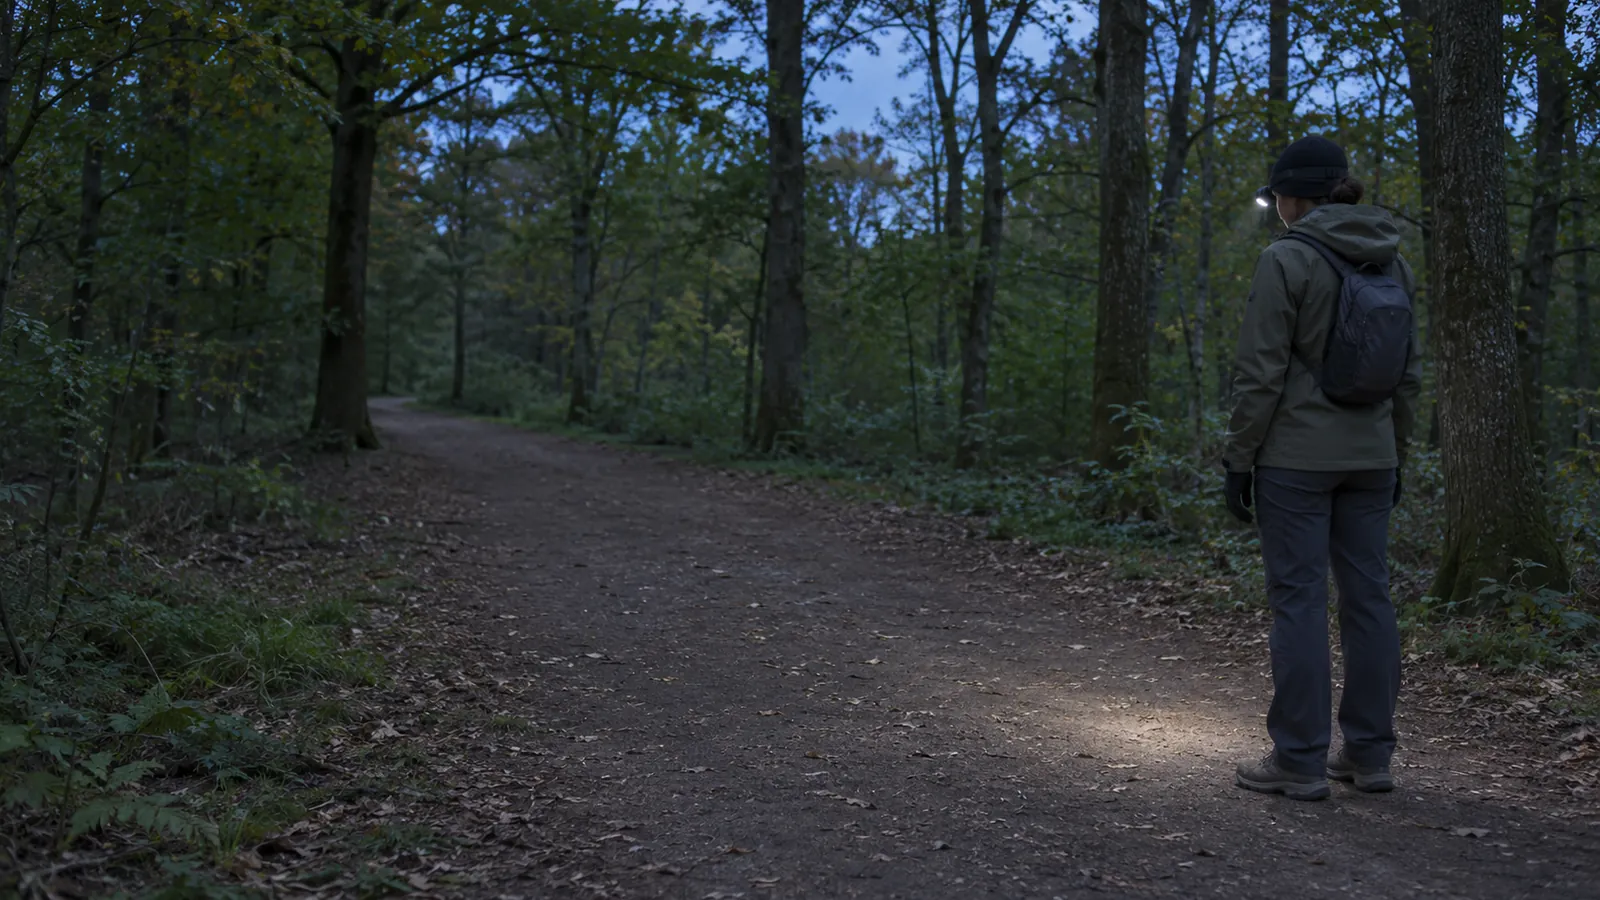
Our Perun 3 headlamp combines adjustable head-mounted lighting with a removable handheld light and separate white and red modes. It suits adults who want one light for nearby outdoor tasks and camp use. Choose it by the output you need for a sustained task, the weight you will wear and your charging plan, rather than maximum lumens alone.
| Your main question | Perun 3 detail to examine | Practical decision |
|---|---|---|
| Will it suit a longer task? | Medium is rated at 120 lumens for 25 hours | Decide whether that output meets the task before relying on the duration |
| What does maximum output mean? | Turbo lists three output stages | Plan around the full row, not constant 3,000-lumen operation |
| What will I wear? | The light is listed at 150 g including its battery | Consider the headband, clothing and personal fit together |
| What comes with it? | Headband and MCC3 cable are in the package | Check your charging source and carrying arrangement |
The Olight Perun 3 is a right-angle light with a side switch, a magnetic charging connection and an included headband. Its strongest appeal is flexibility between head and hand. The tradeoff is carrying a full-size light and its battery on your head when a smaller device might meet a simpler task.
📋 Table of Contents
- 1. Perun 3 Lighting for a Trail Approach and Camp Tasks
- 2. Perun 3 Output Modes and Published Runtime Ratings
- 3. Perun 3 Beam Coverage and the 160-Meter Rating
- 4. Headband Fit and the 150-Gram Light
- 5. Head-Mounted and Handheld Use Have Different Limits
- 6. White and Red Light for Close Camp Work
- 7. The Perun 3 Button, Gloves and Remembered Modes
- 8. MCC3 Charging and the Next Session
- 9. Rain, Cold and Light-Outlet Clearance
- 10. Perun 3 and Perun 3 Mini: The Wearing Tradeoff
- 11. FAQ
Perun 3 Lighting for a Trail Approach and Camp Tasks
Start by separating the journey from the work you will do after arrival. Walking along an established path requires useful light on the surface and enough surrounding detail to choose your footing. Sorting equipment at a campsite requires light on nearby objects. Looking briefly for a particular item farther away is another task. These needs do not automatically call for the same output.
For an evening approach to camp, choose a setting that lets you see the route comfortably and adjust it when the surroundings change. Do not select a level solely because its runtime looks impressive. If the light does not reveal the relevant ground and obstacles, the duration at that setting is not the answer to your route-planning problem. Terrain, conditions and your own ability to see the surface still matter.
Once you stop, lower output may be more useful for opening a bag or reading a familiar item close to you. Keep the beam on the task rather than on the face of the person helping. An adjustable headlamp follows your head, so turning to speak also changes where it points. Lower or redirect the light before facing another person.
Perun 3 is one option within our headlamps, and the fit question deserves as much attention as its headline brightness. If you want to compare several carrying formats, our best headlamps guide covers the wider category. Here, the decision is whether this particular light's modes, control behavior and wearing arrangement fit the jobs you expect to repeat.
Perun 3 Output Modes and Published Runtime Ratings
Our published lighting levels include five steady white-light settings and two steady red-light settings. The white-light range extends from 5-lumen Moonlight to an initial 3,000-lumen Turbo output. That range is useful only when you keep each setting attached to its own runtime and understand which rows include output changes.
| Perun 3 setting | Published output | Published runtime |
|---|---|---|
| White Turbo | 3,000 to 800 to 600 lumens | 2 plus 180 plus 30 minutes |
| White High | 600 to 120 lumens | 300 plus 30 minutes |
| White Medium | 120 lumens | 25 hours |
| White Low | 30 lumens | 89 hours |
| White Moonlight | 5 lumens | 20 days |
| Red High | 60 lumens | 14 hours |
| Red Low | 15 lumens | 70 hours |
The table gives a different picture from “3,000 lumens and 20 days.” Those two figures belong to different modes. Twenty days describes the 5-lumen Moonlight rating, not the initial Turbo output. Likewise, the two-minute first Turbo stage is followed by the listed lower-output stages; adding the three durations does not produce that total time at 3,000 lumens.
High also needs a careful reading. It lists 600 to 120 lumens with 300 plus 30 minutes. The lower portion belongs to the same published High sequence, while selecting Medium is a separate choice. Do not substitute the Medium runtime for the final portion of High or assume that every moment in a selected mode has the same output.
For a longer routine task, first decide whether Medium or Low supplies useful light, then examine the associated rating and your opportunity to recharge. For a brief need for more light, consider the higher settings within the handling instructions. The best setting is the one that answers the task for the required period, not necessarily the top or bottom of the list.
These are rated conditions, not a remaining-charge countdown for your next outing. A light used earlier at several levels does not start a new session with every row's full listed duration available. Check the battery indication and recharge as appropriate. Avoid calculating remaining hours by subtracting a bright session from a different, lower-output row.
Perun 3 Beam Coverage and the 160-Meter Rating
Perun 3 is described as a floodlight, and our specifications list a maximum beam distance of 160 meters and maximum intensity of 6,400 candela. These figures describe different properties from total light output. A larger lumen number does not by itself tell you how the light will cover a path, a nearby work area or a particular distant object.
For head-mounted use, broad coverage can be helpful when your task spans more than one small object. You may need to see the equipment beside your hands as well as the item you are holding. However, coverage is not a guarantee that every object in the surrounding area will be recognizable. Aim, obstructions and the surface you need to examine still affect the result.
Do not treat the maximum beam-distance figure as a promise that you can identify every obstacle or read a trail marker at that distance. It also should not become the basis for choosing an unfamiliar route. Our lumens guide explains why a brightness headline and useful scene illumination are different questions. With a headlamp, add where the beam will point as you move your head.
For a purchase decision, describe the part of your surroundings that actually causes difficulty. Is it the near path, equipment spread across a small area or a single object you occasionally need to locate? A description of that task is more useful than asking for the longest possible distance without specifying what you need to distinguish there.
Headband Fit and the 150-Gram Light
The Perun 3 manual lists the light at 150 grams, or 5.29 ounces, including its battery. The headband and anything else you wear add to that arrangement. Keep the weight basis clear when comparing another headlamp: a bare light, a light with its battery and a complete wearing setup are different things.
Our product page describes a stainless-steel headband component, an anti-sweat silicone strip and a breathable design. These features are relevant to how the light is supported, but they cannot establish how it will feel on your individual forehead. Head shape, strap adjustment, hair, a hat and the duration of wear all belong in a personal fit decision.
Before an outing, fit the headband with the clothing you expect to use. Check the assembled light and holder against the manual's attachment illustration, then adjust the straps so the light is supported without creating an uncomfortable pressure point. If you need to keep tightening the band to prevent movement, reassess the arrangement rather than assuming tighter always means better.
Look down toward an ordinary nearby task, turn your head and return to a forward view. Do this in a safe, familiar place where you can stop easily. You are checking whether the light stays directed usefully and whether the holder or straps interfere with your clothing. This is a personal setup check, not a basis for promising another person the same fit.
If you add a hat, hood or different outer layer later, check again. A setup that works against one layer can sit differently against another. Keep the light outlet clear of the hood or other material. Stop using an arrangement that becomes painful or repeatedly shifts instead of trying to make up for poor support with more brightness.
Head-Mounted and Handheld Use Have Different Limits
Head-mounted use keeps your hands available for an ordinary task, but it ties the beam to your head position. That is helpful when the object you are looking at is also the object you need to light. It is less convenient when you want illumination to remain fixed on one area while you turn to find another item or speak to someone.
Using the light in your hand separates its direction from your gaze. It can be useful for placing light at a different angle around a bag, shelf or other obstruction. The tradeoff is occupying a hand. If the task requires two hands, pause and choose an appropriate supported arrangement rather than gripping the light insecurely while trying to work.
If you want light to remain fixed on a task while you look elsewhere, decide how it will be supported before starting. Avoid balancing an illuminated light where it can roll, fall or point at someone when disturbed. Head-to-hand flexibility is useful, but changing the way you hold the light does not create a secure work-light support automatically.
Think through the transition before you need it in the dark. Where will the headband go when you remove the light? Can you reach the handheld light without dropping another item? Will the position you choose keep the light outlet clear? These small handling decisions are part of the value of a removable light, rather than a reason to assume every placement is equally useful.
For spare or replacement wearing equipment, use the exact compatible selection on our Olight Headband for Perun Series page. That page includes several model-specific choices. Select the Perun 3 option instead of assuming every product carrying the Perun family name uses the same holder or strap assembly.
White and Red Light for Close Camp Work
White light is the starting point when you need to examine the walking surface, read detail or distinguish information on equipment. The lower white settings can be useful once the object is close, while a larger area may require a different level. Evaluate the actual task rather than leaving the light at the level you used during the approach.
Perun 3 also has steady red levels rated at 15 and 60 lumens. Consider them for a localized task when you prefer a red-light option in dark surroundings. Red light still needs thoughtful aiming around others. It is not permission to look directly into the emitter or keep the beam on someone's face because it appears less bright than white Turbo.
For a map or an item that depends on color distinctions, check whether you can actually read the information under the chosen light. Change to suitable white illumination when the meaning is unclear. Choosing a mode should make the information easier to use; maintaining a particular color setting is secondary to understanding what is in front of you.
The control's starting state matters. The manual specifies a double press from off to enter Red Low. While in red-light mode, a double press changes between High and Low; a single press turns it off. In white-light mode while the light is on, a double press instead accesses Turbo. Learn that distinction before an ordinary group camp task so you do not substitute a white-light shortcut for the red-light action you intended.
SOS is a separate function, rather than another steady task level. Keep ordinary setup and close work on an appropriate steady setting. Knowing how to return to normal illumination is more relevant to opening a bag or organizing equipment than cycling through every special function near other people.
The Perun 3 Button, Gloves and Remembered Modes
Our Perun 3 page describes a large, concave metal button designed for glove-friendly operation. That is a useful feature for an adult who wears gloves outdoors, but gloves vary in thickness and shape. Check whether you can find and operate the button with the pair you will actually use. Do not infer that every glove gives the same control or feedback.
Practice only the actions needed for your planned task, with the light aimed at a nearby unoccupied surface. Confirm ordinary on/off, a useful white setting and the red-light entry if you expect to use it. If you cannot select these reliably while standing still in a familiar place, resolve that before depending on them during an outing. Avoid learning a multi-press sequence while walking.
The ordinary white-light cycle is Low, Medium and High while the light is on and you hold the switch; release it to select a level. Moonlight, Turbo and SOS are outside that cycle. The manual's memory behavior also has conditions: Turbo is memorized as High, and High is memorized as Medium when the interval is more than one minute. SOS is not memorized.
Those details explain why turning the light on later may not reproduce the highest setting you used earlier. Prepare the light for the next ordinary task instead of expecting maximum-output memory. Leave optional sequences alone until you have a reason to use them and the instructions available.
The timer is useful to understand separately from brightness memory. When you deliberately enable it while the light is on, the manual provides a three-minute setting indicated by one flash and a nine-minute setting indicated by two flashes. The light switches off when the selected time ends. Timed shutoff may fit a brief stationary task, but do not enable it for a task that requires uninterrupted route lighting. If another adult uses the light, explain any timer you have selected rather than assuming that an unexpected shutoff will be understood.
Use the prescribed lockout for transport rather than relying only on a recessed button to prevent activation. Confirm the expected locked behavior before putting the light in a bag, and keep it switched off when packing. Lockout is a carrying control; it does not replace checking the state of the light before wearing or storing it.
MCC3 Charging and the Next Session
Perun 3 comes with an MCC3 magnetic charging cable and uses a customized 5,000 mAh, 3.6 V 21700 lithium-ion battery. Plan the charging connection around that product-specific arrangement. A magnetic connection does not make every magnetic cable interchangeable, and a battery's general size name does not establish compatibility with every replacement cell.
The manual's MCC3 table specifies USB Type-A DC 5 V, 2 A input and a full-charge time below four hours. The charging illustration identifies red as charging and green as charging completed. These are the supplied charging system's specifications, not a guarantee of that duration from every power source or after every partial session.
Before leaving, check the cable, suitable power source and the opportunity to recharge after your planned use. If you travel with other USB equipment, identify which connection serves the headlamp instead of discovering that you packed the wrong cable. Keep the contacts clear and dry and follow the charging instructions; do not attach a charger to a wet light immediately after rain.
For an outing where losing light would interrupt your return, keep a charged alternative accessible. It should be reachable without emptying the main bag in the dark. A second light also gives you a way to see while handling the primary light or checking its instructions. This is a practical continuity decision, not a claim that any stated runtime guarantees the whole trip.
Rain, Cold and Light-Outlet Clearance
The Perun 3 specifications list IP68, but an ingress rating does not answer every outdoor-use question. Rain can also change your clothing, obscure the light outlet or make handling awkward. Check the hood and beam direction together, keep the charging arrangement dry and inspect the light after the outing before preparing it for its next use.
The manual specifies a working temperature of 0 to 40°C. Keep the plan within that stated range; do not assume that a lamp suitable for an evening outing is also intended for a below-freezing night. An operating-temperature statement also should not be converted into an unlisted charging-temperature range. Check the relevant instructions for the actual condition you face.
Keep fabric and equipment away from the light outlet. Turn the light off before packing it or placing it against tent material, and reduce output or stop using it if handling becomes uncomfortable. More light is not a reason to ignore heat or poor placement. The proximity-sensor instructions describe model-specific responses to obstruction, but you should keep the outlet clear rather than relying on a sensor to manage an unsuitable setup.
Inside a tent, distinguish a brief nearby task from lighting the whole shelter. Directing a suitable steady mode at the object you need may be more useful than maximum output close to pale fabric. Do not cover the lamp to create a diffuser or leave it operating unnoticed under bedding. Keep the off state and carrying arrangement clear when the task is finished.
Perun 3 and Perun 3 Mini: The Wearing Tradeoff
The Olight Perun 3 Mini is worth comparing if your main concern is the size and weight of what you carry. Our listing gives the Mini Standard light at 54 grams including its battery. That is a different basis from the Mini Premium package's 142-gram figure, which includes its charging case and battery. Do not compare a case-inclusive figure with a bare light and call it a wearing-weight result.
The full-size Perun 3 offers its own output and duration choices, including 120-lumen Medium rated for 25 hours. The Mini's cool-white version lists 100-lumen Medium with a 4.5-hour rating. These are different outputs and battery arrangements, so the comparison is a practical choice between the specified settings, not an identical-condition efficiency ranking.
Choose the full-size light when its useful modes, removable format and charging arrangement justify the weight you accept. Consider the smaller light when reducing the carried light's size and weight takes priority, then check whether its output and runtime suit your session. Within our Perun series, verify the exact Mini version and package; Standard, Premium and HCRI are not interchangeable labels for one set of specifications.
Before choosing, write down your routine task, the setting that supplies useful light, the clothing you will wear and when you can recharge. Check the headband fit and the controls in that arrangement. If those answers favor Perun 3, its head-to-hand flexibility has a clear purpose in your kit. If they favor a smaller or different format, a higher maximum-output number alone should not reverse the decision.
FAQ
Changelog
- November 5, 2026: Product information and buying guidance reviewed.