


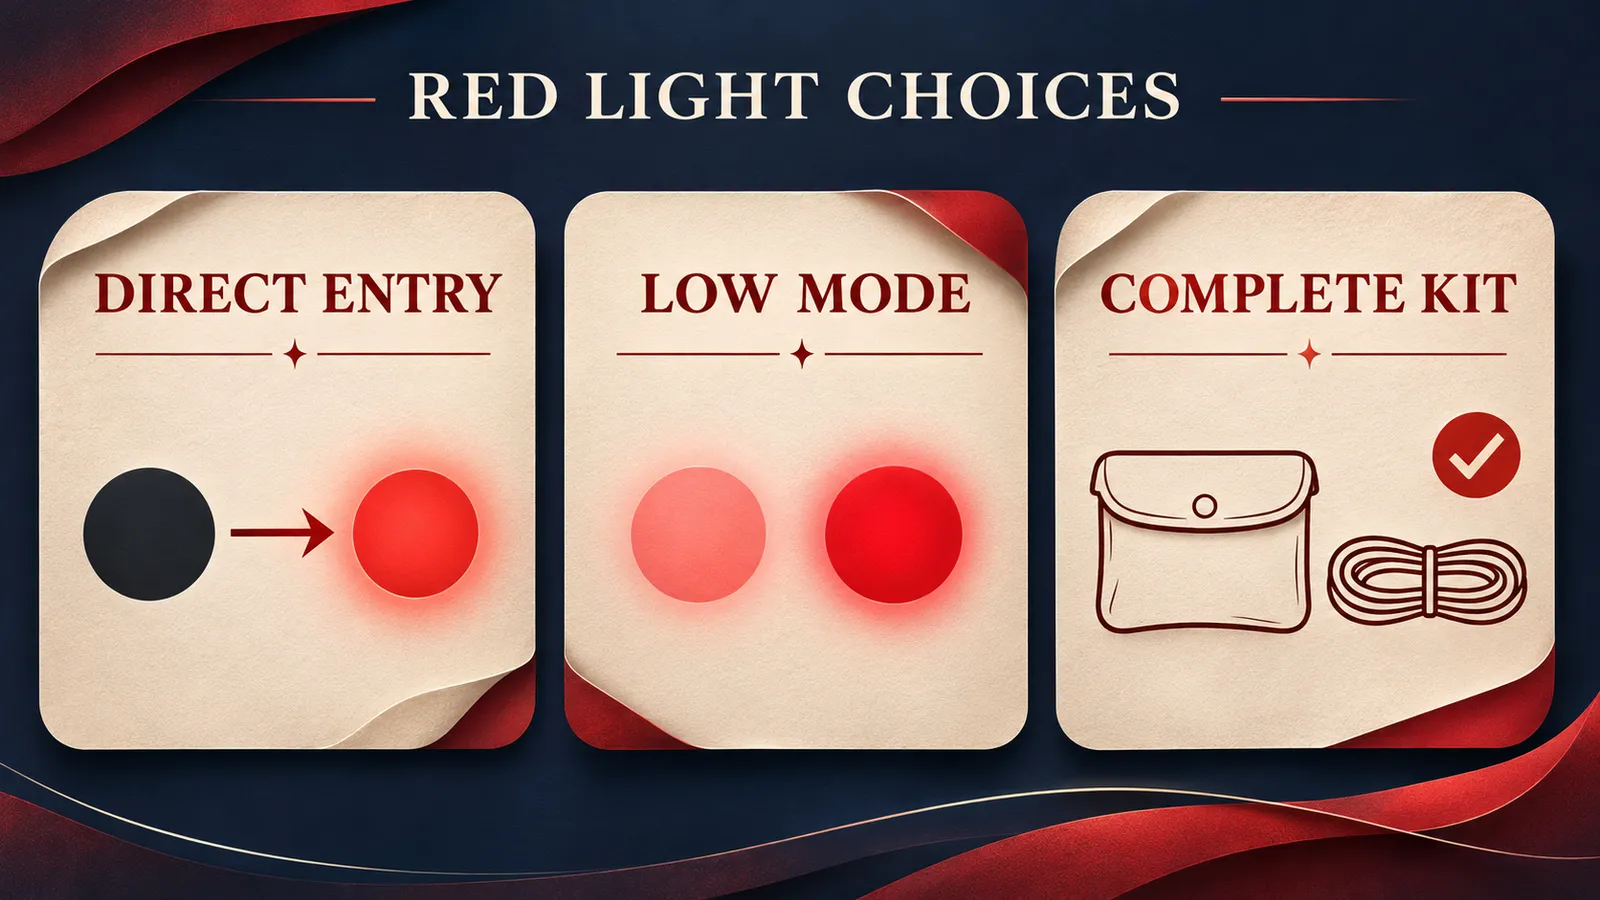
⚡ TL;DR
A red light headlamp is worth buying when its lowest red setting, starting sequence and carrying arrangement suit the job you actually need to do. We would compare those features before paying for a larger white-light output. Our Perun 3 offers a defined off-to-red Low sequence. Our Perun 3 Mini Standard offers a smaller head-worn format, a lower published red Low and red-mode memory.
Begin with the item you need to see, the place the light will sit and the way you will start it. Looking through a small pouch beside a tent creates a different requirement from keeping both hands free while arranging equipment. The kit-cost comparison becomes clearer once those requirements have a specific answer.
| Buying decision | Perun 3 | Perun 3 Mini Standard |
|---|---|---|
| Red Low rating | 15 lumens, 70 hours | 5 lumens, 19 hours |
| Red High rating | 60 lumens, 14 hours | 45 lumens, 150 minutes |
| Red entry from unlocked off | Double-press the side button for Low | Double-press the button for red mode |
| Red-mode preparation | Defined Low entry | Selected red mode is memorized, except SOS |
| Supplied headband components | Headband | Headband and headlamp base |
| Supplied charging component | MCC3 magnetic cable | MCC magnetic cable |
These are our published ratings for the named models. The rows have different outputs and batteries, so they do not establish equal-brightness efficiency. The Mini configuration below is the Standard light with its supplied head-wearing parts and cable. Its page also lists Premium packages, whose charging case belongs to a separate equipment choice.
📋 Table of Contents
- 1. Start a Red Light Headlamp Purchase with the Actual Task
- 2. Compare the Lowest Red Mode Before the Highest Output
- 3. Can Perun 3 Start in Red Without Turning on White First?
- 4. Does Perun 3 Mini Always Return to Red Low?
- 5. Keep White Moonlight and Red Low in Separate Columns
- 6. Read Red Runtime with Its Output and Battery Conditions
- 7. Choose the Head-Worn Setup Around Changes of Position
- 8. Calculate Kit Cost from the Supplied Configuration
- 9. Match the Charging Route to the Place You Will Recharge
- 10. Compare Weather Ratings with the Intended Carrying Place
- 11. Decide Which Added Features Deserve Part of the Budget
- 12. FAQ
Start a Red Light Headlamp Purchase with the Actual Task
Write down the small task that makes you want red light. It might be finding the zipper on a pouch, reading a familiar paper chart or briefly checking equipment at a shared campsite. That description helps you judge a low mode. A search for the brightest red light usually skips this first decision and can lead toward output you rarely select.
Next decide whether you want illumination to follow your head. A headlamp turns with your view, which can suit work involving several nearby objects. A clip light depends on the chosen support and its orientation. For example, clipping a light to clothing does not automatically align it with a page held in your hands. Plan the actual position before treating two formats as interchangeable.
Give white light a place in that task description too. A red mode may be preferred for a particular moment, while finding a dropped item, distinguishing colors or reading unfamiliar markings can call for white light. Buying one flashlight with both colors provides those choices through separate modes. It still matters which output is available at the first press and which control changes the color.
Our headlamp collection is a starting point for head-worn options. A product's largest white-light number and its red-light minimum answer different questions. Keep both in the buying notes, with the purpose each will serve, instead of allowing the headline output to stand in for the whole specification.
Compare the Lowest Red Mode Before the Highest Output
Perun 3 Mini's Standard manual lists red Low at 5 lumens and red High at 45 lumens. Our Perun 3 specifications list red Low at 15 lumens and red High at 60 lumens. These four values give you a concrete starting point for comparing the available steps. They do not define a universal minimum for every dark setting.
The bottom of the range deserves attention because it is the setting you may want for close work. If the only red output offered is more than you want, a larger maximum will not add a lower choice. Conversely, a low setting that is convenient for a nearby item may not provide a useful view of a larger work area. The two ends of the range serve separate tasks.
Avoid assigning a fixed distance to either red Low figure. Lumens express luminous flux. CIE's definition of illuminance concerns incident luminous flux per unit area at a surface. In a purchase comparison, consider beam distribution, aim and distance alongside the intended object. A rating of 15 lumens does not supply a measured viewing radius for a campsite. Nor can the difference between 5 and 15 lumens be converted directly into a useful-distance multiplier.
For a purchase you can evaluate in person, examine the intended object from the intended working position through the seller's demonstration or applicable return terms. Pay attention to whether the markings remain readable and where the light falls when you reach for a control. That is a more specific question than whether a red beam looks impressive against a wall.
Can Perun 3 Start in Red Without Turning on White First?
Perun 3 gives the buyer a defined starting action. With the light unlocked and off, double-press its side button to enter red Low. This is the red entry described in the manual. It provides a route to red without first choosing a white-light level through ordinary single-press operation.
Once Perun 3 is on in red mode, double-press the side button to change between red High and Low. A single press turns the red light off. Those actions are useful to compare as a group because entry, adjustment and exit are three different parts of operating the light. A short feature description saying only “red mode included” leaves two of them unexplained.
The unlocked starting condition matters. A stored, electronically locked light has another state to resolve through its instructions. An off-to-red gesture should therefore be learned alongside the normal storage arrangement. You do not need to unlock the light in a dark tent for the first time just to discover whether the expected double press is available.
The side button is also a physical part of the buying decision. Our current Perun 3 description identifies a large, concave metal side button. That tells you where the control is and how it is shaped. A buyer who expects to operate it while head-worn can consider whether that location remains reachable with the chosen headband position and clothing.
Does Perun 3 Mini Always Return to Red Low?
Perun 3 Mini's manual gives an off-to-red action and a separate red-mode memory rule. With the light unlocked and off, double-press the button to enter red mode. The exit instruction says the current red mode is memorized, except for SOS. Read those instructions together when deciding what an entry gesture tells you about the next output.
A buyer who needs a known Low at each normal red entry can compare that behavior with Perun 3's explicit Low entry. Mini has a published 5-lumen red Low, but selecting a light with a lower minimum and knowing its remembered state are two separate preparation decisions. Identify the steady red setting you intend to keep with the Mini before assigning it to a recurring task.
The red adjustment action differs too. Mini's instructions use a held press to change red modes, while Perun 3 changes between red High and Low with a double press when already in red. Mini turns red off with a single press. Keep the selected model, current color and starting state with each action when learning the control. The SOS memory exception does not specify a universal steady return level after every possible state.
The same gesture can have another meaning while white light is already on. Mini's white-light instructions assign a quick double press from on to Turbo. Its off-to-red instruction begins from off. Recognizing that distinction helps a buyer assess the routine they will actually use, especially when the same light alternates between white equipment checks and a red task.
Keep White Moonlight and Red Low in Separate Columns
Mode names can make a shopping comparison confusing. Perun 3 Mini lists white Moonlight at 2 lumens, while its red Low is 5 lumens. Perun 3 lists white Moonlight at 5 lumens and red Low at 15 lumens. A small Moonlight number in a specification needs its color attached before it can answer a red-light question. Our flashlight modes guide explains the broader distinction between named output levels and their actual ratings.
The same distinction applies to runtime headlines. Perun 3's listed 20-day runtime belongs to white Moonlight. Mini Standard's ten-day Moonlight rating also belongs to white light. Neither figure replaces its model's red Low runtime. A page can advertise a long maximum runtime while a buyer still needs to read the mode table for the color intended for the task.
Keep color choice tied to the information you need to see. Red illumination can change the appearance of colored marks, cords and printed material. If the task depends on distinguishing those details, use suitable white light. This preserves the practical benefit of a dual-color device without promising that the red setting will work equally well for every item in a kit.
Read Red Runtime with Its Output and Battery Conditions
Our Perun 3 table pairs red Low's 15 lumens with 70 hours and red High's 60 lumens with 14 hours. The Mini Standard manual pairs 5 lumens with 19 hours and 45 lumens with 150 minutes. Copy each output and its runtime together. Separating the longest time from its row would turn a useful specification into a misleading comparison.
The two manuals identify their figures as reference data from Olight laboratory testing under ANSI/PLATO FL 1-2019. They concern each specified light and battery. Temperature, battery condition and how the light is operated matter when planning actual use. A published rating provides a reference for selecting a mode, while the time you spend switching between red, white and off is a separate use pattern.
For example, suppose a weekend plan includes three ten-minute checks of equipment on each of two evenings. That adds up to 60 minutes of intended task-light use. It does not mean the remaining battery percentage can be calculated by dividing 60 minutes by one runtime row. The plan may include different settings, white-light use and intervening storage, none of which has been captured by that single division.
Compare the mode you will normally choose, then account separately for the brighter setting you may occasionally need. A person using red Low for brief nearby checks has a different priority from someone expecting extended red High operation. The second buyer should read the High row directly and arrange charging or another suitable light around that use, rather than relying on the product's longest advertised duration.
Choose the Head-Worn Setup Around Changes of Position
Both selected packages include the listed headband components. Perun 3's product information also describes its magnetic tail, clip and lanyard. Mini's US description identifies a quick-release bracket, pocket clip, magnetic tailcap and lanyard hole. Consider which arrangement suits the task sequence, such as looking into a bag, setting equipment on a surface and returning to head-worn use.
The published light-and-battery weights are 150 grams for Perun 3 and 54 grams for Mini Standard. Those figures describe the lights including their batteries. They exclude the complete wearing arrangement. Compare the band, base, clothing and position you will use alongside the named light rather than treating the two weight entries as complete headgear measurements.
Our Perun 3 description notes that repeated removal from its metal headlamp bracket can scratch the torch body. Mini's page emphasizes its quick-release bracket for changes between headlamp and handheld use. These are specific construction and handling details to consider if changing position is a regular part of the outing. A light that stays on its band for most tasks creates a different choice from one repeatedly removed for nearby equipment work.
Mini's headband description identifies breathable mesh, an anti-sweat strip and reflective elements. These belong to the supplied wearing arrangement, rather than to the red emitter's output. Examine the actual band and control position when deciding how the light will sit. An additional headband does not create an additional light for someone who needs illumination at a separate place at the same time.
Calculate Kit Cost from the Supplied Configuration
The recorded US Perun 3 configuration was listed at $89.99. Its supplied equipment includes the headband, MCC3 magnetic charging cable, lanyard with pin and manual. That makes the headband part of the initial package calculation. Adding the price of a replacement headband to every first purchase would inflate the entry cost.
Our Perun-series headband page lists separate variants for different models. The Perun 3 replacement was $12.99 in the recorded configuration. A light plus that optional spare would therefore total $102.98 before tax or shipping. This is a light-and-spare calculation, with the original included band still accounted for. It is useful for someone deliberately buying a replacement in advance.
Select the actual Perun 3 variant when checking that accessory. The page's lower prices for other headband variants do not establish a universal headband price or compatibility. A shared family listing can contain several different parts. Matching the supported model prevents an apparent saving from becoming an accessory that does not serve the intended kit. Check the current offer before using the recorded arithmetic for a purchase.
Mini Standard's manual lists the light, headband and headlamp base, and MCC cable. Its Premium case is a different package choice shown on the product page. Begin with the exact version you intend to select, then identify any separate power supply or deliberate spare. The Mini listings showed no inventory in the November 6 source observation, so current availability must be checked before planning an order or a departure around that purchase.
Match the Charging Route to the Place You Will Recharge
Perun 3's supplied MCC3 cable uses a USB Type-A input. Its manual specifies 5 volts and 2 amps for that input. Mini Standard's MCC cable also uses USB-A, with a 5-volt, 1-amp input specified in its own cable table. Keep those model-bound requirements with the complete charging arrangement rather than deciding compatibility from the shape of the USB plug alone.
Before choosing between them, identify the supply available at the charging location and whether the appropriate cable can remain there. A home shelf and a separate travel bag may have different available connections. Buying a second cable is an optional convenience decision. It belongs in the cost only when that second location is part of the plan and the exact replacement is confirmed for the selected light.
Mini's cable table gives a length of 0.5 meter. Include the route from the available USB supply to a supported place for the light when arranging that preparation area. A nearby wall outlet does not establish that the cable will reach a shelf or that its power supply provides the specified USB input. Look at the whole connection before assigning a spot for recharging between red-light tasks.
The Mini charging figure labels red as charging and green as charging completed. That indication concerns the charging task, not selection of the red emitter. The button's red-mode instruction begins from the flashlight's operating state. Keeping those two functions separate prevents a charge-status color from being mistaken for the light output you intend to start after disconnecting the cable.
Charging time can affect a purchase when the preparation window is short. Mini's cable table lists less than 90 minutes to fully charge, while the Perun 3 MCC3 table lists less than four hours. These are published references for their respective lights and charging arrangements. They do not establish how much useful red runtime a short top-up will add to either light.
The Mini page also describes a USB-C port on its Premium charging case. That is a port on a separate component from the Standard light and its magnetic cable. If your available supplies are organized around USB-C, identify which additional connection would be needed for the Standard package before comparing checkout totals. The Premium case's capacity and controls stay with that package, outside the Standard light's red-runtime figures.
Compare Weather Ratings with the Intended Carrying Place
Perun 3 is rated IP68 and Mini Standard is rated IPX8 in their respective manuals. Retain each complete rating with its named light when choosing equipment for a damp outdoor setting. The light's published rating does not describe the weather resistance of a separate USB supply, bag or other charging component.
A light worn on a headband and the same light placed with equipment can encounter different handling conditions. Think about where the cable and power supply will remain, especially if the light itself returns to a dry base after use. That can change which charging arrangement is convenient without changing the product's environmental rating. Follow the selected model's instructions for the actual setup.
Both matching manuals show a working-temperature range of 0–40°C. Consider that stated range when selecting equipment for an outing. It is separate from storage warnings, battery capacity and the color of the emitted light. A longer red-mode runtime figure cannot establish that a model is suitable for a temperature outside its documented operating range.
Decide Which Added Features Deserve Part of the Budget
A dedicated red emitter removes the need to handle a separate red filter for that mode. Owners of an existing white headlamp can still investigate a manufacturer-approved filter if one is available for their particular light. Our guide to a headlamp with a red light option explains the emitter-and-filter distinction in more detail. Keep accessory fit and the underlying light's operating limits in that alternative's cost.
Avoid a “red lumens per dollar” score. The result would combine a maximum output with a price while omitting low-mode availability, control behavior, headband or clip format and charging components. It could favor the wrong light for a buyer whose most important requirement is beginning in a specified low mode. A short list of required functions makes the purchasing decision easier to explain and revisit.
FAQ
Changelog
- November 7, 2026: Product information and buying guidance reviewed.




