TL;DR
Maximize the reliability of your lighting gear with this technical flashlight maintenance guide. We cover critical procedures for optical decontamination, advanced o-ring care using synthetic lubricants, and lithium-ion battery care protocols.By systematically managing electrical contact oxidation and ensuring an IPX8 flashlight waterproof seal, users can prevent structural degradation, sustain peak lumen efficiency, and guarantee the operational readiness of tactical and EDC illumination tools in the most demanding field environments.
M Table of Contents
Why Maintenance Matters
How Regular Flashlight Maintenance Extends Service Lifespan
A flashlight is a complex ecosystem consisting of mechanical, optical, and electrical components that must work in total unison. Regular flashlight maintenance is the cornerstone of equipment longevity. It prevents minor issues, such as micro-corrosion on aluminum threads or dust accumulation in cooling fins, from escalating into irreversible structural damage. Over time, metal threads degrade through a process called galling, where friction causes surface material to tear and bond. Additionally, electrical contacts are subject to oxidation, which increases resistance and reduces the energy efficiency of the driver. By performing routine thread cleaning and managing battery health, you prevent the premature aging of the hardware, ensuring your premium light serves you for a decade rather than a few seasons.
Furthermore, the performance of high-power LED emitters depends heavily on thermal management. Debris trapped in the crevices of the flashlight head can act as an insulator, trapping heat inside the light. Without proper cleaning, this excess thermal stress can degrade the LED phosphor and cause a permanent tint shift or reduced lumen output. Proper upkeep ensures that the heat-sink pathways remain clear, maintaining the "thermal equilibrium" necessary for peak performance during extended runtimes.
Risks of Neglecting O-Ring Care and Waterproof Seals
The primary defense mechanism protecting sensitive internal electronics from the elements is the rubber O-ring. Neglecting o-ring care is one of the leading causes of professional flashlight failure. Rubber is a polymer that naturally outgasses and loses its plasticizers over time, causing it to become brittle, crack, or flatten under constant compression. Once an O-ring loses its inherent elasticity, its ability to form a hermetic seal against water, dust, and mud is severely compromised.
For an IPX8 flashlight waterproof model, which is rated for continuous immersion beyond 1 meter, a single dry or torn seal can facilitate a "capillary action" effect. This allows water to be sucked into the battery compartment as the light cools down after use, creating a vacuum. Water intrusion leads to the immediate short-circuiting of the driver board and the rapid corrosion of battery contacts, often resulting in a "venting with flame" hazard or total electronic annihilation.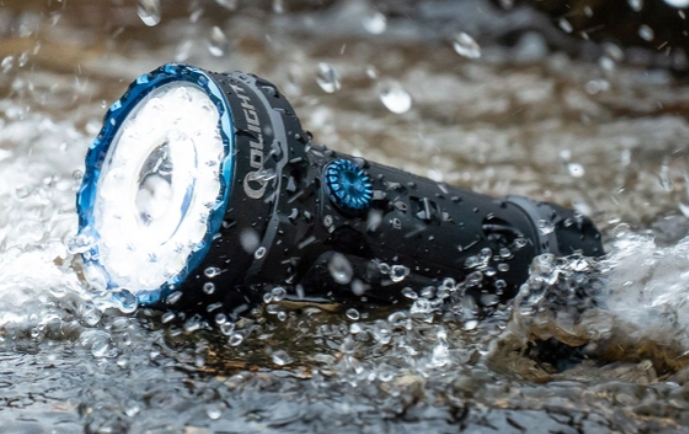
Performance Gains From Routine Flashlight Upkeep
Beyond reliability, routine maintenance offers tangible performance benefits. Clean electrical contact points minimize "parasitic resistance," a phenomenon where energy is wasted as heat at the contact surface rather than being converted into light. This ensures the constant-current driver can maintain a stable, flat output curve throughout the entire battery discharge cycle. Clean lenses, free from skin oils and soot, maximize light transmittance, preventing the loss of up to 15% of the emitter's total lumen output. In tactical situations, well-lubricated threads allow for a smooth "mechanical lockout," enabling the user to quickly disconnect the power by turning the tailcap—a vital safety feature for preventing accidental pocket activation.
Cleaning the Body & Lens
Step-by-Step Lens Cleaning to Preserve Beam Clarity
The optical lens is the "window" of your light. Modern tactical flashlights use high-transmittance glass with multi-layer AR (Anti-Reflective) coatings(Source:photonics - What are Anti-reflection Coatings?). These coatings are extremely effective but can be easily damaged by grit or improper cleaning agents. Dirt burning onto the surface of a lens during high-output "Turbo" modes can create permanent pits in the glass.
- Acoustic/Air Decontamination: Use a high-quality manual bulb blower to remove loose particulates. Never use your mouth to blow on the lens, as saliva contains enzymes and moisture that can degrade the AR coating over time.
- Chemical Application: Apply 90% or higher isopropyl alcohol or a specialized optical lens cleaner to a medical-grade microfiber swab or cloth. Never apply fluid directly to the bezel; the liquid can seep past the lens seal due to surface tension.
- Centrifugal Wiping Technique: Starting from the very center of the lens, move the cloth in a slow, increasing spiral toward the outer edges. This technique ensures that any remaining debris is pushed away from the central hotspot of the beam.
- Final Inspection: Allow the alcohol to flash off (evaporate) and inspect the surface under a secondary light source. Look for a "purple/blue" hue, which indicates the AR coating is intact and clean.
Safe Methods to Wipe Down Flashlight Metal and Plastic Housings
Hard-anodized aluminum (Type III) used in lights like the Warrior 3s is incredibly durable, but its porous surface can trap microscopic sweat salts and oils. If left uncleaned, these can lead to "pitting corrosion" in humid environments.
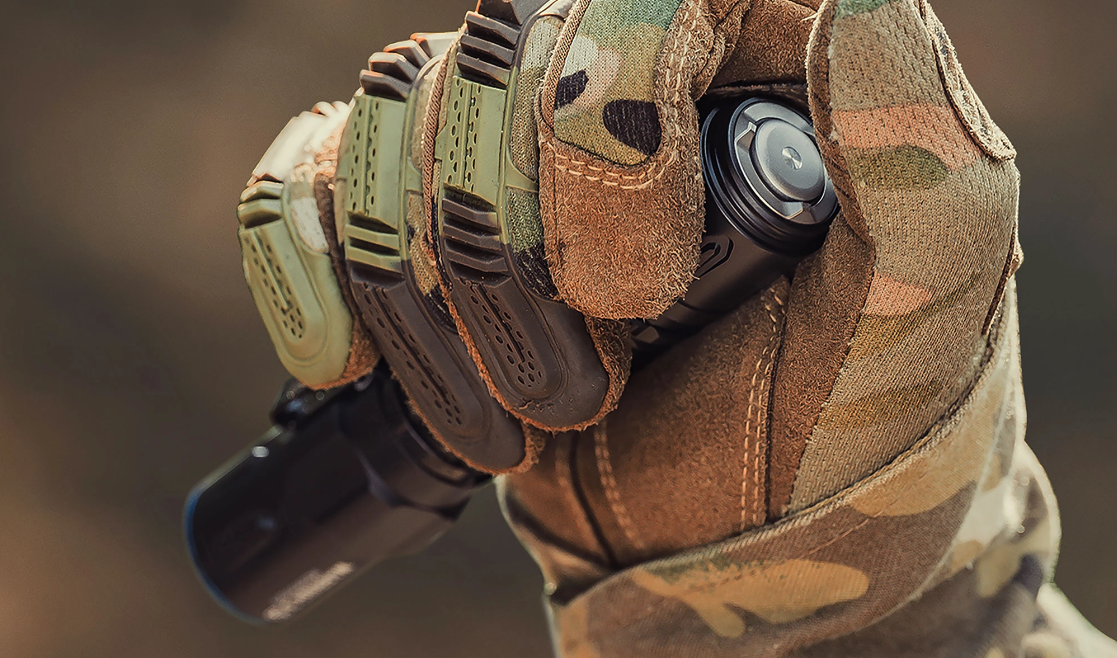
- Metal Chassis Care: Use a soft-bristled nylon brush (a clean toothbrush is perfect) and a solution of warm, pH-neutral soapy water to clean out the knurling and cooling fins. This removes the "biological buildup" that can interfere with grip and heat dissipation.
- Polymer & Polycarbonate Care: For polymer-based lights, avoid all alcohol-based cleaners, as they can lead to "chemical stress cracking." Use only a damp cloth with mild detergent to preserve the flexibility of the plastic.
- Contact Restoration: Use a cotton swab dampened with isopropyl alcohol to scrub the internal springs and the unanodized "flat" edges of the body tube. These edges are the primary "ground" path for the electrical circuit.
| Component | Cleaning Agent | Tool | Frequency |
|---|---|---|---|
| Optical Lens | 90% Isopropyl Alcohol | Microfiber Cloth | Post-Mission |
| Aluminum Housing | pH-Neutral Soapy Water | Nylon Brush | Monthly |
| Electrical Spring/PCB | Electrical Contact Cleaner | Cotton Swab | Quarterly |
Critical Prohibitions: Tools to Avoid
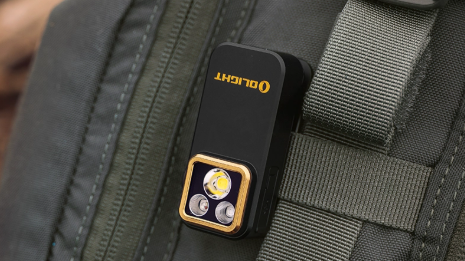
For precision-engineered polymer lights like the Oclip Pro Clip On Flashlight, the use of industrial solvents such as Acetone or Benzene is strictly forbidden. These chemicals will dissolve the ABS/Polycarbonate blend and destroy the adhesive seals around the USB-C charging port. Additionally, never use paper towels on a lens; paper is made of wood pulp, which contains silica and other abrasives that will create millions of micro-scratches on the glass surface.
O-Ring & Waterproofing Management
The Science of Waterproof Integrity
Maintaining an IPX8 flashlight waterproof rating is not about tightening the tailcap as hard as possible; it is about the "hydraulic interface" provided by the lubricant. Lubrication allows the O-ring to rotate freely within its groove during assembly. Without grease, the rubber "grabs" the metal, causing it to twist, buckle, or even tear. A properly lubricated O-ring creates a seamless barrier that fills the microscopic valleys in the aluminum machining, effectively blocking water molecules from entering even under high-pressure conditions.(Source: O-ring Lubrication).
Warning: Never use WD-40, gun oil, or petroleum jelly (Vaseline) for o-ring care. Petroleum-based products interact with the rubber's chemical structure, causing it to expand, soften, and eventually disintegrate. Use only 100% pure silicone grease or synthetic fluorocarbon gels.
Detailed O-Ring Replacement Protocol
If you identify "dry rot" (whitish, chalky appearance) or a "flat spot" on your O-ring, it must be replaced. Use a plastic pick (never a metal knife) to pry the old ring out. A metal tool can create a "micro-channel" in the aluminum seating groove; water will travel through this channel regardless of how much grease you apply. Once the new ring is installed, apply a bead of silicone grease approximately the size of a grain of rice and distribute it evenly with your finger until the entire ring has a uniform, glossy sheen.
Advanced Battery Care & Storage
Lithium-Ion Chemistry Optimization
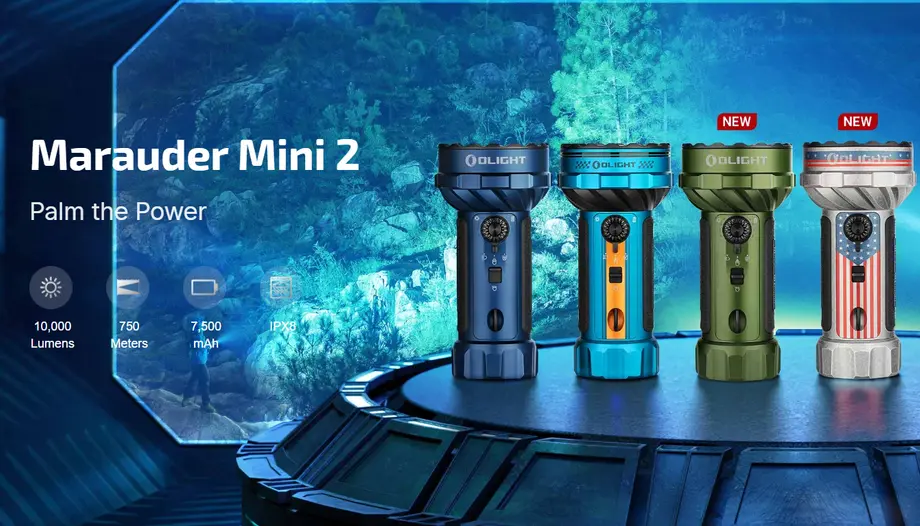
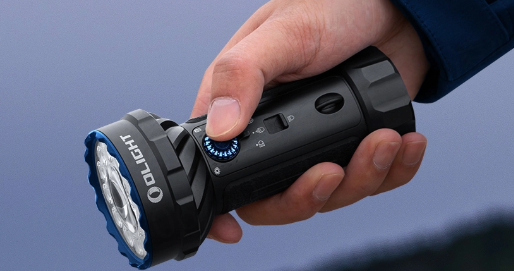
Modern high-drain flashlights, such as the Marauder Mini 2, utilize sophisticated 21700 or 32650 lithium-ion cells.These cells have high energy density but are sensitive to "chemical stress." To maximize their lifespan (cycle life), avoid discharging them to the point where the light can no longer be activated. Most modern drivers have an LVP (Low Voltage Protection) circuit that will shut the light off around 2.8V, but repeatedly hitting this limit will permanently reduce the battery's total capacity.
The Thermal Charging Rule: Lithium plating is a dangerous phenomenon that occurs when a battery is charged in freezing temperatures (below 0°C). This creates lithium "needles" called dendrites inside the battery, which can eventually pierce the separator and cause an internal short circuit. Always allow your light to reach room temperature before connecting it to a charger after an outdoor winter excursion.
Mechanical vs. Electronic Lockout
For daily carry, "lockout" is essential. An accidental 3,000-lumen activation in a backpack can reach temperatures high enough to melt synthetic fabrics. While many lights have an "electronic lockout" (usually activated by holding the button), a "mechanical lockout" is far more reliable. By unscrewing the tailcap 1/4 turn, you physically break the electrical circuit. This not only prevents accidental fire hazards but also eliminates "parasitic drain"—the tiny amount of energy the light's computer uses to "listen" for your button press—preserving your battery charge for months longer.
Long-Term Hibernation Tips
If you are storing your tactical or outdoor flashlight for a season, the battery must be removed (if it is a removable type). Alkaline batteries are notorious for leaking corrosive potassium hydroxide, which can fuse a tailcap to the body and destroy the internal driver. While lithium-ion batteries do not leak in this manner, they will slowly lose their voltage.
The "Storage Charge" sweet spot for lithium-ion batteries is approximately 3.7V to 3.8V (roughly 40-60% capacity). Storing a battery at 100% full charge (4.2V) creates high "state-of-charge" stress on the electrolyte, leading to rapid capacity loss. Store your gear in a temperature-controlled environment; extreme humidity (over 70% RH) can lead to fungal growth on optical coatings and oxidation of brass contact springs. Check your stored batteries every 3-6 months and top them up if they fall below 3.5V.
Troubleshooting Operational Failures
Diagnosis: Flickering or Failure to Activate
In 90% of cases, a "broken" light is simply a dirty one. The electrical circuit in most flashlights travels from the battery negative through the tailcap spring, then through the *bare aluminum edge* of the body tube. If a tiny bit of dirt, excess grease, or aluminum oxide (a non-conductive layer) builds up on that bare edge, the circuit will be broken. A quick wipe with alcohol on that specific edge fixes nearly all flickering issues.
The Advanced "Paperclip Test"
To determine if your issue is in the flashlight head or the tailcap, perform a "bypass test": remove the tailcap and use a conductive metal tool (like a paperclip or tweezers) to connect the negative battery terminal directly to the bare aluminum edge of the body tube. If the light activates, the problem is definitively located in your tailcap switch mechanism. If it does not activate, the issue lies within the battery, the driver, or the LED emitter itself.
Expert FAQ
How often should I perform a full maintenance routine?
For professional duty lights (Law Enforcement, SAR) or primary outdoor lights, a full cleaning and lubrication should be performed every 2-3 months. For backup EDC lights that stay in a clean pocket, a bi-annual (every 6 months) routine is sufficient. However, if your light is ever exposed to salt water, it must be rinsed in fresh water and serviced immediately to prevent rapid electrochemical corrosion.
Can I use standard WD-40 to clean my flashlight?
Absolutely not. While WD-40 is excellent for loosening rusted bolts, it is a solvent that will rapidly degrade rubber O-rings and can even damage some plastic lenses and electronic sealants. Use only 90%+ isopropyl alcohol for cleaning and pure silicone grease for lubrication.