


⚡ TL;DR
Rotary flashlight controls can adjust brightness, choose a light source or prepare the next switch-on setting. The result depends on the exact control and the flashlight's starting state. We explain Seeker 4 Pro and Marauder Mini 2 through their separate controls, so you can choose a useful setting without treating every turn of a dial as the same action.
📋 Table of Contents
- 1. Identify What the Rotary Flashlight Control Changes
- 2. Can Seeker 4 Pro Prepare Brightness While It Is Off?
- 3. Read Seeker 4 Pro's On-State Dimming Path Separately
- 4. Use Seeker 4 Pro's Feedback Without Inventing a Dial Scale
- 5. Distinguish Pressing the Seeker Switch From Rotating It
- 6. Read Marauder Mini 2's Three Controls by Their Assignments
- 7. What Happens to Brightness When Marauder Mini 2 Changes Sources?
- 8. Adjust Marauder Mini 2 Brightness With the Light On
- 9. Recognize When Rotation Is First Unlocking the Light
- 10. Keep Marauder Mini 2's Maximum Shortcut Method-Specific
- 11. Read Brightness Labels Alongside Their Source Table
- 12. Account for Rotation From an Existing Strobe State
- 13. Separate a Brightness Request From Available Output
- 14. Choose Rotary Controls Around the Changes Your Task Requires
- 15. Recognize a Timer Before Treating Switch-Off as a Control Fault
- 16. Read Seeker 4 Pro's Dashboard in Its Current State
- 17. FAQ
Identify What the Rotary Flashlight Control Changes
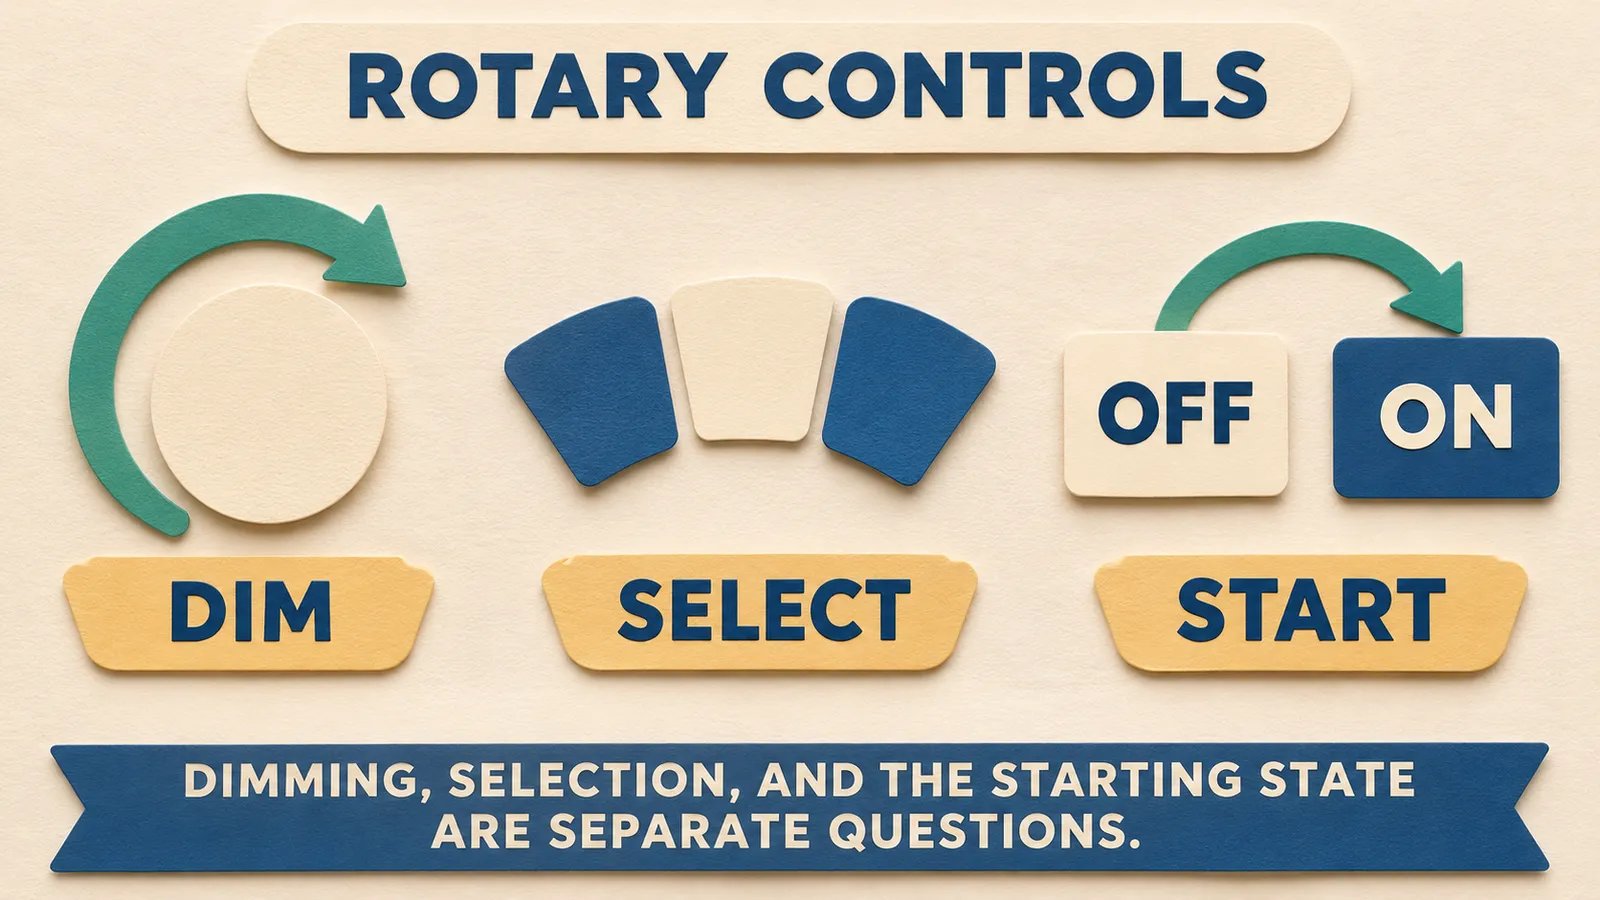
A rotary control describes a physical action. Its assigned job comes from the flashlight design. Turning a brightness knob and turning a light-source selector can both feel like rotating a wheel. One changes output within the selected light, while the other chooses a different source. Find the control's name and the relevant starting condition before comparing what the movement accomplishes.
| Control | Relevant starting state | Assigned result |
|---|---|---|
| Seeker 4 Pro rotary switch | Unlocked and off | Adjust the memorized brightness for the next switch-on |
| Seeker 4 Pro rotary switch | Unlocked and on | Adjust brightness while the light is operating |
| Marauder Mini 2 light-source selector | Source-selection operation | Choose white, red or side light |
| Marauder Mini 2 toggle switch | White-light beam selection | Choose floodlight, spotlight or their combined arrangement |
| Marauder Mini 2 rotary knob | Light on | Increase or decrease brightness |
Our Seeker 4 Pro puts pressing and rotating into one switch assembly. Our Marauder Mini 2 uses a rotary selector, toggle switch and rotary knob for distinct assignments. Count the controls by their functions when choosing between those arrangements. A larger list of functions does not tell you how many separate controls you will need to locate during a particular task.
Can Seeker 4 Pro Prepare Brightness While It Is Off?
With Seeker 4 Pro unlocked and off, rotating its switch clockwise raises the memorized brightness toward High in permitted conditions. Rotating counterclockwise lowers that setting toward Moonlight. This gives the off-state rotation a preparation role. You can choose the setting intended for the next switch-on while keeping the main light off, rather than first illuminating the room and then reducing it.
The off-state upper endpoint matters. The manual names High for this operation, and its figure describes the adjustment as changing memorized brightness. Seeker 4 Pro's published High output starts at 1,200 lumens, while its headline Turbo output starts at 4,600 lumens. Those are different modes reached through different starting conditions or actions. Planning an off-state setting from the headline maximum would misidentify what this particular operation prepares.
For a nearby task, decide on the starting output before directing the lamp toward the item. A label on a shelf and an open storage area may need different settings. After making the off-state adjustment, point the light toward the intended surface before switching it on. This separates choosing the next setting from checking whether that setting suits the task in front of you.
Read Seeker 4 Pro's On-State Dimming Path Separately
With Seeker 4 Pro unlocked and on, turn the rotary switch clockwise to increase brightness or counterclockwise to decrease it. The manual names Turbo as the upper endpoint for this on-state operation in permitted conditions, and Moonlight as the lower endpoint. The direction remains consistent with off-state adjustment, but the upper endpoint and the operating result depend on the starting state.
On-state adjustment lets you watch the illuminated surface as you make the change. Stop turning when the detail you need is clear. A glossy package, pale wall and dark object can reflect the same light differently, so the task provides more useful feedback than trying to reproduce an unmarked fraction of a turn. Move the light away from eyes before making a large brightness change.
Keep the manual's permitted-conditions qualification attached to the endpoint. A control instruction explains how to request an operating level. It does not promise that the requested maximum remains available or stays at its initial output indefinitely. Seeker 4 Pro's Turbo specification itself includes lower output stages after its initial level. Reaching a control endpoint and maintaining an output for a long task are separate parts of the specification.
Use Seeker 4 Pro's Feedback Without Inventing a Dial Scale
Seeker 4 Pro's manual says the corresponding brightness-level grid flashes when the adjustment reaches its highest or lowest setting. That feedback provides an endpoint indication. The same manual shows brightness indication separately from battery indication. Look at which part of the display is responding before using it to judge the light's state.
The brightness chart labels bands relative to maximum output, including boundaries at 5, 10 and 50 percent. Those markings do not assign a fixed lumen value to every degree of switch rotation. They also do not make the battery bars a brightness scale. A lamp can be set to a low output while its battery is well charged, or request a higher output with less charge remaining.
Distinguish Pressing the Seeker Switch From Rotating It
On Seeker 4 Pro, a single press of the unlocked rotary switch turns the light on or off. With the light on, pressing and holding that switch cycles through Low, Medium and High, with release selecting a level. Moonlight and Turbo are outside that automatic cycle. This is a different adjustment path from rotating the same physical switch.
A stepped cycle can suit someone who wants to return to one of a few named settings. Rotating provides finer adjustment between the available limits. Think about the change you make most often. If you repeatedly alternate between two familiar tasks, the named levels may be easier to describe to another user. If the task involves a surface whose appearance changes as you move closer, on-state rotation lets you stop at a useful intermediate brightness.
The Turbo shortcut is another distinct action. With the Seeker 4 Pro unlocked and on, quickly double-press the rotary switch to enter Turbo, then double-press again to return to the memorized mode. Keep that two-press action separate from the press-and-hold cycle in your instructions. Calling both actions “turn it up” leaves the user to guess whether the request means a named mode, an intermediate adjustment or the maximum-output shortcut.
Read Marauder Mini 2's Three Controls by Their Assignments
Marauder Mini 2's light-source selector chooses between white light, red light and side light. Its toggle switch chooses the white-light beam arrangement. Its central rotary knob changes brightness and also accepts button presses. The functions are related, but the controls do not substitute for each other. An instruction to “turn the dial” needs to identify which rotary part it means.
For the white-light beam arrangement, the toggle offers floodlight, combined spotlight and floodlight, or spotlight. This changes how the selected white light is delivered. A broad view of a storage area and a particular distant object are different viewing tasks. Choose the beam arrangement for the task before assuming a brightness adjustment will produce the pattern you want.
The separate side light adds another source-selection choice. Its physical location and output table differ from the main white-light arrangements. Treat the selector's side-light position as a source change, then read the applicable brightness setting. Selecting side light is more specific than saying that you want a lower white output from the main front-facing lights.
What Happens to Brightness When Marauder Mini 2 Changes Sources?
Marauder Mini 2's manual specifies that switching between red and white retains the current brightness level. Switching from red or white to side light instead defaults to L1. That means a source-selection action can produce a different brightness result even when you have not used the brightness knob.
The side light also has a particular restart rule. After turning it off, switching the flashlight back on within 10 seconds resumes its previous brightness setting. If more than 10 seconds passes, it returns to the default level. Keep this timing attached to side-light use. It does not establish a universal ten-second memory rule for every source, flashlight or button action.
This can affect an ordinary task involving short pauses. Someone checking several labels may briefly turn the side light off between items. Another person might leave it off while putting equipment away and return later. The same light and source can start differently because the pause falls into a different part of the documented rule. Describe the condition when sharing an operating note instead of calling the difference an inconsistent switch.
Adjust Marauder Mini 2 Brightness With the Light On
With Marauder Mini 2 on, rotate its knob clockwise to increase brightness toward the applicable maximum, or counterclockwise to decrease it toward Moonlight. The manual's brightness figure shows the L1-to-L4 direction and the reverse direction. Keep this instruction tied to the light-on condition. The manual's separate unlock operation also uses rotation, which gives a turn made from a locked state a different initial job.
The published levels belong to the selected source and beam arrangement. For example, the white-light table lists L1-1 at 50 lumens for floodlight, 50 lumens for spotlight and 100 lumens for the combined arrangement. The same level label therefore needs its beam context before it describes an output. A higher combined number does not tell you that the spotlight setting has changed to that number.
Moonlight also has source-specific values. The specification lists 1.5 lumens for floodlight, 0.5 lumens for spotlight, 2 lumens for the combined arrangement, 1 lumen for red and 0.5 lumens for side light. Use these as the named source specifications when low output matters to a task. The shared word Moonlight does not make those outputs equal.
Recognize When Rotation Is First Unlocking the Light
Marauder Mini 2's default unlocking method is rotation of the knob by more than 60 degrees. Its manual also describes an alternative hold-to-unlock setting. Before following a shortcut, identify which unlocking method is selected on the particular light. A light that has been configured differently can interpret a later button action differently even though the control hardware looks unchanged.
Seeker 4 Pro uses its own rotation requirement. The current product instructions specify rotation by more than 90 degrees in either direction, and the manual's normal unlock figure places that rotation within one second. That is a separate model-specific unlock action. Its off-state brightness preparation applies after the light is unlocked. The two operations should not be merged into a claim that every turn from a locked state is already changing the selected output.
Lockout is a state to identify before diagnosing a non-responsive switch. Our flashlight modes guide explains the vocabulary used across different lights, while the particular product's instructions determine the gesture. Keep the normal unlock method with the exact model. Describing the result as unlocked helps another person know which brightness instructions apply next.
Keep Marauder Mini 2's Maximum Shortcut Method-Specific
The selected unlock method changes Marauder Mini 2's double-press shortcut. When using rotation to unlock, quickly double-press the knob's button after unlocking to reach maximum brightness. When using the hold-to-unlock method, a quick double-press enters level 3, and a further double-press reaches maximum brightness. The manual gives those as two conditional paths.
This difference is worth checking when a shared light arrives with settings chosen by another person. An instruction that omits the selected method can leave one user expecting maximum brightness and another seeing level 3. Keep the description of the method with the instruction for the subsequent shortcut.
Read Brightness Labels Alongside Their Source Table
Marauder Mini 2 places brightness and battery indication on different sides of the knob. Its brightness illustration groups levels as L1, L2, L3 and L4. The white-light specification further distinguishes rows such as L1-1 and L1-2, while the red and side-light tables use their own level rows. A compact indication cannot replace the full source-and-level pairing when you need an output figure.
The battery indication is a different reading. The manual marks green thresholds at 75, 50, 25 and 10 percent, with red below 10 percent. Those indicators describe battery state rather than the chosen optical arrangement. Seeing an L4 indication does not establish a full battery, and seeing a green battery indication does not identify whether the front floodlight, spotlight or side source is selected.
For a useful record, name the source, beam arrangement where applicable and level before adding a runtime figure. The white-light table's L1-1 floodlight and spotlight examples both start at 50 lumens but have different published runtimes. This is a reason to retain the table's complete row. A single number copied from the brightest or longest-running arrangement would describe a different operating choice.
Account for Rotation From an Existing Strobe State
Marauder Mini 2's manual limits Strobe entry to the white floodlight arrangement. With the light unlocked and that arrangement selected, quickly press the knob's button three times or more to enter Strobe.
Once in Strobe, rotating the knob returns to the previously selected brightness, while pressing the button once turns the light off. If the battery is low, the manual says brightness adjusts to match the remaining power. Identify that existing mode before expecting a rotation simply to raise or lower a steady output. The return instruction belongs to Strobe, while ordinary on-state dimming describes a different starting condition.
Separate a Brightness Request From Available Output
Seeker 4 Pro's published Turbo sequence starts at 4,600 lumens for 2.5 minutes, followed by 1,200 lumens for 122 minutes and 600 lumens for 35 minutes. Its High specification instead pairs 1,200, 600 and 300 lumens with 135, 35 and 10 minutes respectively. Keep each level with its own duration when reading our published reference figures.
Runtime tables also show what follows an initial setting. A stepped specification can list an initial bright output followed by lower levels. That sequence is relevant even when the knob remains in the same place or the user makes no further adjustment. Read the published sequence when deciding whether a setting suits a short inspection or a longer stationary task. A rotation instruction alone contains no duration promise.
If the light fails to respond as expected, identify its source, lockout state and charge condition before assuming the rotary mechanism is damaged. For a rechargeable flashlight, keep charging questions with the model's actual connection. Our flashlight charging and care guide can help distinguish the complete power connection from a control-state question. Stop using equipment with visible damage and follow its applicable care instructions.
Choose Rotary Controls Around the Changes Your Task Requires
For reading nearby print or inspecting a reflective label, consider how directly you can adjust the light while watching the surface. Seeker 4 Pro's on-state rotation allows a brightness change without moving through the entire named Low-Medium-High cycle. Its off-state adjustment provides another choice when you want the next switch-on prepared before the lamp is illuminated.
For a task that changes between a broad area and one selected object, Marauder Mini 2 offers a separate beam-selection control. Its toggle can change the white-light arrangement while the brightness knob retains its own assignment. If the task instead moves to the side light, the source selector and its L1 default become the relevant part of the operating path. Think through the actual source changes when comparing how many controls the task involves.
The markings around Marauder Mini 2's controls provide another way to identify the assignment. Its source selector has symbols for side, white and red light, while the toggle has the white-beam symbols. Locate those markings while setting up the light, then match the selected symbol to the table being read. This gives a person using a shared light an identification point beyond the general shape of the knob, particularly when an operating note uses the word white without naming the beam arrangement.
Recognize a Timer Before Treating Switch-Off as a Control Fault
Seeker 4 Pro also has an automatic-off timer. With the flashlight on, double-press and hold the rotary switch at the current brightness to access the timer settings. A single blink indicates the short three-minute timer, while two blinks indicate the nine-minute timer. The light turns off when the selected time has elapsed. This is a separate action from either a quick double-press for Turbo or a continuous hold for the brightness cycle.
A timed stop can therefore occur without another rotation or press at the moment the light goes out. Include an active timer in a shared-light note when it affects the next task. Someone expecting continuous light needs to distinguish that setting from a depleted battery or locked controls. Keep the timer's blink feedback with the timer instruction, so it cannot be confused with brightness-grid endpoint feedback from rotating the switch.
Read Seeker 4 Pro's Dashboard in Its Current State
Seeker 4 Pro's main light switching off and its automatic lock engaging are separate events. Its manual says automatic lockout follows if no operation is made within 10 seconds after the indicators are off. Keep that indicator condition with the timing. Counting only from the press that turned the main light off would leave part of the documented sequence out of the instruction.
The dashboard can respond while the main light remains locked. In lockout mode, pressing the side rotary switch displays the remaining battery level. An indicator response without normal illumination can therefore be an intended result of the existing state. Check the battery information that appeared, then use the documented normal unlock action before following the unlocked brightness instructions.
Charging produces another display state. The manual describes the battery indicators as dynamically illuminated during charging, with all battery indicators lit once charging is complete. Read that display as charge progress. The brightness grid's endpoint feedback belongs to the brightness-adjustment operation, while this indication belongs to the charging connection. Naming the current state gives the display a specific meaning before a user interprets its bars as an output setting.
FAQ
Changelog
- November 7, 2026: Product information and buying guidance reviewed.




