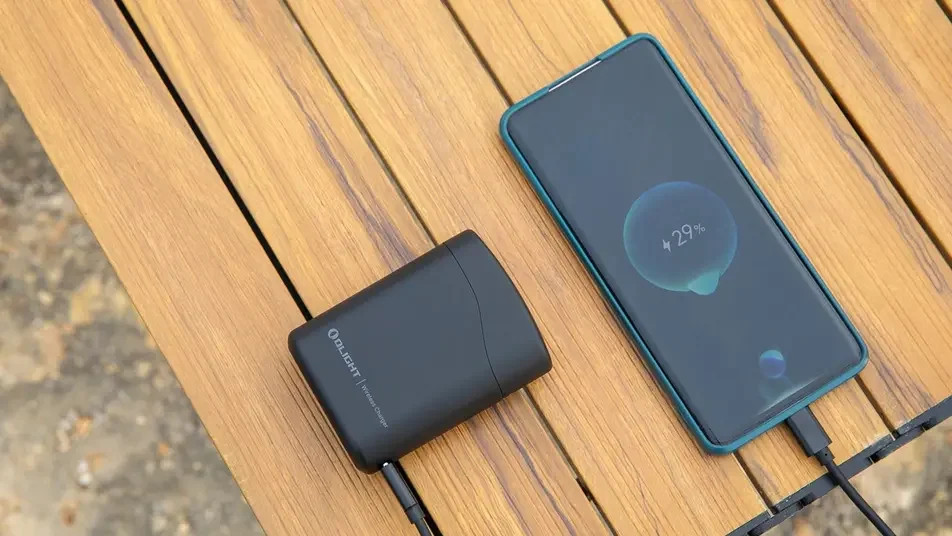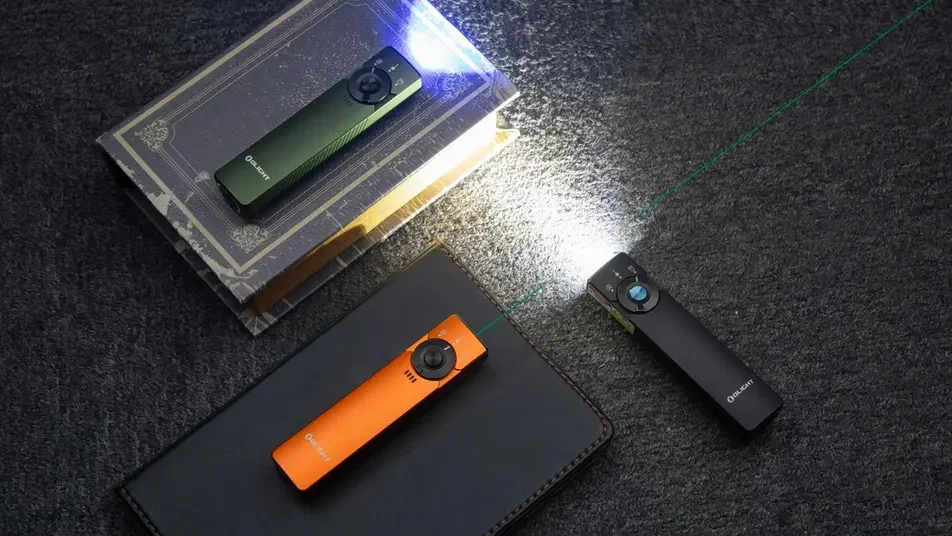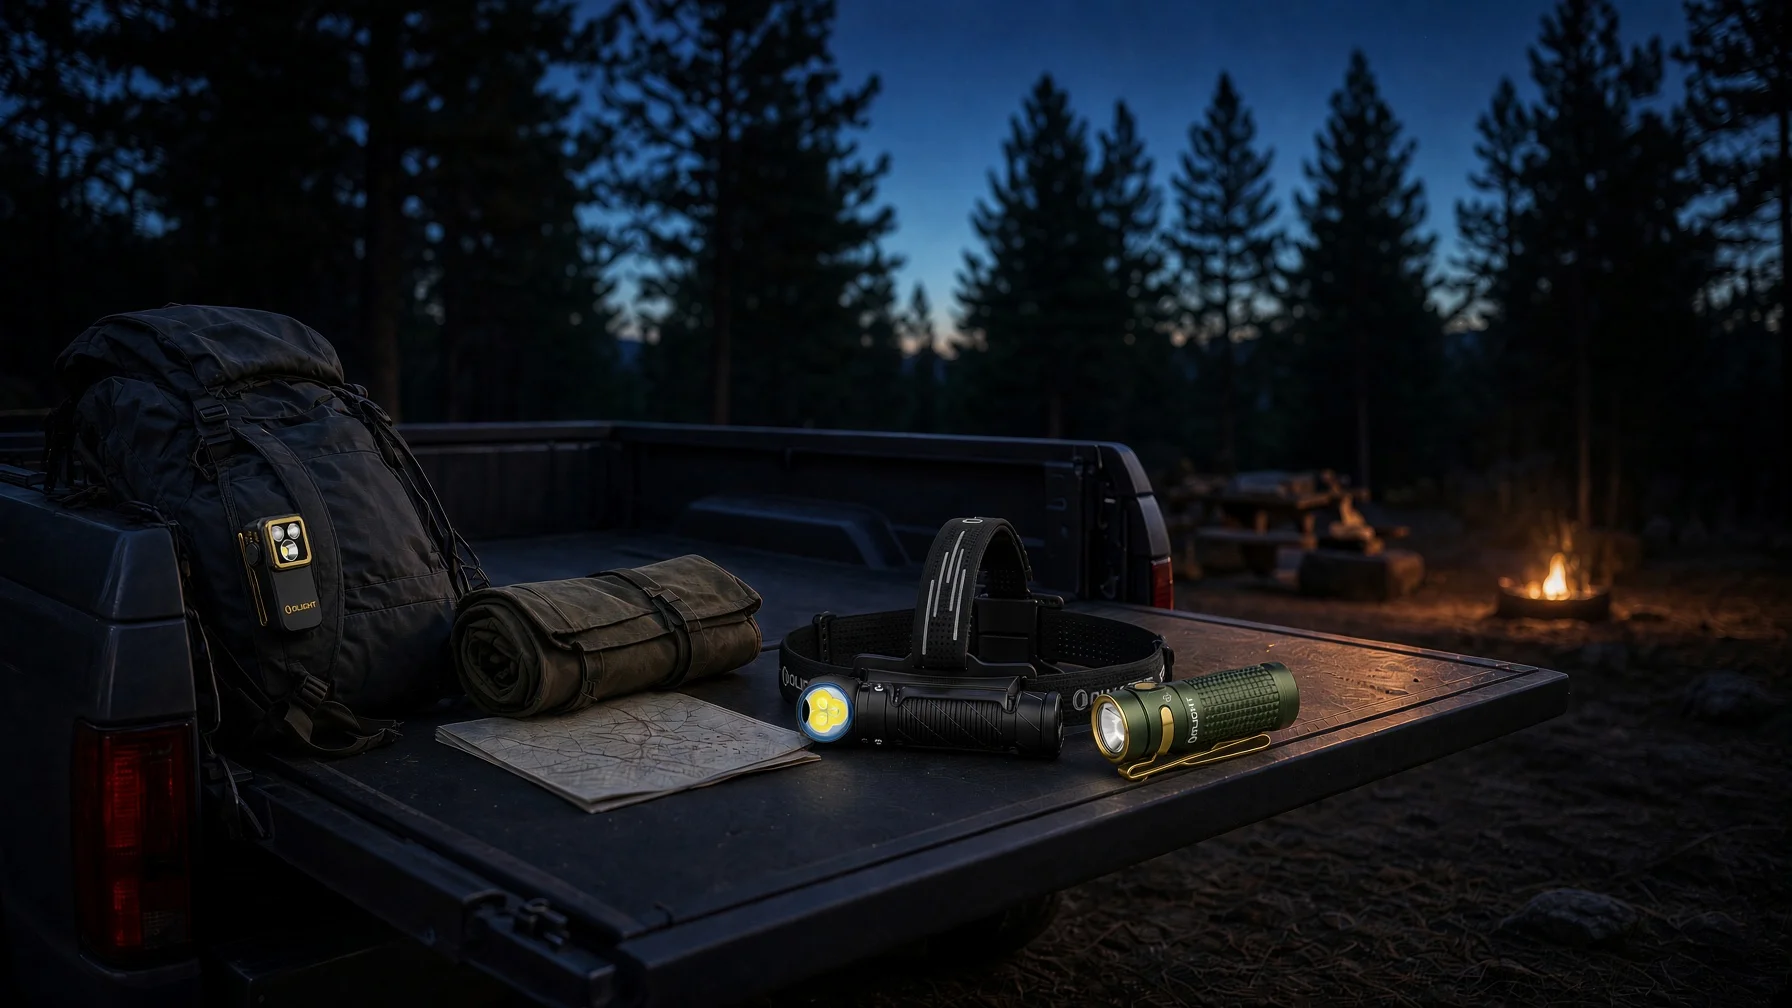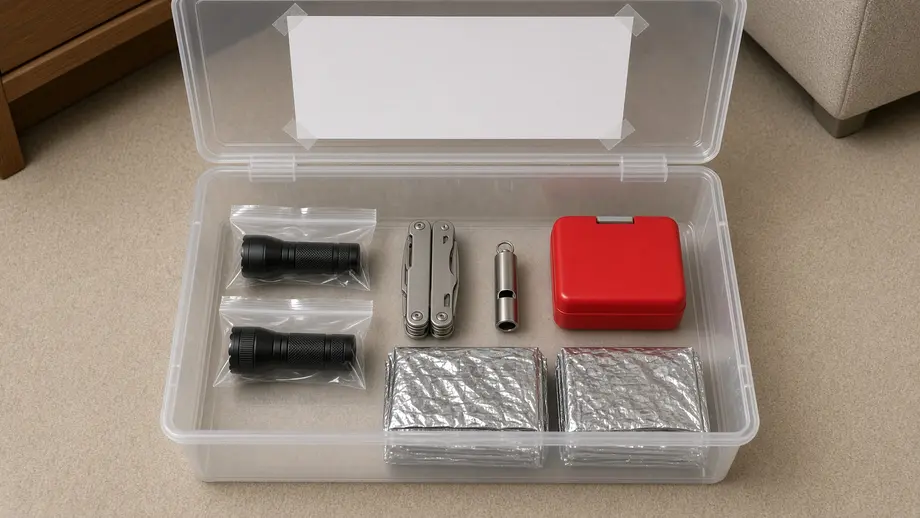
Olight makes some of the gear discussed here. Olight specs and regular prices come from its product pages as of September 2026; other items are priced from their makers' online stores in September 2026, before tax and shipping.
⚡ TL;DR
A survival kit under $100 works for a family if you price it line by line: about $64 for two flashlights, a pocket tool and a whistle, about $33 for a first aid kit and four emergency blankets, and $0 for stored tap water and bleach you already own. That buys a real 72-hour home kit with $3.33 to spare before tax and shipping.
This table compares the two ways to build a survival kit under $100 in this guide, both priced at regular prices from the makers' stores.
| Question | Build A: two-light family kit | Build B: a light for everyone |
|---|---|---|
| Total cost (before tax and shipping) | $96.67 | $99.66 |
| Flashlights | 2 (one main, one backup) | 4 (one per person in a family of four) |
| Tool | NexTool S0 8-in-1 multitool | None; uses kitchen scissors and pliers |
| Whistle | Olight Titanium Emergency Whistle | Coghlan's Safety Whistle |
| First aid and warmth | 80-piece first aid kit, 4 emergency blankets | Same, plus a 2-pack of can openers |
| Better for | Families with one adult who runs the kit | Families with kids or teens who need their own light |
Prebuilt kits often advertise a piece count, such as 250 pieces, rather than a price for each item, so you can't see where the money went or which parts are filler. Building it yourself fixes that, but only if you know how much each category deserves. The sections below give the split, the receipts and the math behind them.
📋 Table of Contents
- 1. Survival Kit Under $100: The Quick Answer
- 2. How Should You Split a $100 Survival Kit Budget?
- 3. The Priced Build: Two Lights, a Tool and a Whistle for $63.95
- 4. Why Does a Family Kit Need a Main Light and a Backup Light?
- 5. What Do First Aid, Water Treatment and Warmth Cost?
- 6. Which Family Survival Kit Build Fits Your Household?
- 7. How to Adjust the Kit for Your Area's Disasters
- 8. What Are the Top 10 Survival Items to Carry?
- 9. What Are 10 Items in a Survival Kit?
- 10. What Are Some Cheap Survival Items I Can Buy?
- 11. When Should You Check and Rotate a Survival Kit?
- 12. Common Mistake: Building the Kit Once and Never Touching It
- 13. Is a Rechargeable Light Worth Adding Later?
- 14. Your $100 Family Kit Checklist
- 15. FAQ
Survival Kit Under $100: The Quick Answer
A survival kit under $100 should cover the items the Federal Emergency Management Agency's Ready.gov basic disaster supplies list names for any household: water, food, a flashlight, a first aid kit, extra batteries, a whistle, a radio and a wrench or pliers. Its additional supplies list adds a sleeping bag or warm blanket for each person. Food and water come from your pantry and tap, so the $100 goes to gear that a kitchen doesn't already hold.
Ready.gov frames the goal plainly: "After an emergency, you may need to survive on your own for several days." It suggests storing kit items in airtight plastic bags inside "one or two easy-to-carry containers such as plastic bins or a duffel bag." That is the container for both builds here. You don't need a tactical backpack to meet the basic list, so the budget can go to the gear inside the bin.
The priced builds below use two small AAA flashlights instead of one big light. Olight's range of outdoor flashlights includes far brighter models, but a home kit that sits in a closet for months has different needs: common batteries, a long low mode and a spare that still works when the first light gets lost in the dark.
How Should You Split a $100 Survival Kit Budget?
Split a $100 survival kit budget by what your house can't supply on its own. Put about 64% into light, tools and signaling, about 33% into first aid and warmth, and keep the last few dollars as slack for a missing item, since tax and shipping come on top. Water, food, bleach and a can opener usually cost nothing new, because most homes already have them.
This budget split table shows where each dollar goes in Build A and why that category earns its share.
| Category | Build A spend | Share of $100 | Why it gets this share |
|---|---|---|---|
| Lighting (main + backup) | $30.98 | 31% | Ready.gov lists a flashlight and extra batteries |
| Tool | $16.98 | 17% | Scissors for plastic sheeting and tape, screwdrivers for battery doors and toys |
| Signal | $15.99 | 16% | Ready.gov lists a whistle "to signal for help" |
| First aid | $18.76 | 19% | A stocked kit you add family medications to |
| Warmth | $13.96 | 14% | One emergency blanket per person; Ready.gov's added list names a sleeping bag or warm blanket each, so pack home blankets too |
| Slack | $3.33 | 3% | A forgotten item; covers sales tax only at a rate of 3.4% or less |
| Water, food, bleach | $0 | 0% | Stored tap water and pantry food; Ready.gov explains how to store both |
If you only want the Olight pieces, the core lighting, tool and whistle set costs $63.95. That number is the base for everything else in this guide.
Note: Every total in this guide is before sales tax and shipping, and the items come from three stores. The $3.33 of slack covers sales tax only if your combined rate is 3.4% or lower ($3.33 divided by $96.67), and it leaves nothing for shipping. If $100 is a hard limit at checkout, swap the titanium whistle ($15.99) for the Coghlan's Signal Whistle ($3.49). Build A then costs $84.17 and leaves $15.83, or 18.8% of the order, for tax and shipping.
The Priced Build: Two Lights, a Tool and a Whistle for $63.95
The priced core of this family kit costs $63.95 at Olight's regular prices in September 2026: the Olight i3T EOS flashlight at $17.99, the Olight i3E EOS keychain light at $12.99 as a backup, the NexTool S0 multitool at $16.98 and the Olight Titanium Emergency Whistle at $15.99. All four run without charging and weigh about 3.6 ounces together.
This price ledger lists each item, the official spec that earns its place and the limitation you should know about.
| Item | Regular price (September 2026) | Key official spec | Weight | Limitation |
|---|---|---|---|---|
| Olight i3T EOS | $17.99 | 180 lumens High, 5 lumens Low for 16 hours on one AAA; IPX8 | 1.45 oz (41 g) | No SOS or strobe mode |
| Olight i3E EOS | $12.99 | 90 lumens, 44 m reach, one AAA; IPX8 | 0.68 oz (19.4 g) | One mode only; 45 minutes on an alkaline AAA per its manual |
| NexTool S0 | $16.98 | Scissors, tweezers, file, 2 screwdrivers, bottle opener, keyring | 1.23 oz (35 g) | No pliers or wrench for utility shutoff |
| Olight Titanium Emergency Whistle | $15.99 | Titanium, 0.35 in diameter, 2.09 in long | 7 g | No published loudness rating; costs more than a plastic whistle |
| Total | $63.95 | 102.4 g (about 3.6 oz) |
Main light. The Olight i3T EOS is the light you reach for first. Its tail switch gives momentary or constant light and switches between 5 and 180 lumens, according to Olight. The 5-lumen mode is the one that matters in a blackout: it runs 16 hours on one AAA, enough to walk a hallway or read a label without draining the cell. The 180-lumen High mode reaches 60 m, useful for checking a yard, but it lasts only 21 minutes per battery.
Backup light. The Olight i3E EOS is the spare that lives on a key ring or in a kid's jacket. It has one 90-lumen mode that turns on with a twist of the head, and Olight says its TIR lens focuses the light to reach up to 44 meters. The trade-off is runtime: the i3E EOS user manual rates it at 45 minutes on an alkaline AAA and 70 minutes on a NiMH cell. It is a task light for short jobs, not an all-night light. If a key ring light is new to you, this guide to what a keychain flashlight can and can't do covers the trade-offs.
Tool. The NexTool S0 is an 8-in-1 tool with serrated scissors, tweezers, a file, two screwdrivers and a bottle opener. Ready.gov's list includes "plastic sheeting, scissors and duct tape (to shelter in place)," and the scissors cover that job and splinter removal. It can't replace the "wrench or pliers (to turn off utilities)" on the same list, so keep an adjustable wrench next to your gas meter.
Whistle. The Olight Titanium Emergency Whistle weighs 7 grams and hangs on the same ring as the i3E EOS. Olight doesn't publish a decibel rating, and a plastic safety whistle costs less. You pay for the metal body, so choose it if you want a metal whistle that rides on your keys every day.
Why Does a Family Kit Need a Main Light and a Backup Light?
A family kit needs two lights because one light is a single point of failure. The main light gets carried away, dropped behind a dresser or left on until the battery dies, and the backup is what lets you find it again. Ready.gov's power outage guidance goes further and says to "have flashlights for every household member," which is what Build B later in this guide does.
The two Olight lights in Build A play different roles. This comparison shows which one leads on each point and by how much, using Olight's official figures.
| Dimension | Olight i3T EOS | Olight i3E EOS | Which is better | Difference |
|---|---|---|---|---|
| Max output | 180 lumens | 90 lumens | i3T EOS | 2 times the output |
| Low mode | 5 lumens for 16 hours | None | i3T EOS | Only the i3T EOS has a low mode |
| Max-mode rated runtime | 21 minutes | 45 minutes (alkaline) | i3E EOS | About 2.1 times longer |
| Reach | 60 m | 44 m | i3T EOS | 16 m farther |
| Weight | 41 g | 19.4 g | i3E EOS | 21.6 g lighter |
| Price | $17.99 | $12.99 | i3E EOS | $5.00 less |
| Lumens per dollar | 10.0 | 6.9 | i3T EOS | About 44% more light per dollar |
Instead of runtime claims from a lab, the numbers below come from Olight's rated runtimes applied to a common outage plan. Assume each light runs 4 hours a night for 3 nights, or 12 hours in total. This table shows how many AAA cells that takes in each mode.
| Light and mode | Rated runtime per AAA | Cells for 12 hours | What it tells you |
|---|---|---|---|
| i3T EOS Low, 5 lumens | 16 hours | 1 (with 4 hours left) | Plan your nights around this mode |
| i3T EOS High, 180 lumens | 21 minutes | 35 | Use High in bursts only |
| i3E EOS, 90 lumens, alkaline | 45 minutes | 16 | Keep it for short tasks |
| i3E EOS, 90 lumens, NiMH | 70 minutes | 11 | NiMH helps, but it's still a task light |
The math makes the plan simple. The i3T EOS on Low carries the three nights on the battery it ships with. The i3E EOS handles two-minute jobs like finding a medicine bottle or checking a breaker, and its cell lasts far longer that way. If you want a longer runtime at higher output, a rechargeable light is the next step, which this comparison of a rechargeable headlamp against AAA models covers.
Safety note: Don't shine either light into anyone's eyes. The i3E EOS manual warns that doing so "may cause temporary blindness, or permanent damage to the eyes." Children can carry the i3E EOS on a jacket zipper, but an adult should show them how to use it and keep it pointed down.
What Do First Aid, Water Treatment and Warmth Cost?
After the $63.95 Olight core, $36.05 remains for first aid, warmth and water treatment. In September 2026, an 80-piece first aid kit cost $18.76 at the First Aid Only store and a Coghlan's emergency blanket cost $3.49, so four blankets and the kit total $32.72. Water treatment adds nothing new: stored tap water needs no treatment, and if it runs out, Ready.gov and the EPA both put boiling first and plain unscented bleach second.
This table lists the items outside the Olight ledger, with the price, the maker's store and the date each price was checked.
| Item | Price | Where priced | Checked | Notes |
|---|---|---|---|---|
| First Aid Kit, 80 Piece, Plastic Case | $18.76 | First Aid Only | September 2026 | Add each person's prescription medications |
| Emergency Blanket (x4) | $13.96 ($3.49 each) | Coghlan's Emergency Blanket | September 2026 | Aluminized polyester, 1.5 oz each per Coghlan's |
| Drinking Water Germicidal Tablets | $12.99 | Coghlan's Germicidal Tablets | September 2026 | Optional go-bag backup; not in either build |
| Can Opener, 2 Pack | $3.99 | Coghlan's Can Opener | September 2026 | In Build B; most kitchens already have one |
| Safety Whistle | $5.99 | Coghlan's Safety Whistle | September 2026 | Build B's lower-cost whistle |
| Unscented household bleach, dropper, stored tap water | $0 new spend | Already at home | Not applicable | EPA and Ready.gov methods below |
Water is the heaviest part of any kit, so check the numbers before you buy anything for it. Ready.gov's water storage guidance says to "store at least one gallon of water per person per day for several days." For a family of four over three days, that is 12 gallons. A gallon holds about 3.8 liters and a liter of water weighs about a kilogram, so 12 gallons weigh roughly 100 pounds. That water belongs in food-grade jugs in a closet, not in a bag you plan to carry. Ready.gov says to clean the jugs with dishwashing soap and sanitize them with "one teaspoon of non-scented liquid household chlorine bleach to a quart of water" before you fill them.
You only treat water when the stored supply runs out and you must use water of uncertain quality, such as water from a stream. Ready.gov calls boiling "the safest method of treating water" and says to bring it "to a rolling boil for one full minute." When you can't boil, the EPA's emergency disinfection guidance calls for 8 drops of 6% unscented bleach per gallon, then 30 minutes of standing time. At that rate, refilling the family's 12 gallons would take 96 drops, or about 1 teaspoon based on the EPA's table. Coghlan's says two of its tablets disinfect about one quart, which works out to 8 tablets a gallon. If each person drinks the three-quarters of a gallon a day Ready.gov cites, a family of four needs 3 gallons, or 24 tablets, every day. Tablets suit a go-bag; boiling and bleach suit the home kit.
Note: The two agencies differ on tablets. Ready.gov says iodine and camping-store treatment products that don't use sodium hypochlorite as the only active ingredient "are not recommended," and Coghlan's describes its tablets as iodine-based. The EPA lists tablets containing chlorine, iodine or chlorine dioxide as an option when you don't have liquid bleach. At home, boil first and use bleach when you can't boil, and follow the label of any tablet you buy.
Which Family Survival Kit Build Fits Your Household?
Build A fits a household where one adult will manage the kit and the lights, while Build B fits a family where each person, including kids, should hold a light. Build A spends more on one good tool and a durable whistle; Build B spends that money on two extra lights and a can opener. Both stay under $100 before tax and shipping.
Build B is priced like this: one i3T EOS ($17.99), three i3E EOS lights ($38.97), a Coghlan's Safety Whistle ($5.99), the 80-piece first aid kit ($18.76), four emergency blankets ($13.96) and a can opener 2-pack ($3.99). The total is $99.66, which leaves 34 cents and no room for tax. If your kitchen already has a can opener, skip the 2-pack and Build B drops to $95.67. The price of that extra light for everyone is the multitool, so Build B relies on the scissors and pliers already in your kitchen drawer.
This table shows who should pick each build; the same logic applies when you compare bug out bags and kits under $100.
| Your household | Pick | Reason |
|---|---|---|
| Couple, or one parent with a baby | Build A | One adult runs the lights; the multitool handles packaging and battery doors |
| Family of four with school-age kids | Build B | Ready.gov advises a flashlight for every household member |
| Apartment with no toolbox | Build A | The S0 is the only tool you'd have |
| Home in a wildfire zone | Build A plus N95 masks | Ready.gov suggests storing an N95 mask for smoke |
| Family that also wants a car kit | Build B, split in two | Move one i3E EOS, two blankets and the spare whistle to the car |
| Frequent power outages | Either, plus a rechargeable light later | AAA runtime math favors a rechargeable room light for long outages |
How to Adjust the Kit for Your Area's Disasters
Adjust your kit for the disaster your area actually sees, because Ready.gov's hazard pages add different items for each one. A wildfire kit needs N95 masks for smoke; an earthquake kit leans on the whistle and sturdy shoes; a winter kit needs blankets and a car kit; a hurricane kit needs medication and a longer water supply. Spend any extra dollars on your local risk first.
This table matches common U.S. hazards with the Ready.gov advice and the change to make in your $100 kit.
| Hazard | What Ready.gov says | Change to your kit |
|---|---|---|
| Wildfire | "If available, store an N95 mask to protect yourself from smoke inhalation" | Add one N95 per person; keep the kit near the exit you'd use |
| Earthquake | "Make a supply kit that includes enough food and water for several days, a flashlight, a fire extinguisher and a whistle" | Keep the whistle and one light by each bed, with shoes |
| Hurricane | Include medication, disinfectant supplies and pet supplies; you "may not have access to these supplies for days or even weeks" | Store two weeks of medications and extra water |
| Winter storm | Keep a car kit with "jumper cables, sand, a flashlight, warm clothes, blankets, bottled water and non-perishable snacks" | Move one i3E EOS and two blankets to the car |
| Power outage | "Have flashlights for every household member" | Choose Build B, or add lights to Build A over time |
The winter and hurricane advice comes from Ready.gov's pages on winter weather and hurricanes. Earthquakes deserve one extra line. Ready.gov's earthquake page says that if you are trapped, "instead of shouting, use a whistle." That is why both builds keep a whistle on a key ring, where it goes wherever you go. For wildfire, the smoke advice sits on Ready.gov's wildfire page. If you live on a humid coast, this guide to hurricane supplies storage explains how to keep lights and batteries from corroding in a closet.
What Are the Top 10 Survival Items to Carry?
The top 10 survival items to carry are the National Park Service's Ten Essentials: navigation, sun protection, insulation, illumination, first aid, fire, a repair kit and tools, extra food, extra water and emergency shelter. They apply to what you carry on your body or in a daypack. A home disaster kit follows Ready.gov's list instead, which adds stored water, a radio and sanitation supplies.
The NPS Ten Essentials recommend headlamps as the lighting choice "because they are hands-free" and say to "be sure to pack extra batteries." For shelter, the NPS names "a tent, tarp, bivy sack, or emergency space blanket" as lightweight options. Here is how the $100 builds map to the carry list:
- Navigation: a paper map of your area, which Ready.gov also lists as "local maps."
- Sun protection: sunscreen and a hat from home.
- Insulation: an extra layer; the emergency blanket backs it up.
- Illumination: the i3T EOS and i3E EOS, with a spare AAA.
- First aid: the 80-piece kit plus personal medications.
- Fire: matches or a lighter, which the NPS lists as the fire essential.
- Repair kit and tools: the NexTool S0 and duct tape.
- Extra food: one day of no-cook food such as nuts and granola bars.
- Extra water: water plus a way to treat it.
- Emergency shelter: the emergency blanket.
What Are 10 Items in a Survival Kit?
Ten items in a basic survival kit, drawn from Ready.gov's list, are water, non-perishable food, a flashlight, extra batteries, a first aid kit, a whistle, a battery or hand-crank radio, a dust mask, a manual can opener and a wrench or pliers. The $100 builds buy the gear items and rely on your home for water, food and the can opener.
This is how the ten items sort into "buy" and "already own" for a family working with $100:
- Water: one gallon per person per day, stored from your tap.
- Food: several days of pantry food that needs no cooking.
- Flashlight: the i3T EOS, plus the i3E EOS backup.
- Extra batteries: one spare AAA per light from the household supply.
- First aid kit: the $18.76 80-piece kit.
- Whistle: titanium in Build A, plastic in Build B.
- Radio: Ready.gov lists a battery-powered or hand-crank radio; it is the first item to add when your budget grows.
- Dust mask: an N95 if smoke or debris is likely.
- Manual can opener: from your kitchen, or the $3.99 2-pack in Build B.
- Wrench or pliers: from your toolbox, to shut off utilities.
The radio is the honest gap in a $100 build. Neither priced build has room for one, so a NOAA Weather Radio is the first add-on when you can spend more. Until then, your phone and a charged backup battery, both on Ready.gov's list, cover emergency alerts.
What Are Some Cheap Survival Items I Can Buy?
Cheap survival items that still do a real job include emergency blankets, ponchos, whistles, can openers and a small first aid kit. In September 2026, Coghlan's listed an emergency blanket at $3.49, an emergency poncho at $2.49, a signal whistle at $3.49 and a can opener 2-pack at $3.99.
Cheap items fail when they do a job badly, so buy them where the cheap version works as well as an expensive one. These are the cheap items worth buying and the ones worth paying more for:
- Worth buying cheap: emergency blankets, ponchos, a can opener, zip-top bags, garbage bags and plastic ties, which Ready.gov lists for sanitation.
- Worth buying cheap: a whistle for each bag or car. The Coghlan's Signal Whistle costs $3.49; a metal whistle makes sense for the one that rides on your keys every day.
- Worth buying cheap: a rain layer. The Coghlan's Emergency Poncho costs $2.49 and has a hood, according to Coghlan's.
- Worth paying more for: the main flashlight. A light with a long low mode, such as the i3T EOS at 5 lumens for 16 hours, sets how many nights your batteries last.
- Worth paying more for: medications and a first aid kit you can restock, since the NPS says to check expiration dates and replace items as needed.
For the same approach applied to everyday carry instead of a home kit, see this guide to the best EDC under 100.
When Should You Check and Rotate a Survival Kit?
Check a survival kit every six months, which lines up with Ready.gov's advice that water "that has not been commercially bottled should be replaced every six months." Use the same visit to swap in fresh batteries, check first aid expiration dates and update the kit for growing kids. Ready.gov also says to "re-think your needs every year."
This six-month checklist lists each task, how often to do it and the source behind it.
| Task | How often | Why | Source |
|---|---|---|---|
| Replace stored tap water | Every 6 months | Water that was not commercially bottled should be replaced | Ready.gov |
| Store AAA cells outside the lights | Always, between checks | Prevents leaking in long storage | i3E EOS user manual |
| Turn on each light for 10 seconds | Every 6 months | Confirms the switch and contacts work | Author's checklist |
| Check spare alkaline AAA dates | Every 6 months | Energizer rates its E92 AAA at 10 years at 21°C | Energizer datasheet |
| Check first aid expiration dates | Every 6 months | Replace items as needed | NPS Ten Essentials |
| Replace bleach | Every year | EPA says to use bleach stored at room temperature for less than one year | EPA |
| Re-think kit contents | Every year | Family needs change | Ready.gov |
The battery row matters most for lights that sit unused. The i3E EOS manual tells you to "take out the battery if you are storing the flashlight for a long period of time to prevent the battery from leaking." Put each light's AAA in a small zip-top bag taped to the light. Spare cells last a long time on a shelf: Energizer's E92 datasheet lists a 10-year shelf life at 21°C for its AAA alkaline cell, but heat shortens that, so keep the kit out of the attic and garage.
Tip: Put the six-month check on the same dates every year, such as the weekends when clocks change in spring and fall, so nobody has to remember a separate date.
Common Mistake: Building the Kit Once and Never Touching It
The most common survival kit mistake is treating it as a one-time purchase. Stored water goes stale, batteries left in lights can leak, first aid supplies expire and children outgrow clothing and shoes. A kit that was complete two years ago can fail on the night you need it, so the six-month check matters as much as the gear.
These are the mistakes that most often turn a working kit into a box of dead gear, with the fix for each one:
- Batteries left inside the lights. Fix: store each AAA in a bag outside its light, per the i3E EOS manual.
- No one else knows where the kit is. Ready.gov says, "Make sure all family members know where the kit is kept." Fix: show every family member the shelf.
- Only one light for the whole house. Fix: add an i3E EOS per person over time, or start with Build B.
- Using High mode for everything. Fix: run the i3T EOS on its 5-lumen Low mode for general use; High drains a AAA in 21 minutes.
- Buying water treatment tablets for bulk water. Fix: at home, boil water of uncertain quality or use unscented bleach at 8 drops a gallon, and keep tablets for the go-bag.
- A kit only at home. Ready.gov says to "prepare supplies for home, work and cars." Fix: split Build B between the house and the car.
Warning: Never use a generator, grill or camp stove indoors to light or heat a room. Ready.gov says generators "should always be used outdoors and at least 20 feet away from windows, doors and attached garages." A flashlight is the safe light source in an outage.
Is a Rechargeable Light Worth Adding Later?
A rechargeable light is worth adding once the $100 kit is complete, because long outages favor a battery you can refill. It isn't the right first purchase for a tight budget, though. A single rechargeable clip light can cost almost as much as the $63.95 Olight core in Build A, and it needs a charged battery on the day the power goes out.
The Olight Oclip 2 Pro shows what the upgrade buys. At $54.99 (regular price, September 2026), it has a floodlight rated at 10 lumens for 25 hours on Low and a 1-lumen Moon mode rated at 144 hours, plus a red light, a 360° rotating clip and an IP66 rating. That wide floodlight suits lighting a room, which the two AAA lights in this kit can't do well. The limits are price, a built-in 600 mAh battery you have to keep charged and a rating of IP66 rather than the IPX8 of the i3T EOS. For a $100 budget, the AAA lights come first; the Oclip 2 Pro is the second-year upgrade. You can compare other pocket options among Olight's EDC flashlights.
Your $100 Family Kit Checklist
You can build a survival kit under $100 in one weekend if you order the gear first and handle water, food and batteries from home while you wait for delivery. This checklist puts the steps in order, from choosing a build to putting the six-month check on the family calendar, so nothing is left for later:
- Pick Build A ($96.67) or Build B ($99.66, both before tax and shipping) with the household table above, or the $84.17 Build A with a plastic whistle if $100 must cover tax.
- Order the Olight core: i3T EOS and i3E EOS, plus the NexTool S0 and titanium whistle for Build A, or three i3E EOS lights for Build B.
- Order the first aid kit and one emergency blanket per person.
- Fill 12 gallons of cleaned, food-grade jugs with tap water for a family of four, and date them.
- Put a dropper and a new bottle of unscented 6% bleach in the kit bin.
- Pack three days of no-cook pantry food and each person's medications.
- Bag each light's AAA cell separately, and add one spare per light from your household supply.
- Add the hazard item for your area, such as N95 masks in wildfire country.
- Show every family member where the kit is and how each light turns on.
- Put the six-month check dates on the family calendar.
FAQ
Changelog
- September 22, 2026: First published. Olight specs and regular prices from Olight product pages; First Aid Only and Coghlan's prices from their online stores, all as of September 2026.