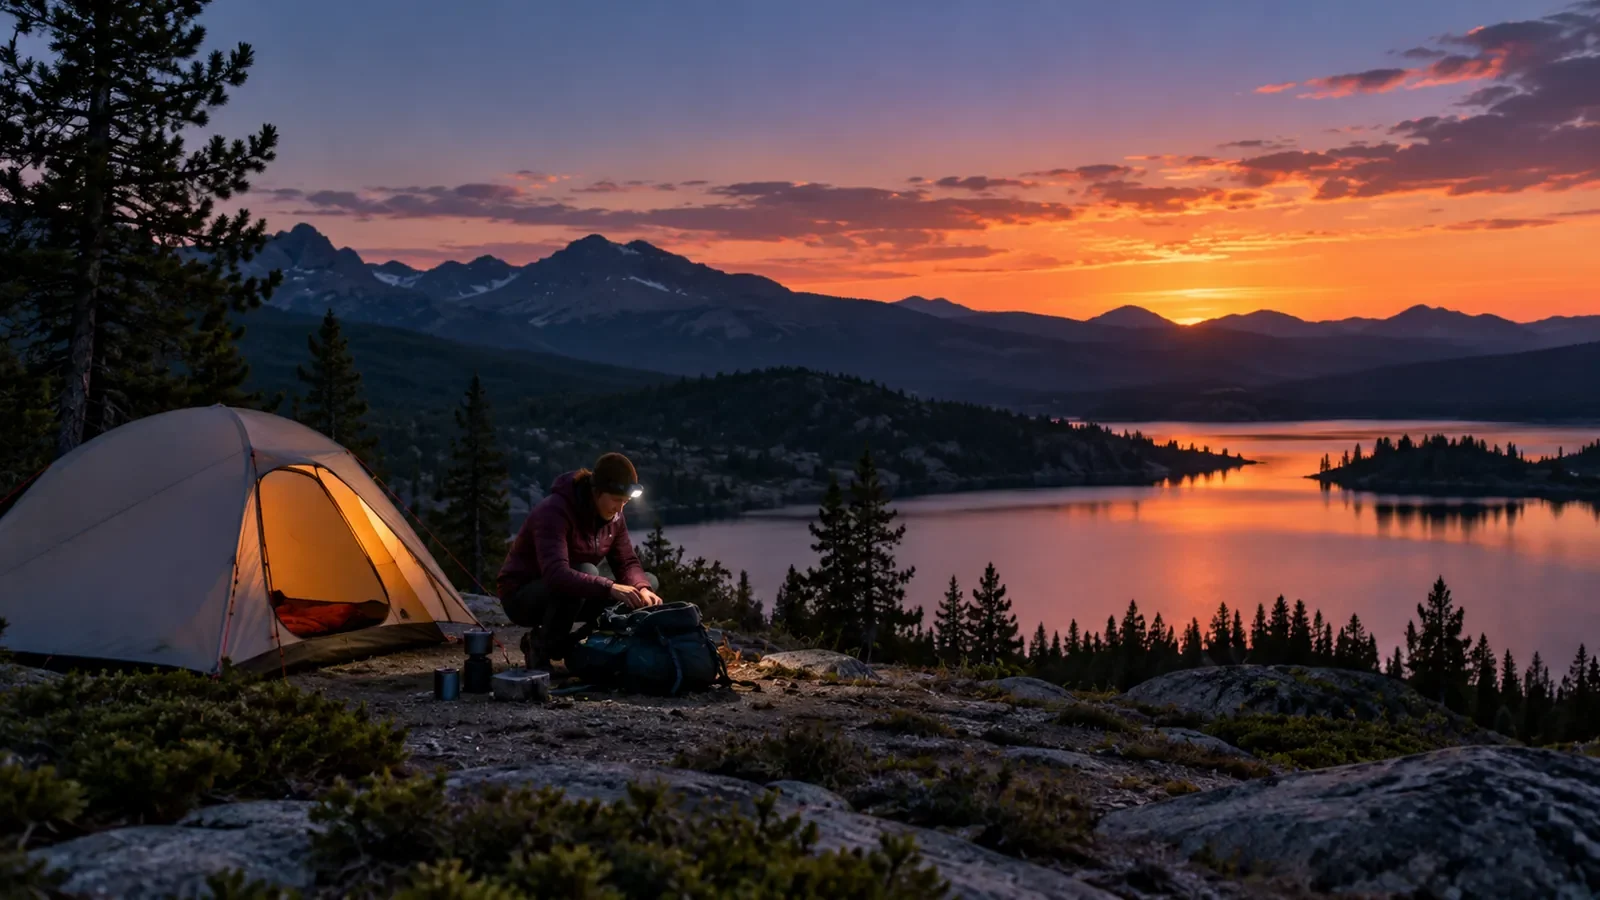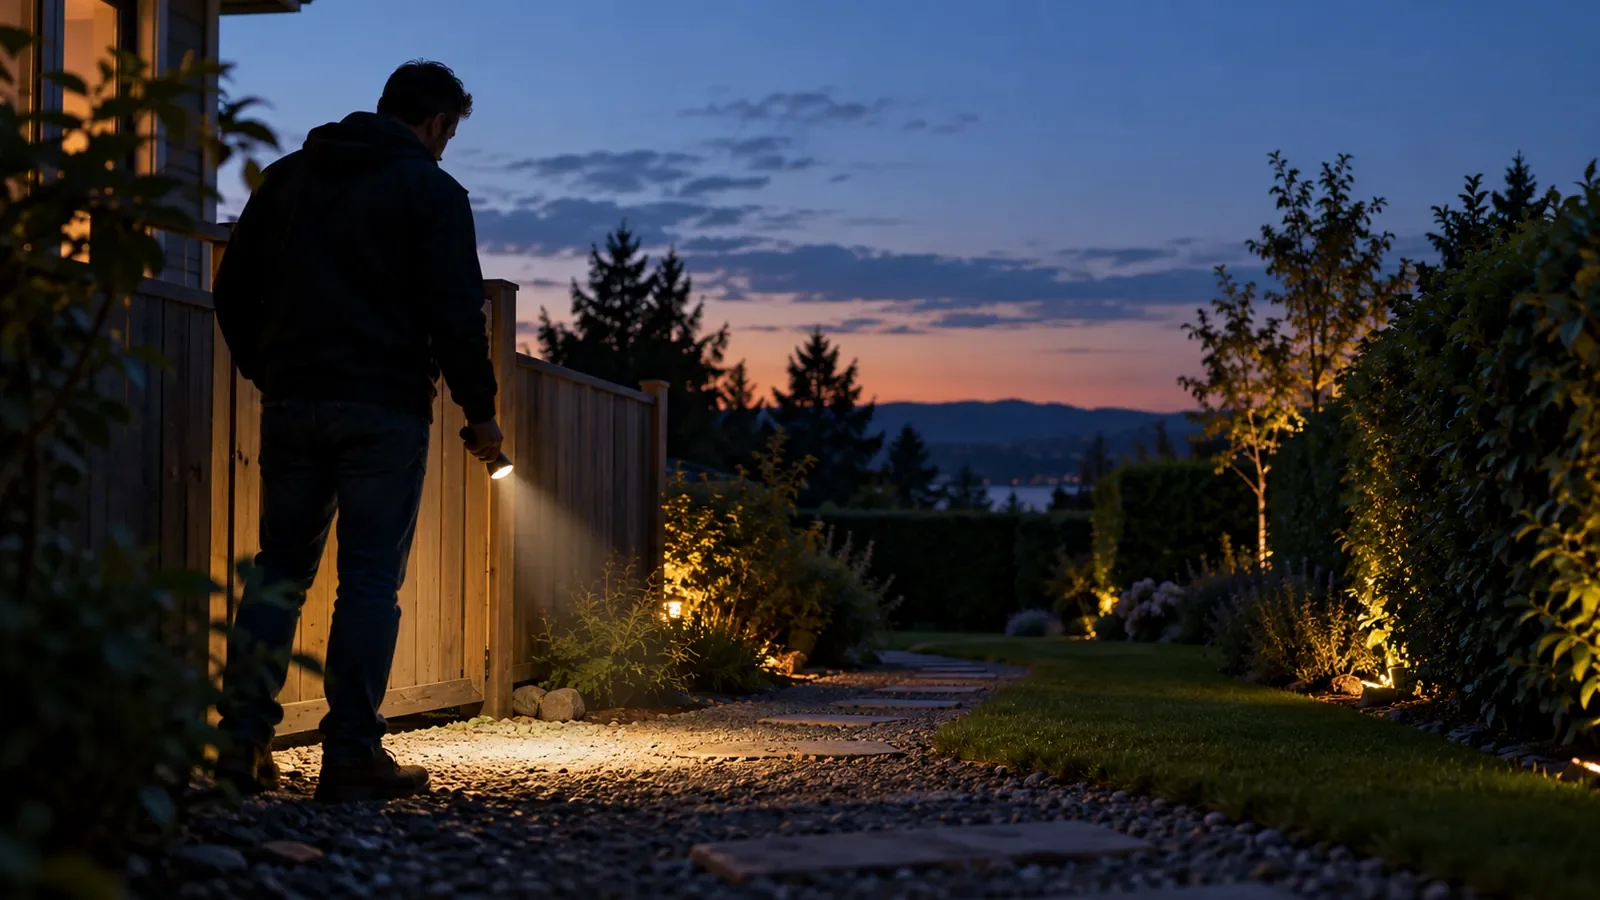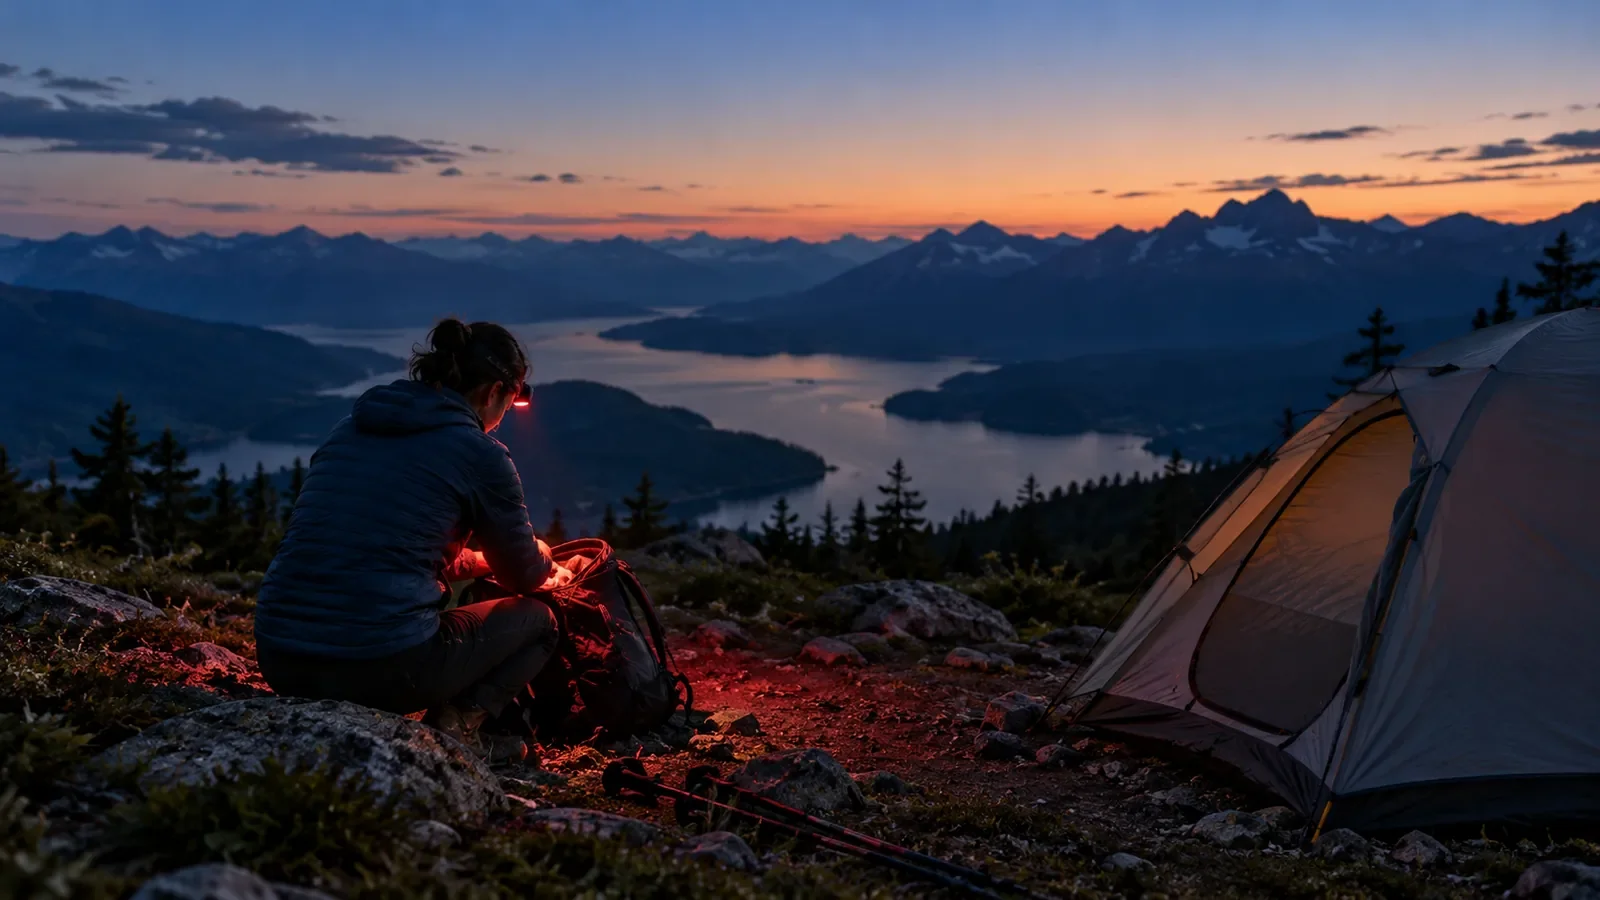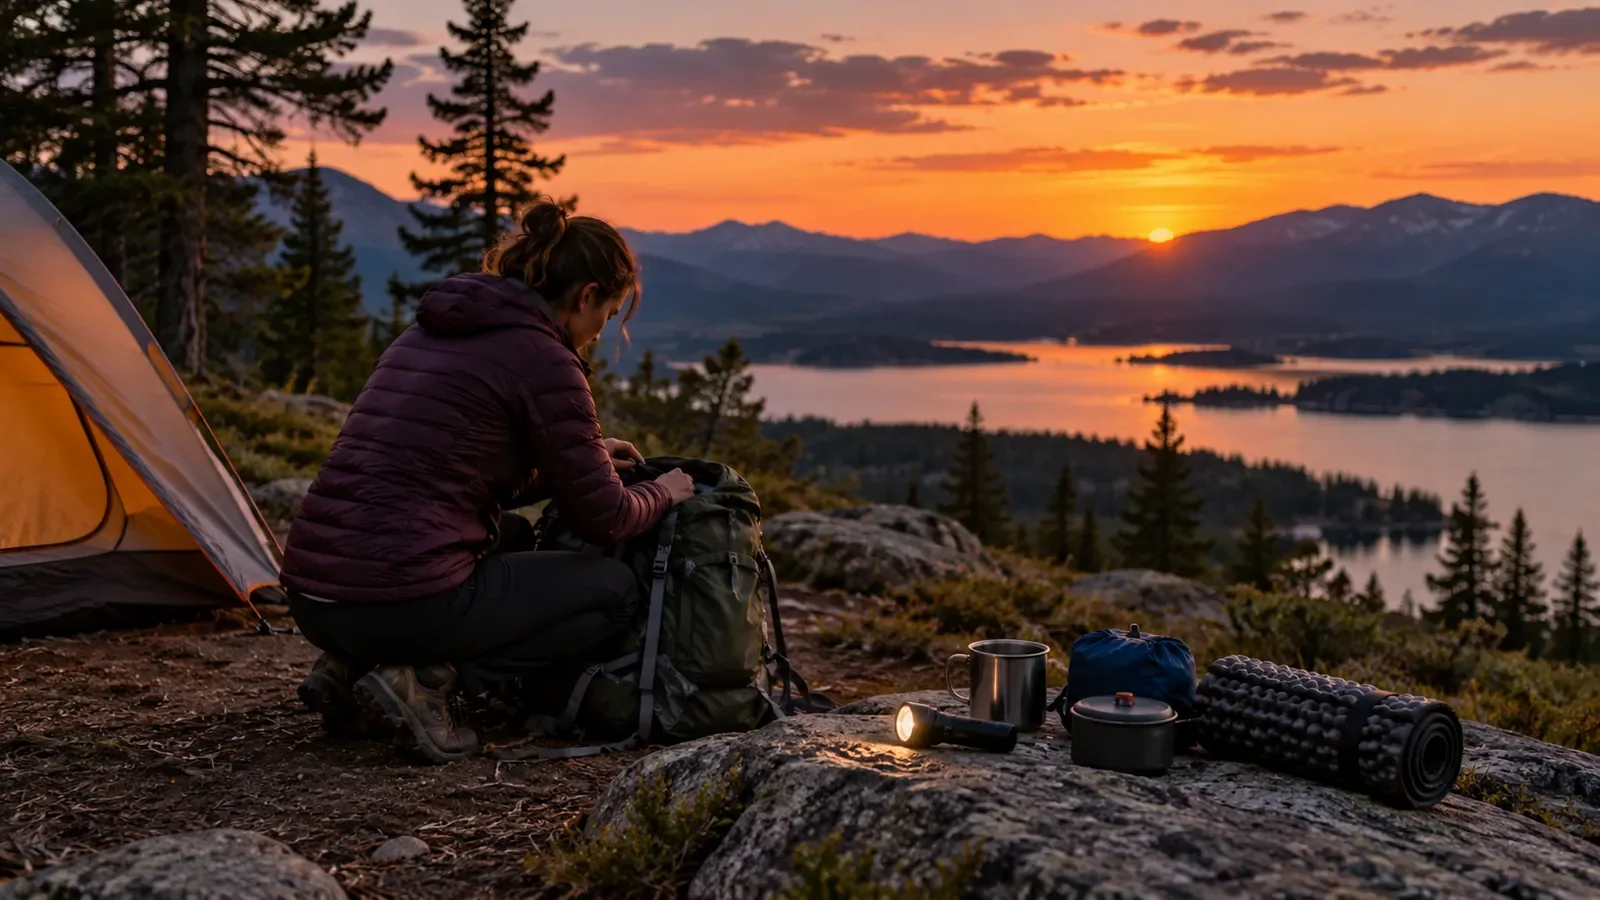
Olight makes the clip lights discussed here. Olight specs and regular prices come from its US product pages and user manuals as of October 2026. Body measurements come from the public ANSUR II dataset. The angles, runtimes per job and other figures below are calculations from those published numbers, not measurements.
⚡ TL;DR
A clip on light gives you hands-free light without a headband: clip it to a cap brim, collar, chest pocket, pack strap or belt, and both hands stay free. For most people the best pick is the Olight Oclip 2 Pro ($49.99), because its 115° tilting head can aim the beam back down at your hands from any of those five spots.
The usual options both annoy. A headlamp band squeezes your forehead, flattens your hair and gets sweaty. A handheld ties up the hand you need for the wrench or the leash. A clip light fixes both, but the beam no longer follows your eyes, the clip has to fit what you wear, and a chest light sits near your heart.
This table is a quick kit list for choosing a clip on light or another hands-free flashlight by job, with Olight's published ratings.
| Use | Recommended type | Key spec floor | Recommended model |
|---|---|---|---|
| Close work with both hands | Clip light with a tilting head | Head tilt; about 100 lm for 3 h or more | Olight Oclip 2 Pro |
| Dog walk or campsite loop | Clip light on a collar or strap | 100 lm or more, plus red | Oclip 2 Pro or Oclip Pro S |
| Lowest price, lightest carry | Small single-head clip light | 14 mm clip, red mode | Olight Oclip (30 g) |
| Leaks, stains, scorpions | Clip light with UV | Published UV output and wavelength | Oclip Pro S (365 to 370 nm) |
| Sometimes on the head | Clip light that fits a strap | Named on the strap page | Oclip Pro S or Oclip 2 Pro plus $7.99 strap |
| Running, overhead work, all night | A headlamp | Beam follows your eyes | See below |
📋 Table of Contents
- 1. Quick Answer: What Are the Pros and Cons of a Clip-On Light?
- 2. Five Clip Positions Compared: Hat Brim, Collar, Chest Pocket, Pack Strap, Belt
- 3. Light Axis vs. Line of Sight: Why the Hat Brim Comes Closest to a Headlamp
- 4. Clip Thickness and Grip: How Thick Can It Clip, and Will It Slip?
- 5. When Is a Clip-On Light the Wrong Hands-Free Flashlight?
- 6. What Are Red and UV Modes on a Clip-On Light For?
- 7. Oclip Models Compared: Which Clip Light Fits Which Position?
- 8. What Is the Best Clip-On Light?
- 9. How Long Do Clip-On Lamps Last?
- 10. How to Use a Clip Light?
- 11. Clip-On Light Checklist Before You Rely on One
- 12. FAQ
Quick Answer: What Are the Pros and Cons of a Clip-On Light?
A clip-on light's main advantage is speed: it rides on gear you already wear, so it goes on in seconds and nothing presses on your head. Its main drawbacks are that the beam stays fixed to your body instead of following your eyes, the clip only fits items within its rated thickness, and it bounces when you run. It suits tasks done standing or walking.
That is why Olight sells clip lights beside its EDC flashlights and headlamps, not as a replacement for either. The full hat clip lights range now runs from the original Oclip to the Oclip 2 Ultra. For the broader decision between a band, a right-angle body light and a handheld, see our comparison of the right angle flashlight against headlamps and handhelds.
Five Clip Positions Compared: Hat Brim, Collar, Chest Pocket, Pack Strap, Belt
The five common clip positions differ mainly in how far below your eyes the light sits. A hat brim puts it about level with your eyes, a collar about 20 cm below, a pack strap about 28 to 31 cm below, a chest pocket about 35 cm below and a belt 54 to 59 cm below. The lower the light, the more its beam disagrees with where you look up close.
The heights are means from ANSUR II, the 2012 anthropometric survey of US Army personnel (4,082 men, 1,986 women) hosted by Penn State's OPEN Design Lab. The dataset page cautions that "it is still not an approximation of the US Civilian population," so treat them as typical values. Standing eye height is derived as stature minus (sitting height minus sitting eye height); landmark definitions are in the ANSUR II summary report.
This table maps each clip position to an ANSUR II landmark. Heights are dataset means, not measured on a person; the brim offset is an assumption.
| Position | ANSUR II landmark used | Height below eye, men / women (mean) | Where it works best | Main weak point |
|---|---|---|---|---|
| Hat brim | None (assumed) | about 5 cm above | Reading, close repairs | Thick or floppy brim |
| Collar | Suprasternale (top of breastbone) | 20.3 / 19.0 cm | Walking, short tasks | Fabric sags |
| Pack strap | Axilla (front of armpit) | 31.3 / 28.1 cm | Hiking, camp chores | Strap angle shifts |
| Chest pocket | Chest point | 35.1 / 34.8 cm | Inspections, standing work | Near implanted heart devices |
| Belt | Navel (waist height) | 58.6 / 54.0 cm | Lighting the trail ahead | Arms block the beam |
One position needs a medical note. The Oclip 2, Oclip Pro, Oclip Pro S and Oclip Ultra manuals all say, "If you have an ICD or pacemaker, avoid close or prolonged contact with this product to prevent possible interference." The FDA's guidance on magnets in consumer electronics tells patients to keep such devices "at least six inches (15 centimeters) away from implanted medical devices" and adds: "Do not carry consumer electronics in a pocket over the medical device." If that applies to you, use the brim, the belt or a strap on the far side.
Light Axis vs. Line of Sight: Why the Hat Brim Comes Closest to a Headlamp
The hat brim comes closest to a headlamp because it sits within a few centimeters of your eyes, so the beam and your line of sight meet any target at nearly the same angle. Based on ANSUR II means, a brim light is off your sight line by about 2° at hand distance, while a chest light is off by 25° to 28° and a belt light by more than 50°.
For a target at horizontal distance d, your eye looks down at atan((eye height minus target height) ÷ d) and the light points at atan((light height minus target height) ÷ d); the gap between the two is the beam-to-sight offset. The three targets are assumptions: your hands 0.4 m ahead at navel height (men's eye height 1,642 mm, women's 1,520 mm), the ground 3 m ahead, and an eye-level object 10 m ahead. The light is assumed to sit straight below your eyes.
This table shows the beam-to-sight gap for each position and the downward tilt the light needs to hit your hands, for men / women, calculated from ANSUR II means, not measured.
| Position | Gap at hands, 0.4 m | Gap at ground, 3 m | Gap at eye level, 10 m | Tilt needed to hit hands |
|---|---|---|---|---|
| Hat brim | 2.2° / 2.4° (light above) | 0.7° / 0.8° | 0.3° / 0.3° | 57.8° / 55.9° down |
| Collar | 11.9° / 12.3° | 3.1° / 3.0° | 1.2° / 1.1° | 43.8° / 41.2° down |
| Pack strap | 21.4° / 20.5° | 4.8° / 4.4° | 1.8° / 1.6° | 34.3° / 32.9° down |
| Chest pocket | 25.2° / 27.8° | 5.4° / 5.5° | 2.0° / 2.0° | 30.4° / 25.6° down |
| Belt | 55.7° / 53.5° | 9.3° / 8.8° | 3.4° / 3.1° | 0° (level with hands) |
A worked example for the men's collar row: your eye looks down at atan((1,642 − 1,056) ÷ 400) = atan(1.465) = 55.7°. The collar light points at atan((1,439 − 1,056) ÷ 400) = atan(0.958) = 43.8°. The gap is 55.7 − 43.8 = 11.9°.
Three lessons follow. Distance hides the offset: at 3 m every position except the belt stays within about 5.5° of your sight line, so any clip spot works for walking. Close work exposes it: at arm's length only the brim, and to a lesser degree the collar, keeps the beam where you look. And the tilt column makes the case for a tilting head: a light that cannot tilt shines roughly straight out from a vertical shirt front, past your hands, while hitting them takes 26° to 44° of downward aim from the collar, strap or pocket. The Oclip 2 Pro and Oclip 2 Ultra list a "115° head tilt" and "360° clip rotation," which covers every row. Olight does not list a tilting head for the Oclip, Oclip Pro, Oclip Pro S or Oclip Ultra.
Olight publishes no beam angle for any Oclip, so spot size is not estimated here. If you wear your clip light on a cap, our headlamp comfort guide covers what a brim light does to pressure and fit.
Clip Thickness and Grip: How Thick Can It Clip, and Will It Slip?
Olight rates three of its clip lights by thickness: the original Oclip "can clamp objects up to 14mm thick," and the Oclip 2 Pro and Oclip 2 Ultra clips grip "objects up to 14 mm thick, including collars, straps, and MOLLE webbing." Olight does not publish a clip opening for the Oclip Pro, Oclip Pro S or Oclip Ultra, and it publishes no clamping force for any model.
Olight backs the clips with cycle claims instead: the Oclip clip "has passed 10,000 cyclic tests," and the Oclip 2 dual-axis joint "has passed a 10,000-cycle adjustment test." Those describe durability, not how hard the clip squeezes, so a smooth nylon strap and a thick canvas pocket will grip differently. Magnets add a second hold: Olight lists tail and clip magnets on the Oclip 2 models and an N52 neodymium magnet on the Oclip Ultra.
This home fit test builds on the published 14 mm figure. It is a reader self-test, not measured by us.
- Measure the thickest point you plan to clip, such as a brim edge, a doubled collar or a pack strap with its padding, with a ruler or caliper.
- If it is over 14 mm, it is outside the rating for the Oclip and Oclip 2; pick a thinner spot.
- Clip the light on, then hold the item upside down and shake it gently for 10 seconds over a soft surface.
- Walk 50 steps at your normal pace, with your jacket or pack on, and check whether the light has rotated or crept.
Tip: If a light slides down a smooth strap, clip it where the strap crosses a seam or buckle.
When Is a Clip-On Light the Wrong Hands-Free Flashlight?
A clip-on light falls short in three situations: when you run, when you need light above your eye line, and when you need hours of steady light at work brightness. Running makes a body clip bounce, overhead work points the beam below where you look, and a 580 to 600 mAh battery holds about 3.5 hours at 100 lumens. In those cases a headband, a strap or a larger light does better.
Running. A clip light rides on fabric that moves with each stride. If you jog, use the headlamp strap or a dedicated headlamp.
Overhead work. Under a dashboard or an attic hatch you look up, while a chest light 35 cm below your eyes keeps pointing ahead. A brim light or headlamp follows your gaze; a magnet on nearby steel also beats a body clip.
All-night light. At 100 lumens the Oclip 2 Pro is rated for 3 hours 45 minutes on its product page and 3 hours 30 minutes in its manual: an evening, not a night shift. The National Park Service's Ten Essentials list notes, "Headlamps are the recommended light source because they are hands-free." Our roundup of the best headlamps compares 10 models on runtime and weight.
Cold. The Oclip 2 manual says that "in environments below 0°C (32°F), the white light is limited to Low and Medium modes," and that "the product cannot be charged in environments below 0°C or above 45°C." The Oclip Pro, Oclip Pro S and Oclip Ultra manuals give the same white-light limit with a 50°C charging ceiling. Battery University adds that "Cold temperature increases the internal resistance and lowers the capacity," per its article on discharging at low temperatures. Keep a winter clip light inside your jacket.
What Are Red and UV Modes on a Clip-On Light For?
Red light on a clip light protects your night vision and spares the person next to you, and it runs far longer than white. UV makes some materials fluoresce, which helps you spot leaks, stains, pet urine or scorpions. Five Olight clip models have red light; three have UV. Only the Oclip Pro S manual publishes a UV wavelength: 365 to 370 nm.
Red works because of how dark adaptation works. The National Park Service explains that night vision "takes from 20 to 40 minutes" to build, that "It only takes a few seconds of bright light" to undo it, and that "a dim red light is best for maximizing after-dark eye behavior," in its article on red flashlights and dark adaptation. On a collar or strap, a 4-lumen red mode lets you read a map without lighting up a whole campsite.
This table lists the red and UV modes each Olight clip light publishes, from its product page or manual.
| Model | Red light | UV |
|---|---|---|
| Oclip | 4 lm, 5 h | None |
| Oclip Pro | 40 / 4 lm (runtime not listed) | None |
| Oclip Pro S (manual; also green 60 lm, 2 h 30 min, and blue 15 lm, 1 h 20 min) | 40 lm, 3 h 30 min; 4 lm, 26 h | 800~300 mW, 3 + 130 min; 300 mW, 138 min; 365 to 370 nm |
| Oclip Ultra | None | 800 mW, 300 mW when the battery is low |
| Oclip 2 Pro | 40 lm, 4 h; 4 lm, 27 h | None |
| Oclip 2 Ultra | 40 lm, 3 h; 4 lm, 22 h | 800~300 mW, 3 + 135 min; 300 mW, 140 min |
UV on a body-worn light sits near faces at conversation height. ICNIRP says on its LED safety page that "Exposure to UV LEDs should be treated with the same precautions as exposure to traditional UV lamps." Every Oclip manual also says, "Do not look directly at the light source or shine it into your eyes, as this may cause temporary blindness or permanent damage to your eyes." For what a 365 nm light can and cannot find, see our guide to the EDC flashlight with UV.
Safety note: Switch to red or off before you face someone, never run UV from a collar or brim while talking to people, and keep both modes away from pets' eyes.
Oclip Models Compared: Which Clip Light Fits Which Position?
The Oclip 2 Pro fits every position because its head tilts; the Oclip Pro S fits the collar, pack strap and head strap and adds UV; the original Oclip suits a cap brim or collar at 30 g. The Oclip 2 Ultra adds UV to the tilting design, and the Oclip Ultra is the UV pick without red.
This table matches each Olight clip light to the positions it suits best, with its published core specs.
| Model | Regular price (Oct 2026) | Weight | Max white | Clip rating | Tilt | Water | Best positions |
|---|---|---|---|---|---|---|---|
| Oclip | $29.99 | 30 g | 300 lm | 14 mm | No | IPX5 | Brim, collar |
| Oclip Pro | $39.99 | 53 g | 500 lm | Not published | Not listed | IPX6 | Collar, pocket, strap |
| Oclip Pro S | $39.99 ($45.99 teal blue) | 53 g | 600 lm (manual) | Not published | Not listed | IPX6 | Collar, strap, head strap |
| Oclip Ultra | $49.99 | 55 g | 530 lm flood | Not published | Not listed | IPX6 | Pocket, strap, magnet |
| Oclip 2 Pro | $49.99 ($54.99 blue; Premium $74.99 to $79.99) | 75.5 g | 530 lm flood | 14 mm | 115° | IP66 | All five |
| Oclip 2 Ultra | $69.99 (Premium $94.99) | 79.5 g | 580 lm flood | 14 mm | 115° | IP66 | All five, plus UV |
The Olight Oclip 2 Pro clip light ships with a USB-C cable; its manual calls the MCC cable "an optional accessory," and the Premium version adds the 1,000 mAh dock. The Olight Oclip Pro S shares a page with the Oclip Pro, whose spec table it shows, so Oclip Pro S figures here come from its manual: 600 lumens, 1,600 candela, 80 m, IPX6, 53 g. The Olight Oclip Series Headlamp Strap ($7.99) is listed as "compatible with the Oclip Pro, Oclip Pro S, Oclip Ultra, Oclip 2 Pro and Oclip 2 Ultra." The original Oclip is not on that list.
Where an Oclip is the wrong choice: none carries an IPX7 or IPX8 immersion rating. The Oclip, Oclip Pro and Oclip Ultra manuals say, "Do not immerse the product in water or other liquid as it will damage the product," and the Oclip 2 and Oclip Pro S manuals say the same. For wading or kayaking, pick a light rated IPX8.
What Is the Best Clip-On Light?
The best clip-on light for most people is the Olight Oclip 2 Pro at $49.99. It is the lowest-priced model that combines a 115° tilting head with a published 14 mm clip rating, so it can be aimed at your hands from any of the five clip positions. It adds red light for 27 hours at 4 lumens, IP66 and a 2.0 m drop rating. The Oclip Pro S is the better value at $39.99.
The ranking follows the geometry above: below the brim, a clip light sits 20 to 59 cm under your eyes, so tilt decides whether the beam lands on your hands. Only the two Oclip 2 models tilt; the Ultra adds UV and 50 lumens for $20 more.
The Oclip Pro S wins when the light will ride on your head as often as on your body: at 53 g it is 22.5 g lighter than the Oclip 2 Pro, and it adds UV, green and blue light for $10 less. That is why our best headlamps guide picked the Oclip Pro S on the strap for hands-free work, while this guide, written for wearing a light without a band, picks the Oclip 2 Pro.
The original Olight Oclip is the budget pick at $29.99 and 30 g. With 100 lumens for 90 minutes, IPX5 and no strap option, it is a brim or collar light for short jobs. For hunters, our best deer hunting headlamp guide compares three Oclips on their lowest modes.
This table shows the clip-on light requirements for each task, so you can check a model against what you'll actually do.
| Task | Light needed | Runtime needed | Water | Fits |
|---|---|---|---|---|
| Close repairs, 15 to 60 min | About 100 lm, tilted down | 1 h or more | Splashes | Oclip 2 Pro or Ultra |
| Dog walk, 30 min | 100 to 300 lm, plus red | 1 h or more | Rain | Oclip 2 Pro, Oclip Pro S |
| Camp chores, 2 to 3 h | 10 to 100 lm, red at night | 3 h or more | Rain | Oclip 2 Pro, Oclip Pro S |
| Reading in a tent | 10 lm or less, on a brim | 10 h or more | None | Any Oclip on Low |
| UV checks, a few minutes | UV with a listed output | 2 h or more on UV | None | Oclip Pro S, Oclip 2 Ultra |
How Long Do Clip-On Lamps Last?
On one charge, a clip-on lamp lasts from 90 minutes to 3 hours 45 minutes at a working 100 lumens, and 12 to 27 hours at 10 lumens, by Olight's ratings. The Oclip 2 Pro runs 3 hours 30 to 45 minutes at 100 lumens and 25 hours at 10 lumens. How many years the battery lasts is a separate question that Olight does not answer with a cycle count.
The figures follow the ANSI/PLATO FL 1 method. Streamlight's FL 1 summary defines run time as the time from 30 seconds after switch-on "until the light output drops to 10% of the initial value." The Oclip Pro, Oclip Pro S and Oclip Ultra manuals cite FL 1-2019 and the original Oclip's cites ANSI/NEMA FL 1-2009; PLATO has since published ANSI/PLATO FL 1-2025, the current edition.
This table lists published single-charge runtimes and turns the 100-lumen rating into 30-minute jobs per charge, based on Olight's rated runtimes, not measured.
| Model | Top mode steps | 100 lm runtime | 10 lm runtime | 30-min jobs at 100 lm |
|---|---|---|---|---|
| Oclip | 300~180 lm, 1 + 60 min | 90 min | 12 h | 3 |
| Oclip Pro | 500~300~100 lm, 1 + 50 + 30 min | 3.5 h | 27 h | 7 |
| Oclip Pro S (manual) | 600 lm 1 min, then 50% for 50 min, then 17% for 30 min | 3 h 30 min | 27 h | 7 |
| Oclip Ultra | 530~302~100 lm, 1 + 50 + 30 min | 3.5 h | 27 h | 7 |
| Oclip 2 Pro | 530~300~100 lm, 1 + 58 + 5 min | 3 h 45 min (page); 3 h 30 min (manual) | 25 h | 7 |
| Oclip 2 Ultra | 580~300~100 lm, 1 + 57 + 5 min | 3 h 30 min | 25 h | 7 |
Jobs = runtime ÷ 30 min, rounded down: 90 ÷ 30 = 3; 210 ÷ 30 = 7; 225 ÷ 30 = 7.5, so 7. Moonlight runs 144 hours at 1 lumen on every model except the original Oclip (1.5 lumens, 30 hours).
For the Oclip 2, the manual says the Premium versions "include a Charging Dock, which doubles the light's total runtime when fully charged." The manual lists the light's battery at 2.22 Wh and the dock's at 3.7 Wh, both at 3.7 V. On paper the dock holds 3.7 ÷ 2.22 = 1.67 light-charges; conversion and charging losses eat the rest, and Olight claims one extra full charge. That puts an Oclip 2 Pro Premium at about 7 to 7.5 hours at 100 lumens (2 × 3 h 30 min to 2 × 3 h 45 min), based on Olight's rated runtime, not measured. The manual lists 136 g for the Premium set against 75.5 g for the light, so the dock adds 60.5 g to your pocket.
On battery lifespan, read claims carefully. The Oclip Ultra page says its magnetic dial and USB-C charging went through 3,000 charging cycles, and the Oclip Pro page says its port cover was "tested to withstand over 3,000 open-close cycles." Those are durability tests of the dial, port and cover, not a rating for how many charges the battery holds. The manuals add: "Charge the product completely before storing it for a long period."
How to Use a Clip Light?
To use a clip light, pick the clip position closest to your eyes that the task allows, clip it to an item 14 mm thick or less, tilt the head toward the work, and switch on at the lowest mode that shows the detail. Lock the switch before you pocket it. On a chest, collar or pocket, follow the manual's pacemaker warning.
Follow these steps the first time.
- Pick the position. Brim for close work, collar or strap for walking, belt for the ground ahead. Skip the chest pocket if you have an implanted heart device.
- Check the fit. The Oclip, Oclip 2 Pro and Oclip 2 Ultra are rated up to 14 mm.
- Aim before you start. On an Oclip 2, tilt the head 26° to 44° down from the collar, strap or pocket, per the angle table. On a fixed head, move the clip higher.
- Start low. Begin at 10 or 100 lumens. The Oclip 2 manual says, "Do not activate Turbo mode multiple times in succession to avoid surface overheating."
- Use red around people. Switch to red before you face anyone.
- Lock it for carry. The Oclip 2 manual says, "If the product is carried or transported, please lock it." On every Oclip, hold the switch about 2 seconds from off.
- Mind the heat. The Oclip 2 manual says, "Do not place, charge, or use this light in a car or other environment where the temperature may exceed 60°C," and warns against putting a hot light into a fabric bag.
Check your own beam offset with a reader self-test (not measured by us). Stand 3 m from a wall, tape the spot you're looking at, switch the clipped light to a low mode, and measure how far the brightest spot lands from the tape. The offset angle is atan(distance from tape ÷ 3 m). For example, a hot spot 30 cm below the tape gives atan(0.30 ÷ 3) = atan(0.10) = 5.7°. Repeat at each position and keep the smallest number.
Clip-On Light Checklist Before You Rely on One
The best clip on light is the one whose clip fits your gear, whose head can aim at your hands, and whose runtime covers your task with margin. Check these points before you head out.
- Pick the highest clip position the task allows; the brim keeps the beam within about 2° of your sight line at arm's length.
- Measure what you're clipping to: 14 mm or less for the Oclip and Oclip 2.
- Choose a tilting head if you'll clip to your chest, collar, strap or belt and work with your hands.
- Count jobs, not hours: about seven 30-minute jobs at 100 lumens on most Oclip models, three on the original Oclip.
- Set red light as your default near people; keep UV away from faces.
- If you have an ICD or pacemaker, clip it away from your chest and keep it at least 15 cm from the device.
- Move to a headband or headlamp for running, overhead work and all-night use.
FAQ
Changelog
- October 2, 2026: First published.