⚡ TL;DR
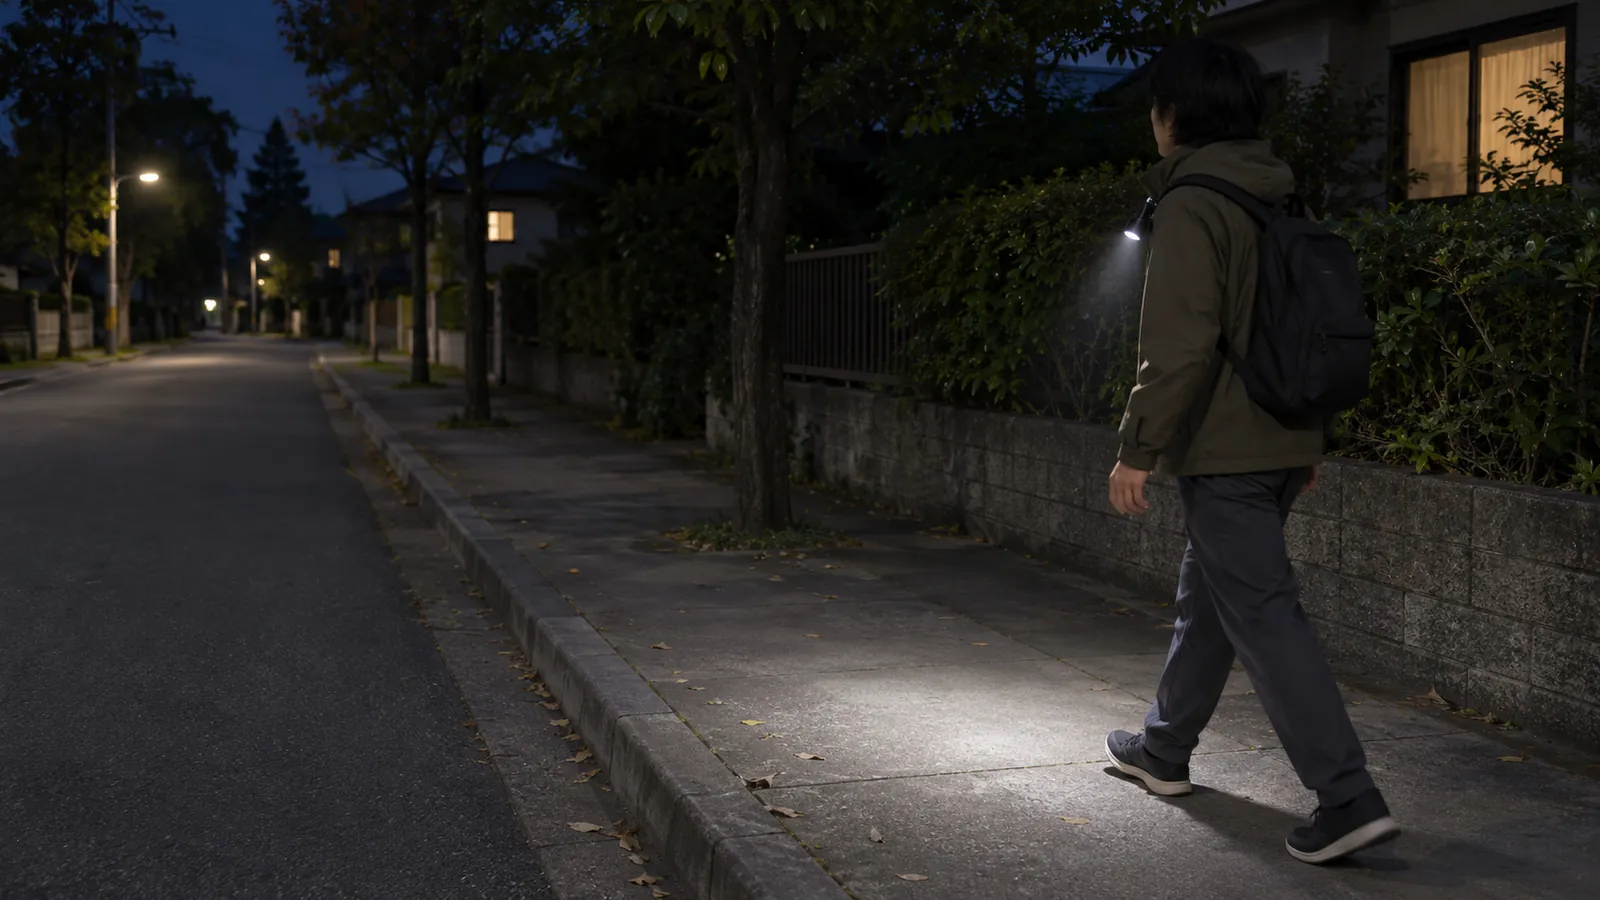
Clip on lights for walking at night can free your hands while you illuminate the path ahead. Choose a secure attachment, an adjustable beam and a useful operating mode, then combine the light with reflective clothing and a route that keeps you away from traffic. A bright light cannot make an unsuitable road safe to walk.
| Commuting need | What to plan | What to check before leaving |
|---|---|---|
| See pavement and steps | A white beam directed at the walking surface | The bag or coat does not block it when you move |
| Make your presence easier to notice | A visible light and reflective clothing or accessories | Neither is hidden by your bag, coat or umbrella |
| Keep both hands available | A compatible clip position | Attachment, beam angle and controls with the clothes you actually wear |
| Continue after a delay or flat battery | A charged backup and another way home | The backup is accessible without emptying your bag |
Our Olight Oclip 2 range offers clip-based lighting options, but the decision starts with your journey. A bus-stop walk, a station staircase and an unlit stretch beside traffic create different demands. Work through the route and the attachment together before choosing a model.
📋 Table of Contents
- 1. Plan the Walking Route Before Choosing a Clip Light
- 2. Seeing the Path and Being Seen Are Different Tasks
- 3. Clip Positions for a Bag, Collar, Chest or Belt
- 4. Magnetic Clip Lights and Implanted Medical Devices
- 5. Aiming a White Walking Beam Without Adding Glare
- 6. White, Red and Flashing Modes on a Walking Route
- 7. Choose an Oclip Model for the Attachment and Task
- 8. Keep a Small Backup Accessible
- 9. Clothing Changes, Rain and Cold Weather
- 10. Check the Commute Setup Before Leaving
- 11. Read Pedestrian Data Without Turning It Into a Light Claim
- 12. FAQ
Plan the Walking Route Before Choosing a Clip Light
Start with the part of the journey that causes difficulty. Is the problem a broken pavement, a dark entrance, an awkward crossing or a stretch without a sidewalk? A downward light can help you inspect a surface. It cannot create a walking space beside moving vehicles or give you priority at a crossing. If the route leaves no suitable place to walk, consider a different stop, a longer route with pedestrian facilities or another way to complete that section.
NHTSA's pedestrian safety guidance recommends sidewalks where available. Where there is no sidewalk, it advises walking facing traffic and as far from it as possible. It also recommends crosswalks or intersections and watching for vehicles entering or leaving driveways. Follow local signs and signals, and assess whether the route remains suitable after dark.
Review the route in daylight when practical. Note where a sidewalk ends, where you need to cross and where parked vehicles interrupt the view. Decide where you can stop to check a map without standing in the walking line. Save the route before leaving the station rather than arranging your light and reading directions while approaching a curb.
The return trip may need a separate plan. A shortcut used in daylight may have a closed gate or poor lighting after work. Seasonal clothing also changes what you carry and where a clip can attach. Treat the whole journey as the problem to solve, including the entrance to your building, rather than buying a light for only its darkest few steps.
Seeing the Path and Being Seen Are Different Tasks
A walking light has two useful roles: putting light where you need to look and making your presence more noticeable. Those roles can compete for the same beam. A light aimed directly ahead at eye level may be unpleasant for an approaching person, while one buried behind a bag may do little for either task. Set the angle for the surface you need to inspect and keep the light clear of obstructions.
NHTSA's see-and-be-seen advice recommends a flashlight at night along with reflective or retroreflective materials. It also cautions that white clothing alone does not guarantee drivers will see you. A light and reflective details address different conditions; neither tells you that a particular driver has noticed you or will stop.
Check the clothing you will actually wear. A reflective panel on a jacket can be covered when you put on a backpack, and a light on a bag can disappear under a rain cover. Keep useful reflective areas exposed and check the light after adding the last layer. This is particularly relevant if you leave work wearing a different coat from the one you wore that morning.
Avoid judging visibility from how bright the emitter looks in a mirror. That view says little about traffic, an obstructed approach or a driver's attention. Likewise, a photograph taken from one position cannot establish a reliable detection distance. Use lighting as one part of the journey plan, alongside the route, crossings and attention to other road users.
Clip Positions for a Bag, Collar, Chest or Belt
The best attachment point keeps the light secure and its beam useful as you move. Start with a position that the light's instructions permit and that the clip can grip without forcing it. Then check the arrangement with your normal coat and bag. A firm grip on a loose piece of fabric can still produce an unstable beam if the fabric itself swings.
| Position to evaluate | Potential use | Practical limitation to check |
|---|---|---|
| Backpack shoulder strap | Keeps a light near the front of the body | Strap angle, coat overlap and bag movement can change the aim |
| Collar or lapel | Makes the controls easy to reach | Soft fabric may fold; the beam may move when the garment shifts |
| Chest-level garment attachment | Keeps the light accessible | Fabric support, glare, magnetic-device warnings and obstruction matter |
| Belt or bag waist strap | Leaves upper clothing clear | A coat hem or carried bag may block the light; the beam starts lower |
For a shoulder strap, check the light with the backpack loaded. An empty bag may sit differently from one carrying a laptop, groceries or work clothes. Tightening the strap can change the light's orientation. After setting the bag, aim the beam and check whether the buckle, strap tail or coat collar crosses in front of it.
For a collar or lapel, consider the support behind the fabric. A heavy light on a thin edge may pull the garment out of position. Check that the clip does not press uncomfortably against your neck when you turn your head. If the clothing cannot support the arrangement without folding or slipping, move to another permitted attachment point.
A belt position can work for some clothing, but a long coat may cover it completely. Check the walking position with the coat fastened, the bag on and your hands carrying their usual items. Choose the position because it works in that configuration, rather than because it looked neat on a desk.
Magnetic Clip Lights and Implanted Medical Devices
Read the magnetic warning before choosing a chest or shoulder attachment. Our Oclip 2, Oclip Pro S and Oclip Ultra manuals warn people with an ICD or pacemaker to avoid close or prolonged contact with the product because of possible interference. Do not choose a position near an implanted device on the assumption that a coat provides protection. Follow the product warning and the guidance for your medical device.
The warning applies to the specified products; it should not be replaced with an invented universal separation distance. If that limitation rules out your intended position, choose a different lighting arrangement that meets the relevant guidance. A handheld or another permitted setup may be more appropriate than placing a magnetic light on the chest.
For any clip light, check what the mounting method is meant to hold. A magnet attaches to a suitable metal surface; it does not make an ordinary fabric strap magnetic. Do not add improvised magnets inside clothing to create an attachment the instructions do not describe. The mechanical clip, its contact surfaces and the material supporting it still need to suit the intended use.
Aiming a White Walking Beam Without Adding Glare
Aim the white light at the part of the path you need to inspect. Check steps, changes in pavement level and the entrance you are approaching. Your body and bag move while walking, so an angle that works while standing still may need adjustment. An adjustable head can make this easier, provided you use the permitted range and keep the light securely attached.
Avoid aiming the beam at approaching people's faces, drivers, mirrors or vehicle windows. If you need to inspect something away from the walking line, stop in a suitable place before changing the aim. A separate handheld light can be useful for a short look at a sign or a doorway without disturbing the clip light's normal position.
Use a setting that shows the needed surface clearly without making the nearby area uncomfortable to look at. A strong hotspot on a pale wall or a shiny sign may be less useful than a broader, lower setting for close work. Our guide to how bright 2,000 lumens is explains why a peak lumen number needs context; walking-light selection also depends on beam direction and placement.
There is no single lumen threshold that proves a commuter will be visible or a route will be suitable. Choose among the actual modes after checking the tasks you need to perform. Do not treat a model's maximum output as the setting you must use beside other people throughout the journey.
White, Red and Flashing Modes on a Walking Route
White light is the useful starting point for examining pavement and steps. A red output may provide another lighting or signal option on a model equipped with it, but it does not replace an appropriate white path light for every task. Check what the exact product offers: some clip lights have white and red, while others combine white channels with UV or other functions.
If you use separate front and rear lights, think about what each is doing and whether the body or bag blocks it. This is an equipment arrangement to evaluate, rather than a universal pedestrian rule requiring white at the front and red at the back. Do not copy bicycle lighting requirements into a walking setup without checking the rules that apply to the actual activity and location.
For ordinary path lighting, we recommend starting with a steady white mode. Flashing modes can interrupt your view of the surface and can be distracting to people nearby. A light offering a beacon or strobe does not establish that flashing is the best choice for a crowded platform, a shared path or a particular road. Keep route lighting, an optional signal function and an emergency signal separate in your decision.
Know how to reach the mode you intend to use before leaving. Similar-looking lights may use different controls, and an accidental mode change can be awkward while holding a phone and a bag. Check the instructions at home, including the lockout method used for carrying the light in a pocket or bag. Avoid learning a new switch sequence at a crossing.
Choose an Oclip Model for the Attachment and Task
Our Oclip 2 Pro is worth considering when you want to adjust the light independently of the strap. Its published design combines a 115-degree head tilt with a 360-degree rotating clip. It offers floodlight, spotlight and red-light options, with USB-C and MCC charging. The benefit for a commuter is the ability to set the attachment and then adjust the aim; the limit is that the available adjustment does not guarantee a good position on every bag or coat.
Our Oclip offers white and red light in a smaller clip-light format. We list 30 g including the battery for the standard aluminum version. It is a useful option to compare when low carried weight and a simpler light arrangement matter. Its attachment and beam still need to work with your clothes, and a small body can make the controls less convenient with some gloves. Evaluate the actual switch and clip instead of deciding from weight alone.
Our Oclip Pro S is another clip-light option on our combined Pro S/Pro page. Confirm that you have selected the intended model and read its own manual; the two names should not be treated as interchangeable. The Pro S manual separates white-light, UV and RGB operation. For the commute, evaluate the white-light controls and how readily you can return to the intended setting; extra colored effects do not solve an unstable attachment. Keep the magnetic warning and the support provided by the strap in that decision.
Our Oclip Ultra offers floodlight, spotlight and UV functions. The white-light choices are the relevant ones for this walking task. UV inspection is a separate function and offers no reason to select the light for pedestrian conspicuity. Do not look into a UV emitter or expose eyes or skin to it. Do not mistake Oclip Ultra for Oclip 2 Ultra or assume that every model carrying the Ultra name has the same channels and mounting adjustments.
| Choice | Useful comparison for a commuter | Keep in mind |
|---|---|---|
| Oclip 2 Pro | Independent head and clip adjustment; white and red options | Check the actual attachment, mode and magnetic warning |
| Oclip | Standard aluminum model's low carried weight; white and red light | Fixed clothing geometry and control access still matter |
| Oclip Pro S | Model-specific channels and controls for a clip arrangement | Select Pro S rather than borrowing instructions from Pro |
| Oclip Ultra | White flood and spot for different close tasks | UV is not a walking-visibility function; do not mix generations |
For broader equipment choices, our everyday carry gear guide covers a different task. Here, keep the shopping list focused on a stable attachment, a useful white beam, accessible controls and a charging routine. More light channels are worthwhile only if they solve a need you actually have.
Keep a Small Backup Accessible
A clip light can become unavailable because it was left charging, moved to another jacket or packed in a bag you did not bring. A small backup gives you another option, but its location matters as much as its size. Keep it where you can reach it without putting your belongings on the pavement or searching through the main compartment of a backpack.
Our i1R 2 Pro is a rechargeable keychain light with twist operation and two white settings, 5 and 180 lumens. It is a different format from a clip light: it can help with a brief handheld task, but it does not leave both hands available in the same way. Decide whether it will be on the keys you actually carry on that journey, rather than on a spare key ring at home.
Check that you can operate the backup with the items you carry. A keychain light may be inconvenient if you also need the same keys to open a gate. Stop in a suitable place before changing equipment. A backup is useful for completing a small task or reaching another option; it is not a reason to continue along a route you judge unsuitable without your main light.
Clothing Changes, Rain and Cold Weather
Repeat the attachment check when your outer layer changes. A shoulder strap can sit higher on a thick winter coat, and a scarf or umbrella can obstruct a light that was clear during a dry-weather check. After putting on rain protection, confirm that the beam and any reflective details remain exposed. Check the arrangement without looking directly into the emitter.
Water resistance does not remove the need to follow the manual. Keep charging-port covers closed as instructed, and follow the specified drying and charging procedure after wet use. Do not immerse a product whose manual prohibits immersion. Keep a spare light protected where you can retrieve it without exposing other belongings to rain.
Low-temperature limits are model-specific. The Oclip 2 and Oclip Pro S manuals limit white light to Low and Medium below 0°C (32°F). Read the exact model's charging-temperature restrictions as well; an outdoor operating limit is not permission to charge at the same temperature. A winter plan should include an allowed mode, enough planned operating time and a suitable indoor charging location.
If clothing cannot hold the light securely, a different format may be the better answer. A handheld light, a suitable headlamp or a change in route can solve a problem that a clip cannot. Choose the arrangement around the actual limitation rather than forcing a heavy light onto fabric that will not support it.
Check the Commute Setup Before Leaving
Put on the clothes and load the bag you expect to use. With the light off, attach it according to its instructions and check the clip, supporting material and controls. Set the beam in a safe place away from traffic. Walk normally, turn your head and reach for the bag strap; check that those movements do not obscure the light or pull the fabric out of position.
Keep this a personal fit check. It can reveal a slipping clip, a swinging coat edge or an inaccessible switch. It cannot certify driver recognition, produce a valid visibility distance or prove that the equipment will stay attached in every situation. If the position fails the simple check, change the permitted attachment or choose a different arrangement before depending on it.
Plan charging around the journey, including delays and any dark outbound trip. A fifteen-minute walk home does not describe the whole week's use if you also use the light at work. Check the rating for the actual mode you intend to use and account for other operation. Do not convert a peak-output figure and a different mode's runtime into a promise about the battery remaining.
Give the light a home position after the trip. If it lives on a backpack, decide what happens on days you carry another bag. If it moves between a coat and a charger, make checking that location part of leaving home. A shared charger or a light borrowed by another household member can change the plan even when the equipment itself works correctly.
Read Pedestrian Data Without Turning It Into a Light Claim
NHTSA reports that 7,080 pedestrians were killed in U.S. traffic crashes in 2024. That national figure gives context for taking road conditions seriously. It does not measure the effectiveness of a clip light, compare products or predict what will happen on your particular route. Use the agency's route and crossing guidance alongside your equipment choices, rather than treating a light purchase as a complete safety measure.
When looking up local information, check the year, location and type of data. A national total, a state estimate and a count for one intersection describe different populations. Reports may also be preliminary or final. Keep those distinctions intact when discussing a problem with a transit operator, building manager or local road authority.
You can document a dark entrance or an obstructed walking route without staging a visibility experiment in traffic. Record the location and the time when the problem occurs, then report it through the responsible organization. Changing the conditions of the route can matter more than repeatedly increasing the output of the light you carry.
FAQ
Changelog
- November 5, 2026: Product information and buying guidance reviewed.